As per VMware Horizon Cloud Service (HCS) December 2022 update, Horizon 8 (aka Horizon Enterprise) Pods can now be connected to Horizon Cloud Service Next-gen to consume the license. The Next-gen Horizon Edge Gateway appliance need to be deployed to connect Horizon 8 POD with HCS Next-gen control plane. Horizon Edge Gateway is equivalent to Horizon Cloud Connector in HCS First-gen (aka HCS V1).
Note: As of December 2022 update, the Horizon Edge Gateway only enables the licensing (Universal named/concurrent and Enterprise Plus) for Horizon Enterprise POD via HCS Next-gen Control Plane. Other HCS features like Cloud Monitoring, Universal Broker and Image Management Service (IMS) are not available. The Next-gen Horizon Edge deployment is available for VMware vSphere platform only.
Let`s have a look how the Horizon Edge Gateway deployment looks like.
Prerequisites
- Running Horizon POD version 7.13.2 or later.
- Valid Horizon Cloud Next-gen account (aka tenant) with valid license.
- You have completed VMware Cloud Service Platform (CSP) onboarding. If you have not completed CSP onboarding, follow this guide.
- Ports and URLs list
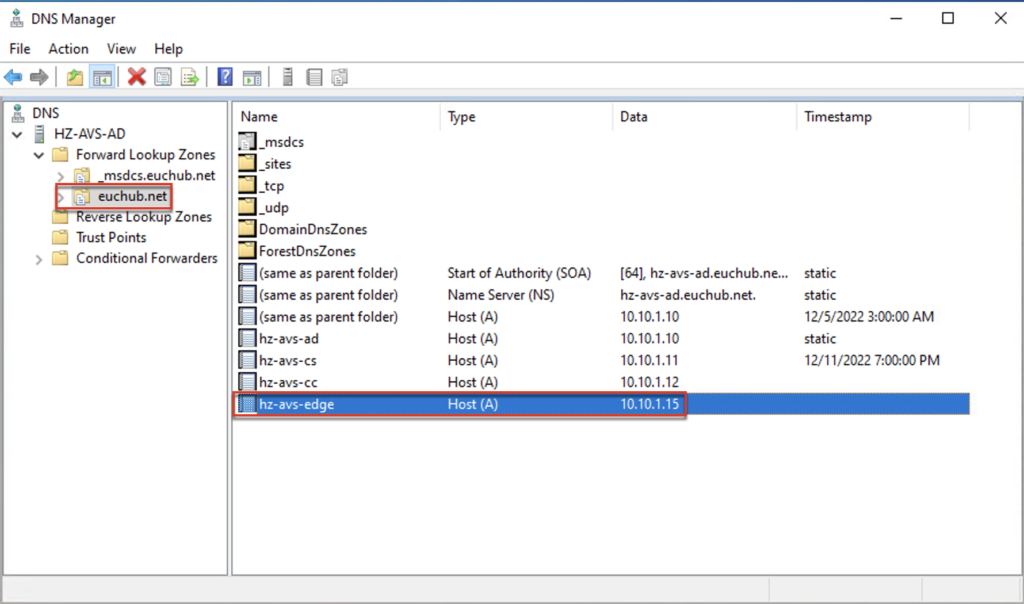
- Static IP and DNS forward record for Horizon Edge Gateway virtual machine in your DNS server.
Deployment
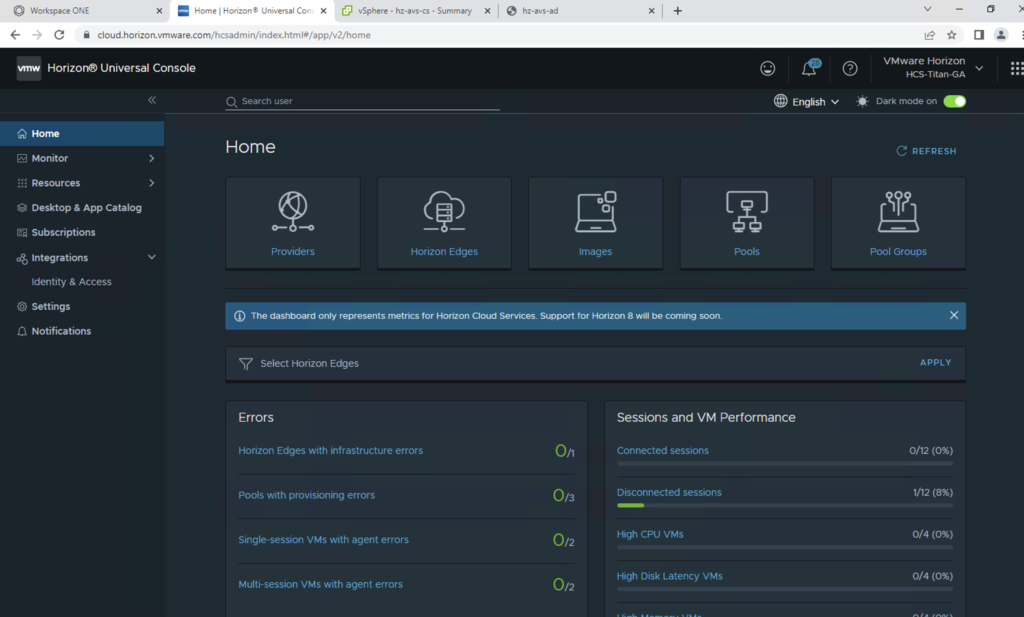
1. Log into your Next-gen Universal Console with administrator privilege.
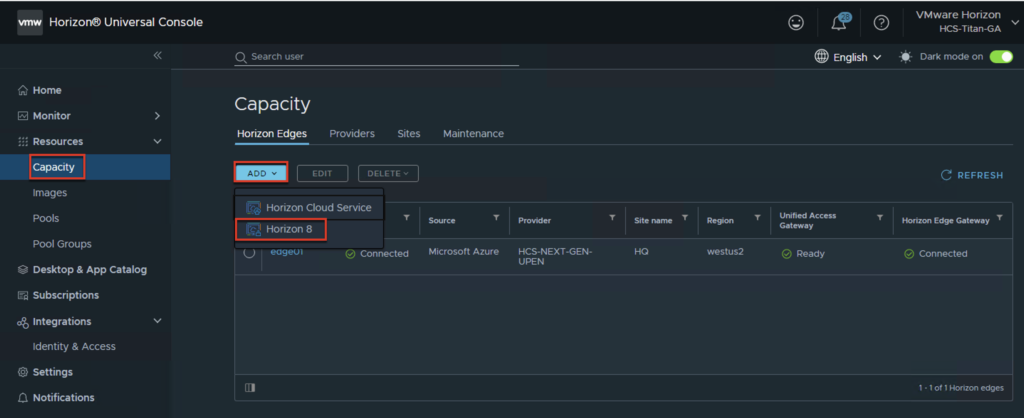
2. Navigate to [Resource] > [Capacity] > [Add] > select [Horizon 8] and you will be presented Horizon Edge deployment wizard.
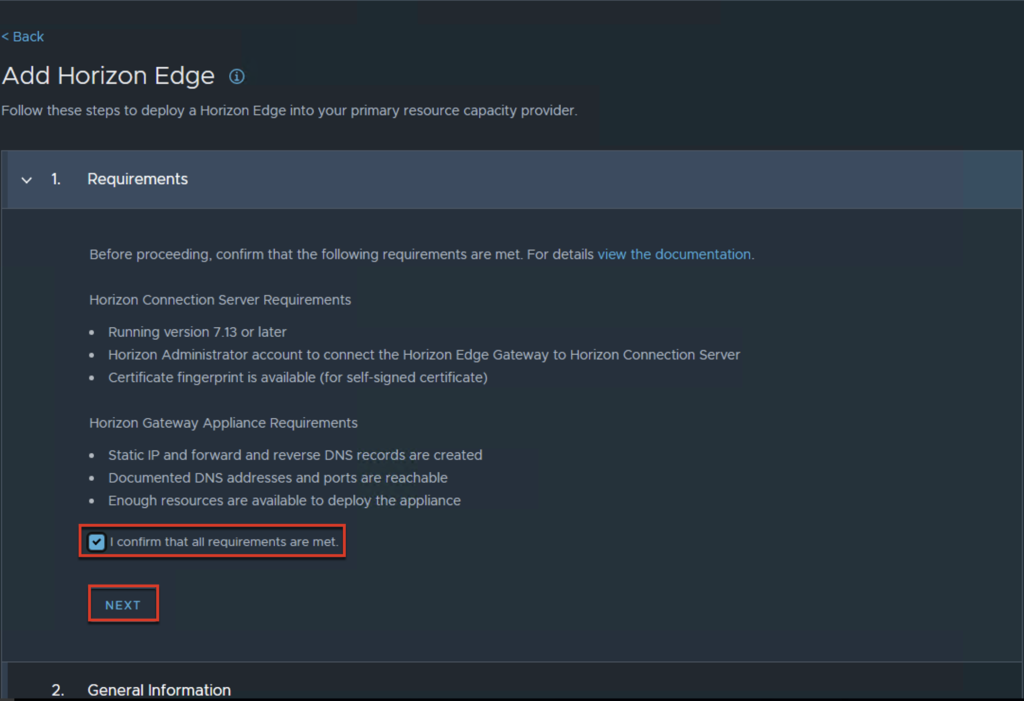
3. In [Requirements] section, put the check to confirm all the requirements for the Horizon Edge deployment are met and select [Next].
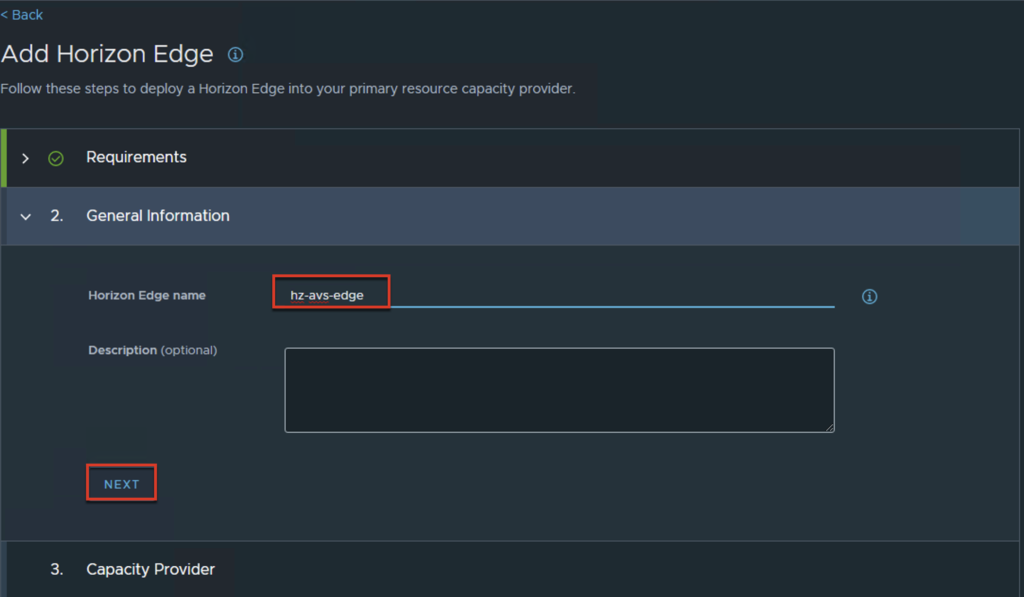
4. In [General Information] section, give the name for our Horizon Edge and description and select [Next].
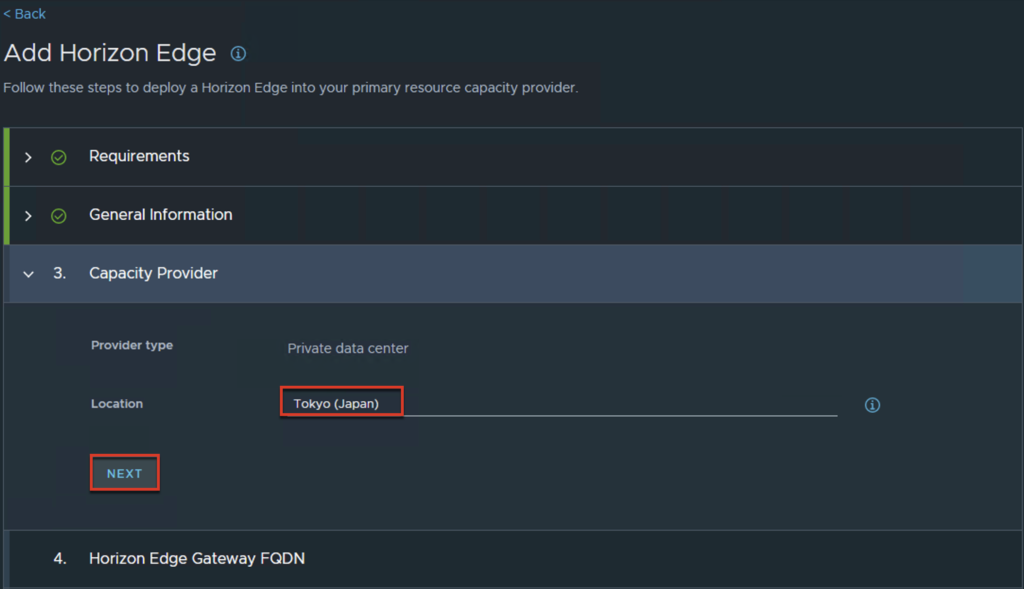
5. In Capacity Provide, [Private data center] is selected by default. You need to define the location where you are going to deploy your Horizon Edge. To search the location, you can type first 3 letters of the city name. i.e. tok in case of Tokyo, Japan > select [Next].
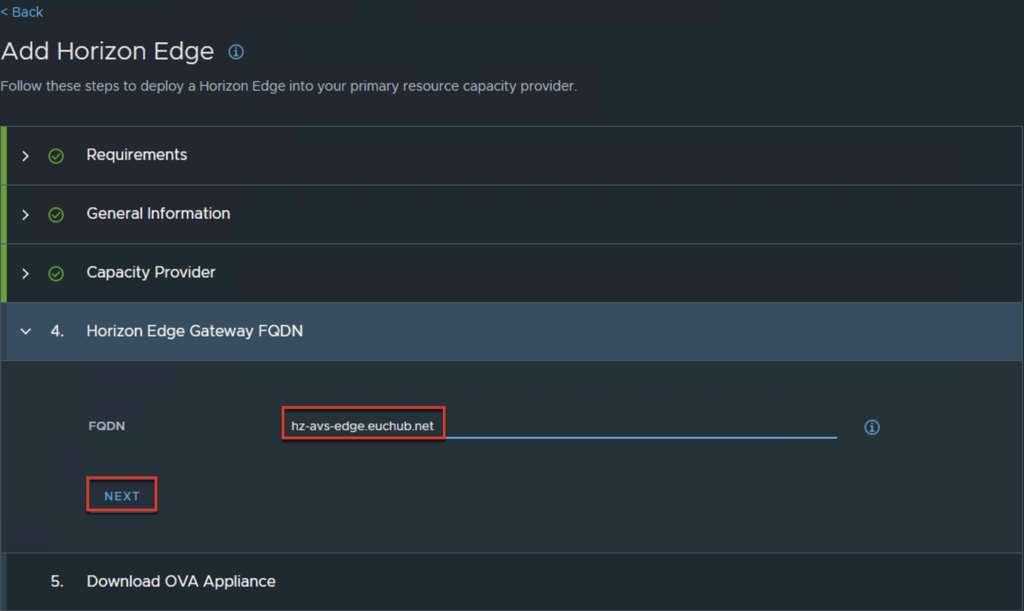
6. Define the FQDN for your Horizon Edge Gateway virtual machine. FQDN will be the DNS forward record name which you have created as prerequisite > select [Next].
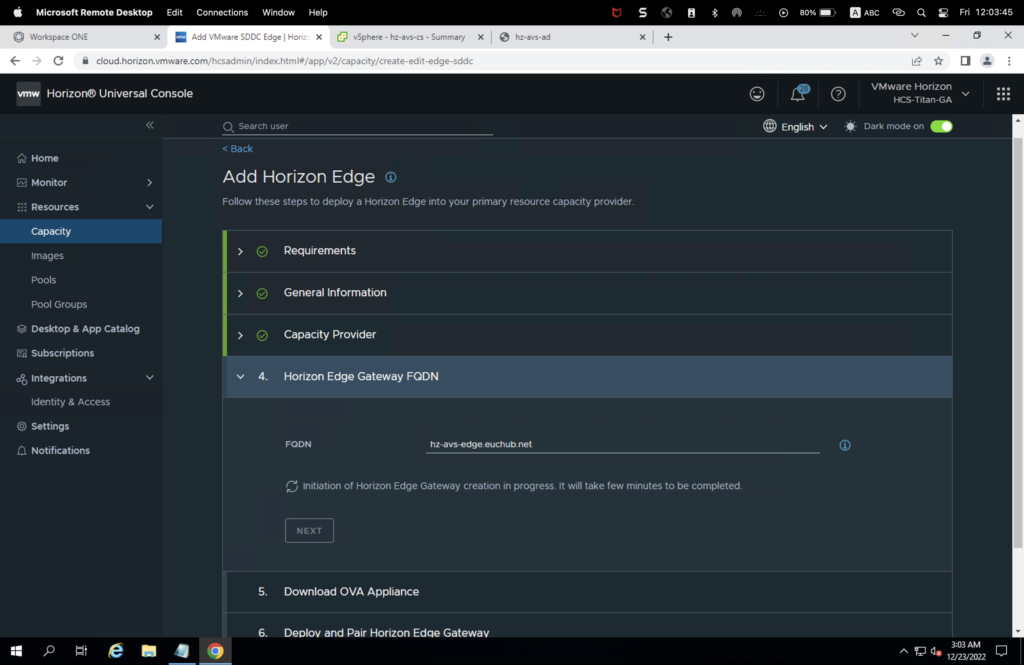
Once you click in [Next] it will take same time to create the Horizon Edge, however note that this is NOT the Horizon Edge appliance deployment. Horizon Edge appliance OVA need to be deployed in your vCenter/vSphere environment manually.
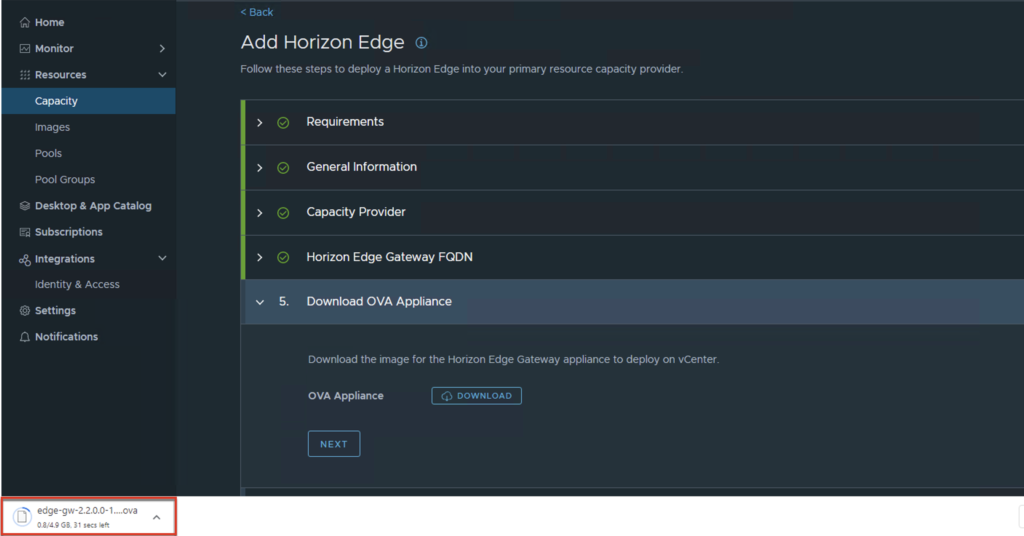
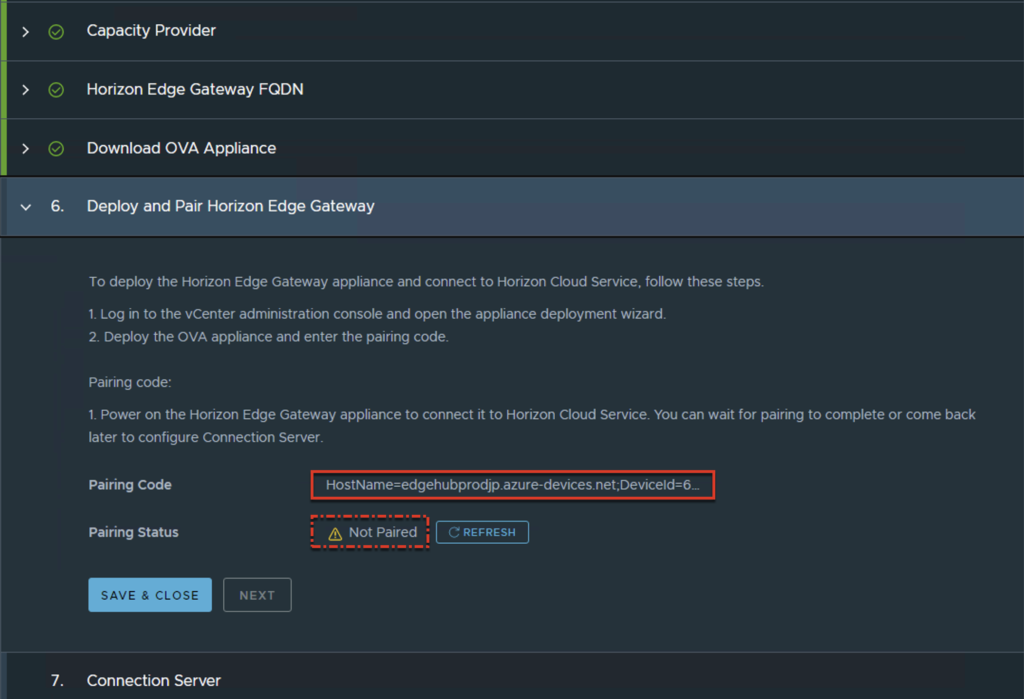
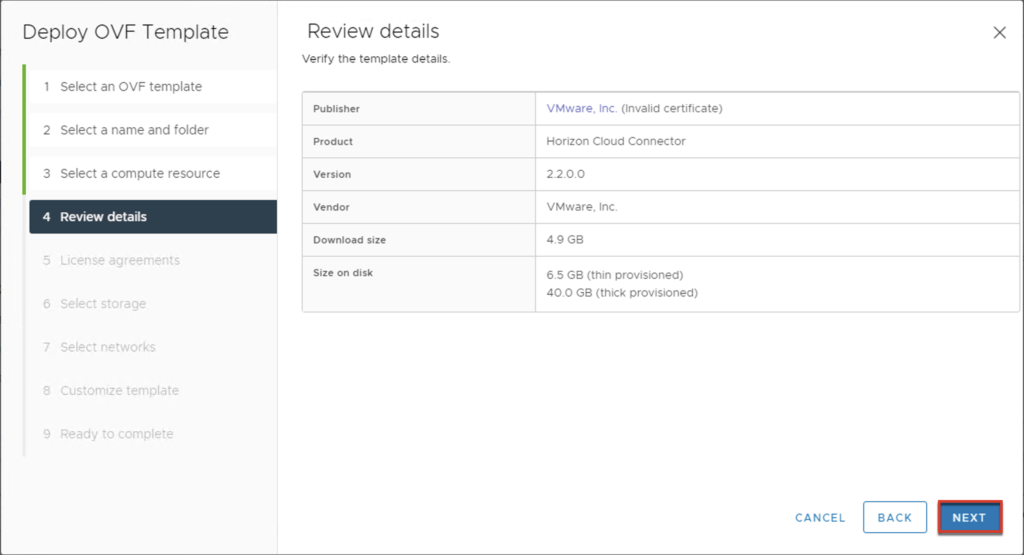
7. Download OVA appliance of Horizon Edge Gateway and select [Next]. Depending on the internet speed of your environment it may take some time to download the OVA file.

8. In this section you will see pairing status as “Not Paired” because you have not completed the Horizon Edge deployment yet.
Before starting Horizon Edge deployment in your vSphere environment, copy the “Pairing Code” some where in notepad.
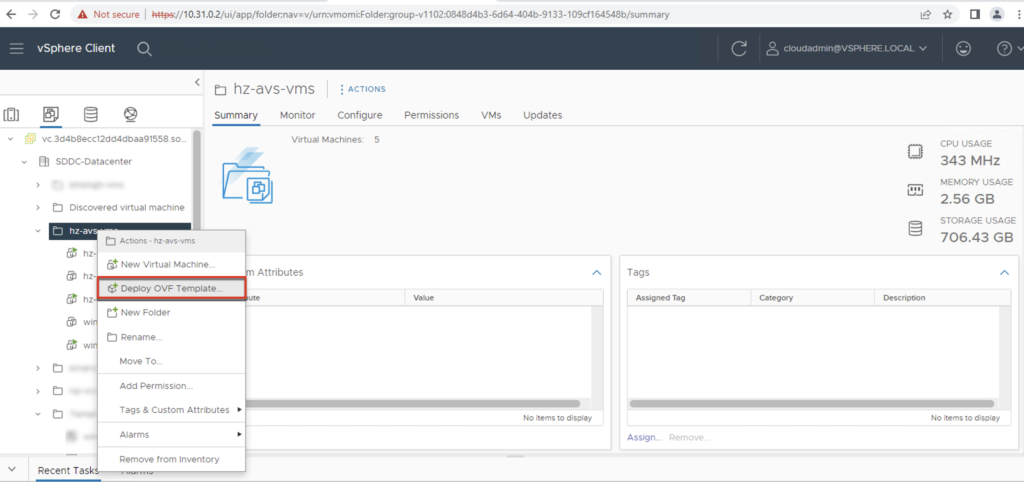
9. Log into your vCenter server console where you have deployed your Horizon Connection Servers and other Horizon Components.
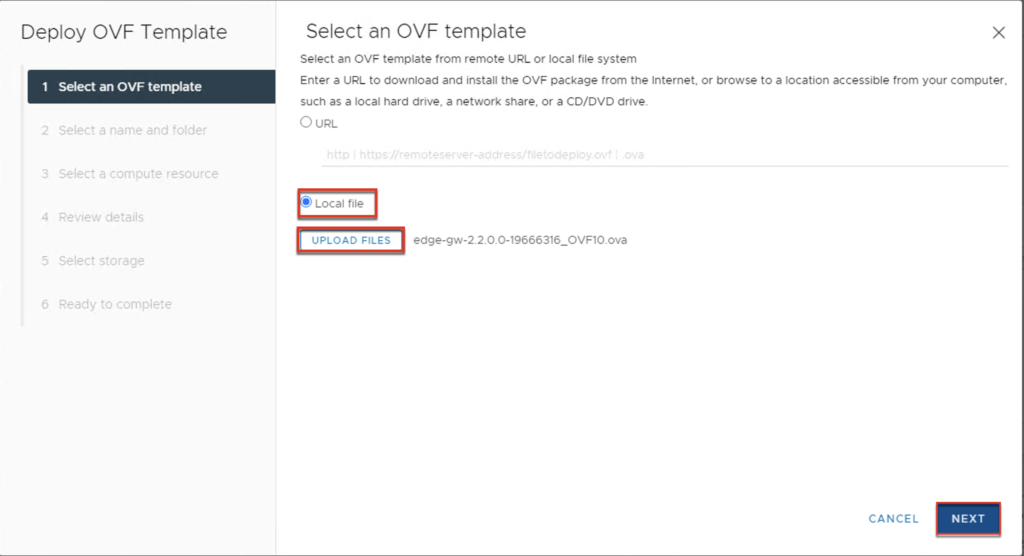
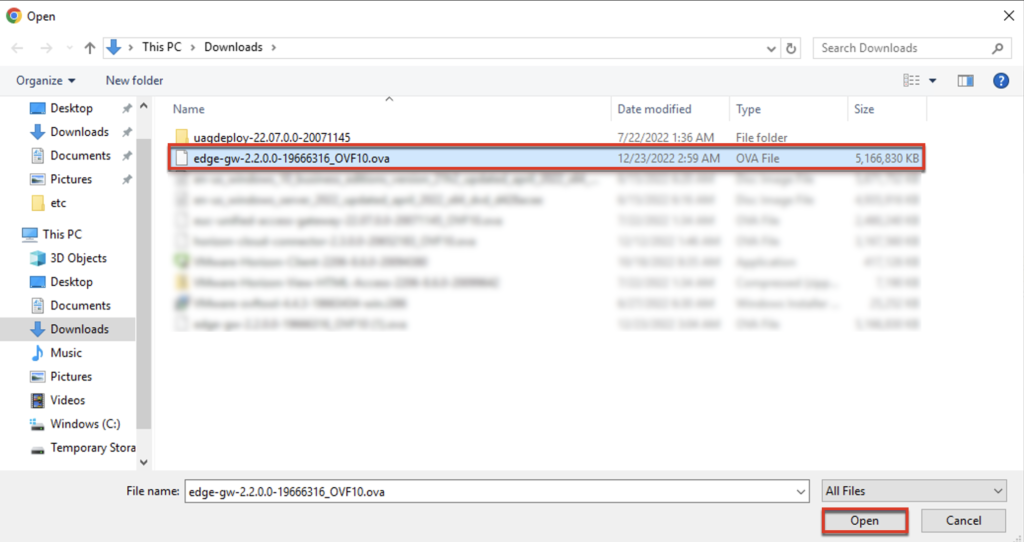
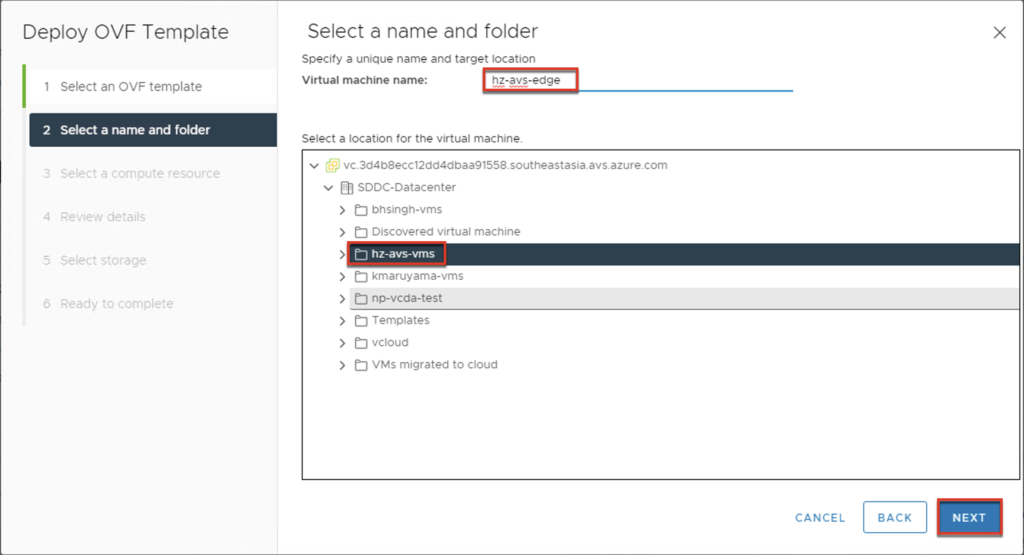
Initiate OVF deployment wizard > select [Local File] > locate the OVA file which you have downloaded earlier in step#7.
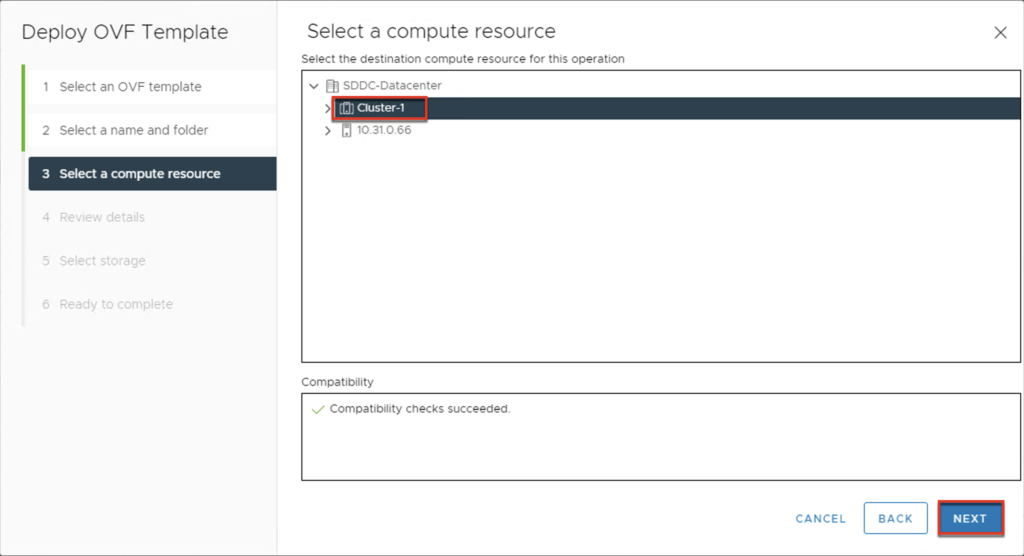
10. Give the name of your choice for your Horizon Edge virtual machine > select appropriate Resource Group and Cluster > select [Next].
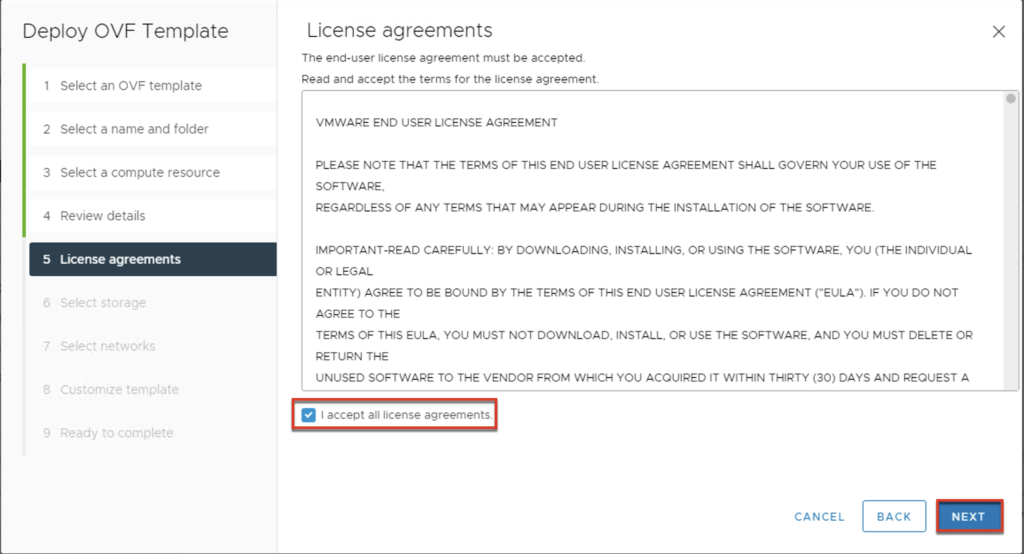
11. In License Agreement section, put the check to accept the license agreement > select [Next] > select the appropriate Datastore > [Next].

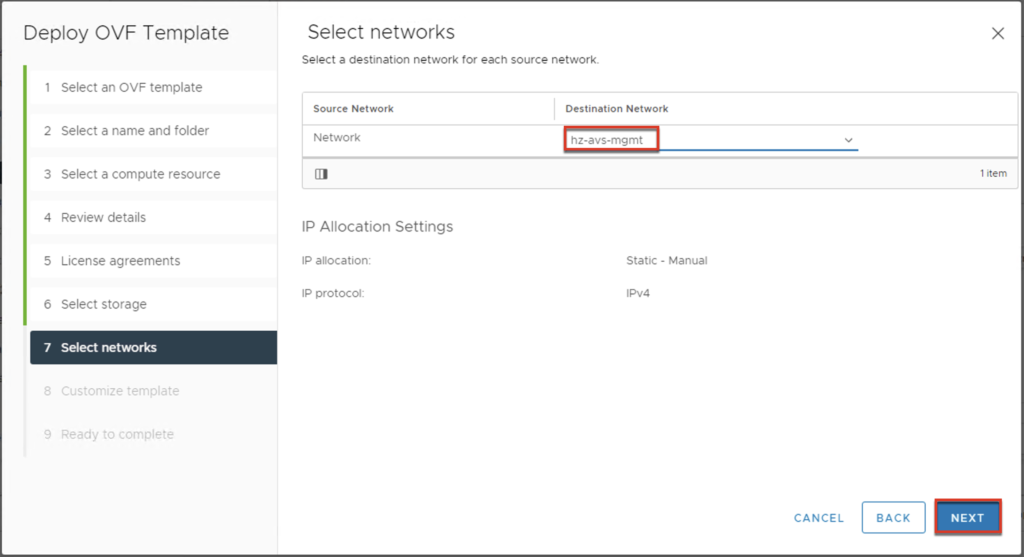
12. Select the appropriate virtual network where you wish to place your Horizon Edge virtual machine on > [Next].
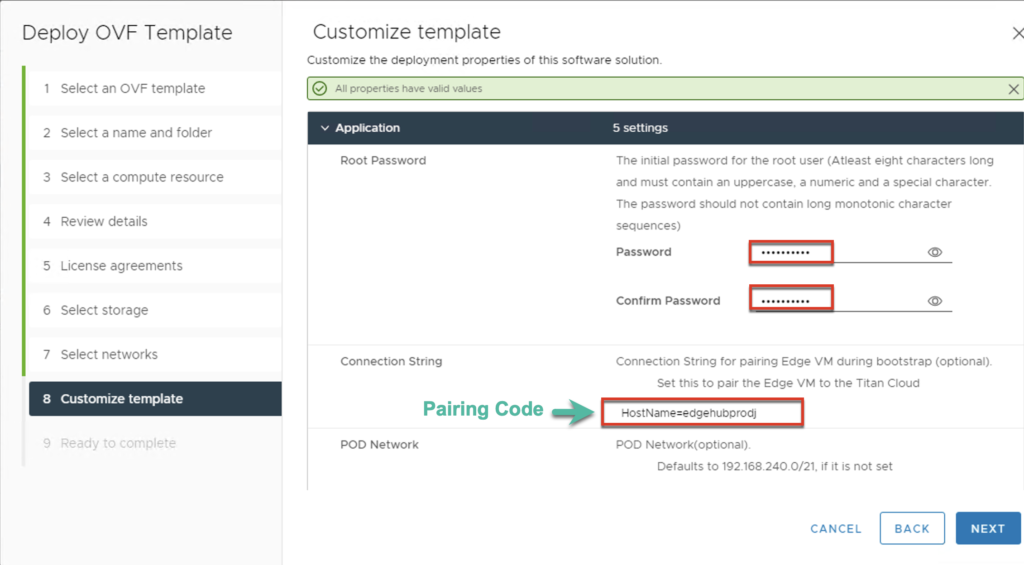
13. In [Customize Template] section, give the password for root. Paste the “Pairing Code”, which you copied in step#8, next to [Connection String]. Proxy related parameters are optional.
Note: Do NOT forget to paste the pairing code. Horizon Edge pairing will not be completed without the pairing code.
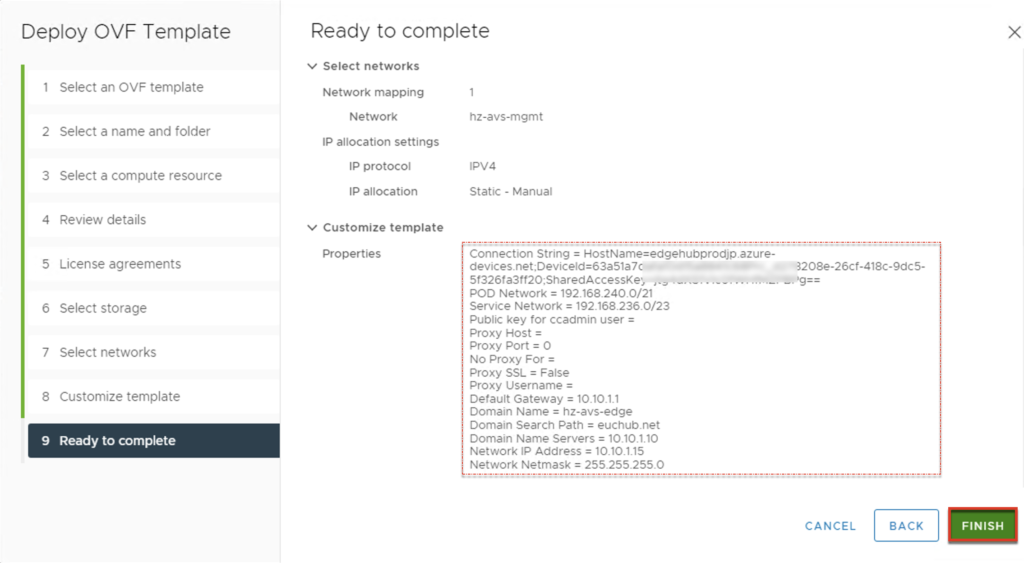
14. Define the network parameter for Horizon Edge virtual machine > select [Next] > select [Finish] in next page.

Note: If you have not created the DNS forward record for Horizon Edge virtual machine, create the one before proceeding the deployment.
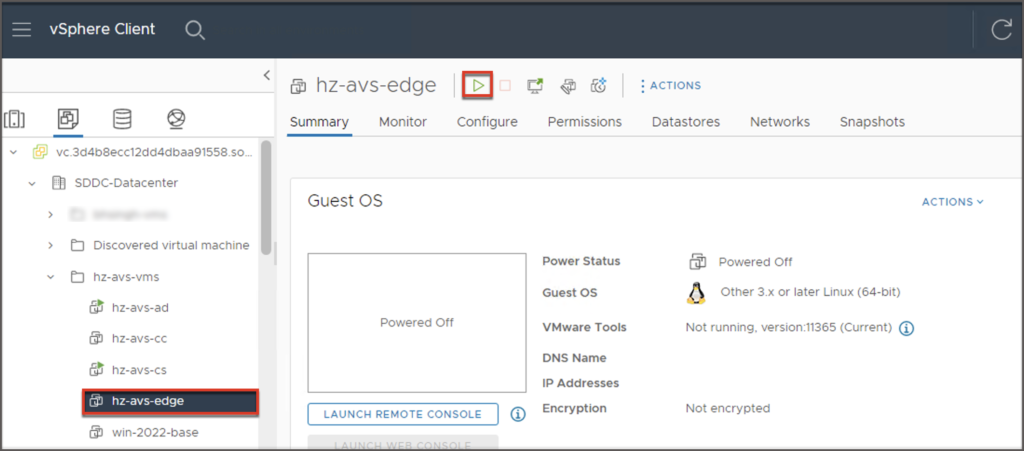
15. Confirm Horizon Edge virtual machine is deployed successfully and power it on.
16. Navigate to Horizon Universal Console > Capacity page. You will see the deployment status as “Deploying” and Horizon Edge gate status as “Connect Pending”. You may need to wait here couple of minutes until the status gets change.

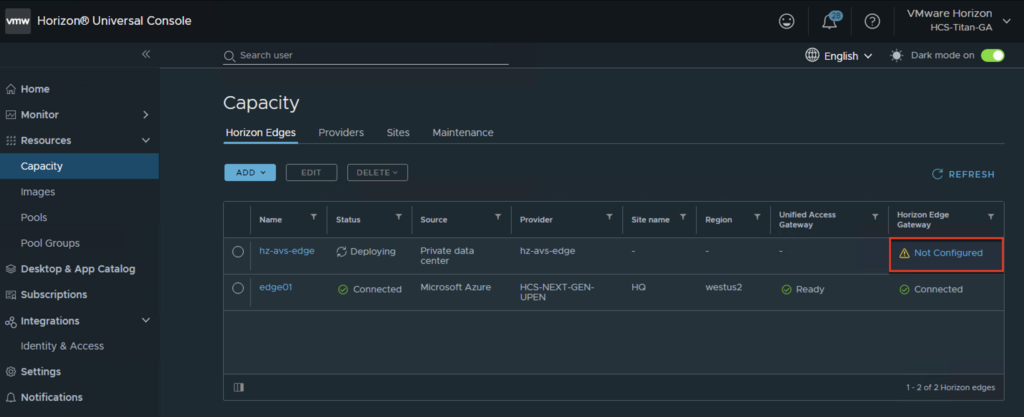
17. After couple of minutes you will see the status of Horizon Edge Gateway as “Not Configured”. Click on the hyperlink [Not Configured] then you will see Connection Server configuration page.
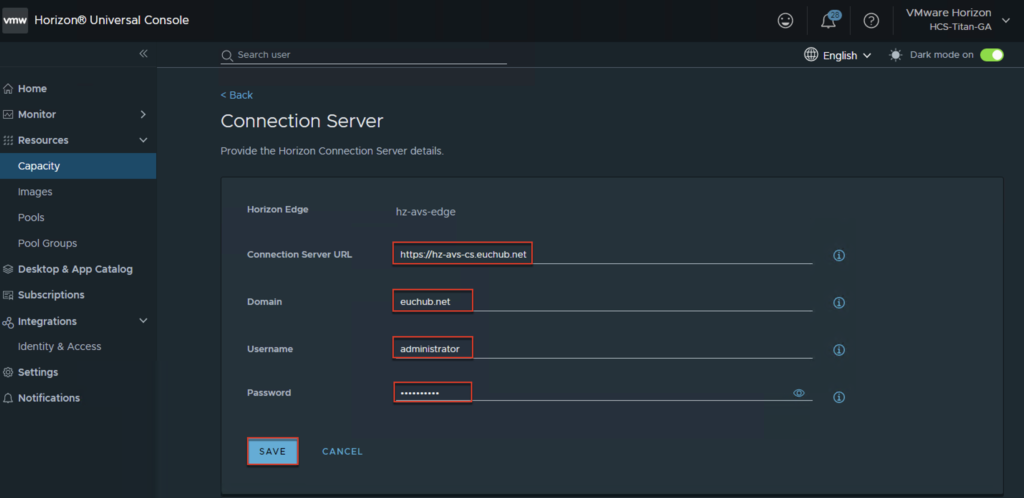
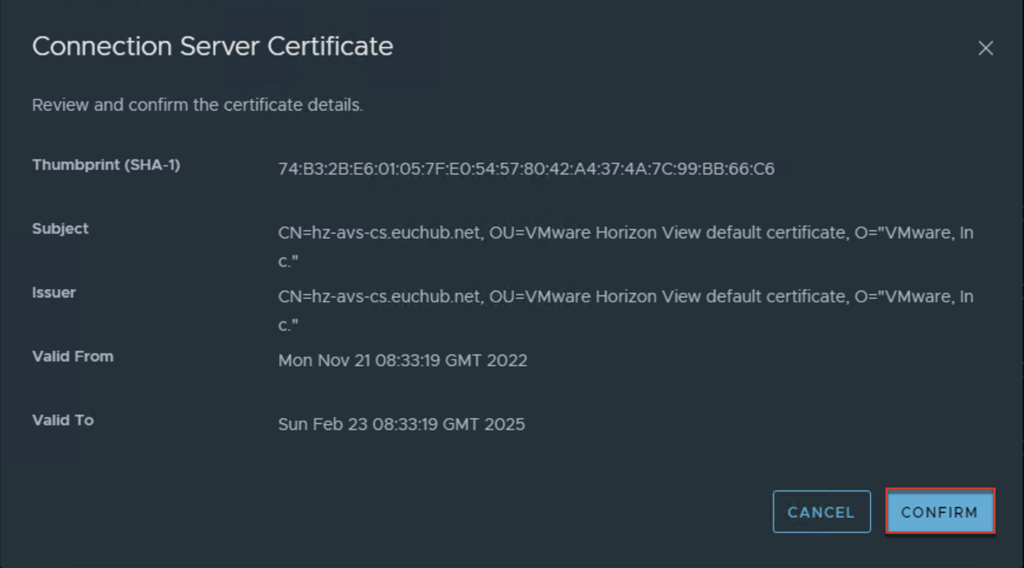
18. Define Connection Server URL, Domain and Username/Password > [Save] > Confirm Connection Server Certificate.
19. Navigate to Capacity page and confirm Horizon Edge status as “Connected” and green ticked.

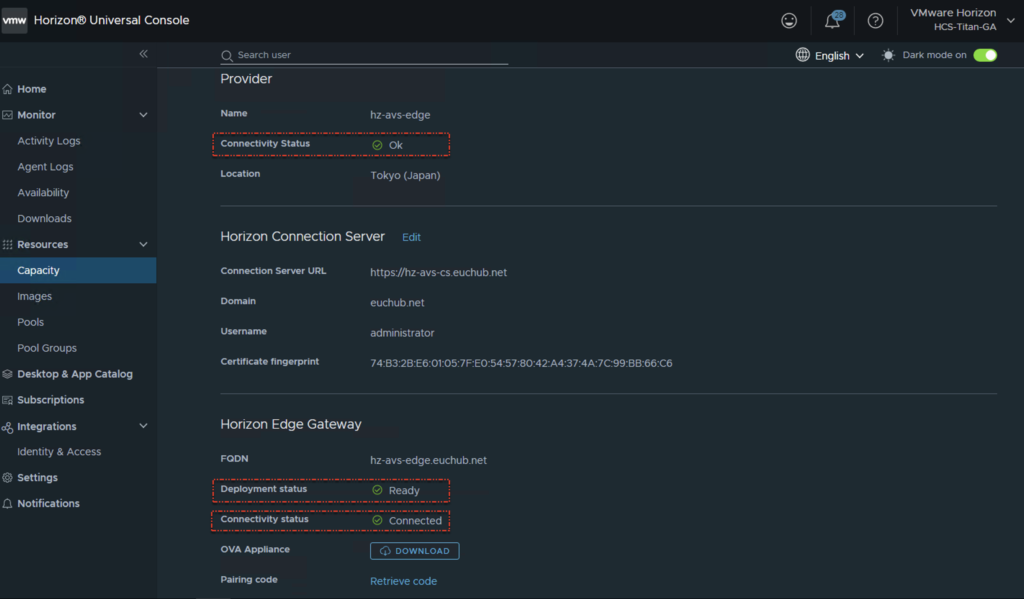
20. Click on the hyperlink of Horizon Edge name and confirm the detail. If the status of provider connectivity is showing [OK] , Horizon Edge Gateway deployment as [Ready] and Connectivity as [Connected], you are all set with the Horizon Edge deployment.
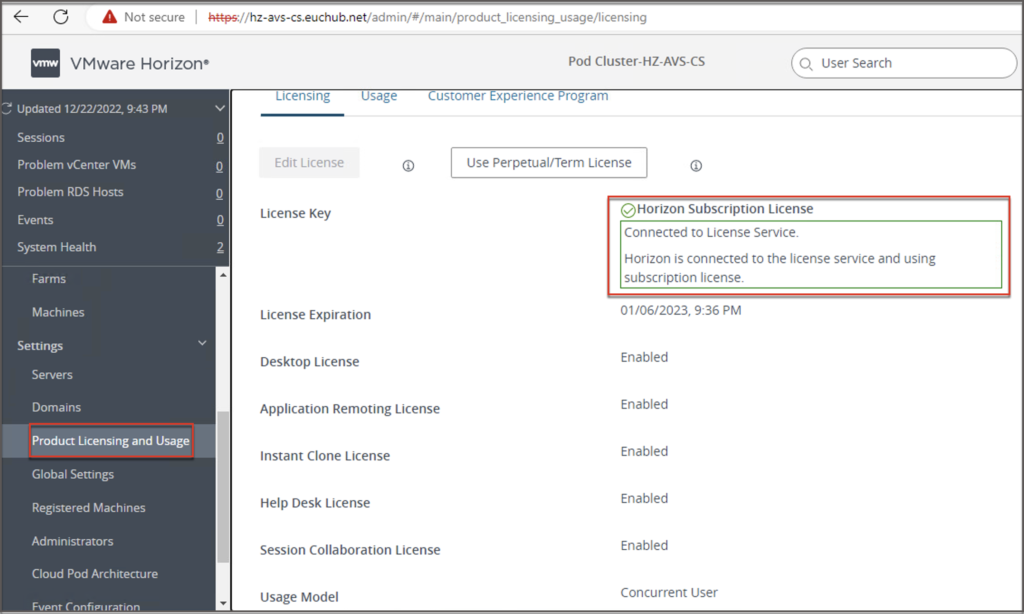
21. Log into your Horizon Connection Server admin console> navigate to [Product Licensing and Usage] under [Settings] section and verify your Horizon POD is licensed with Subscription License!!!
![]()