Introduction
As VMware by Broadcom (as of publishing this post) has announced the End of Service (EOS) of Horizon Cloud Service (HCS) First Gen, the existing customers are being migrated to HCS – Next Gen. VMware provides the self-service migration tool for the seamless migration which takes care of all the existing images and pools including users entitlements migration. However, some of the customer does not want to use the self-service migration tool for valid reason and manually deploys the Next Gen Edge in parallel but wants to utilize the images in Next Gen those are currently being used in First Gen.
In this post, I will cover the use-case of the customer who manually deploys the Next Gen Edge in brand new Azure Subscription and move the exiting images to Next Gen Edge which are associated with First Gen POD/Azure subscription. Images need to be moved across the Azure subscriptions.
Prerequisites
1) Read and Write access (i.e. contributor access) to create VMs in the provider (Azure Subs) specific resource group in HCS – Next Gen (i.e., vmw-hcs-<provider-id>-base-vms>) from Microsoft Azure SIG of HCS First Gen subscription.
2) The Azure region of the VM should be the same as the HCS – Next Gen (v2) provider’s region.
Work Flow
We will perform below steps.
1) Capture and upload the First Fen published images to Microsoft Azure Shared Image Gallery (SIG).
2) Create a Virtual Machine from SIG image to HCS – Next Gen Azure Subscription on a specific resource group used for Next Gen Image. The Next Gen image Resource Group name format should be like < vmw-hcs-xxxxx-base-vms >
3) Remove the Windows registry keys which are related to First Gen.
4) Import the Virtual Machine created in steps-2 to HCS – Next Gen as Microsoft Azure Custom VM.
5) Publish the image in HCS – Next Gen.
Let`s start…
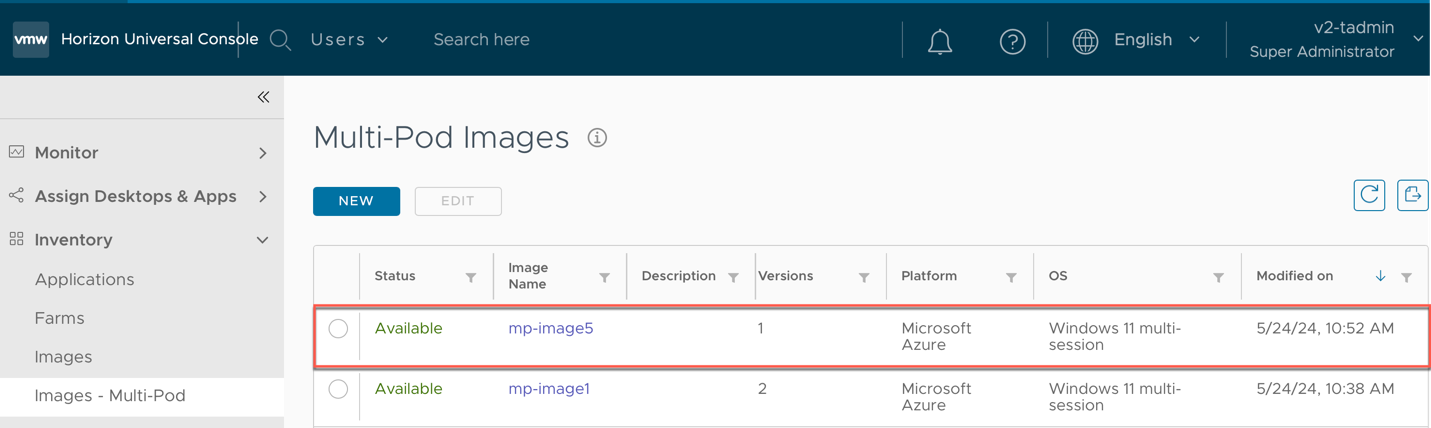
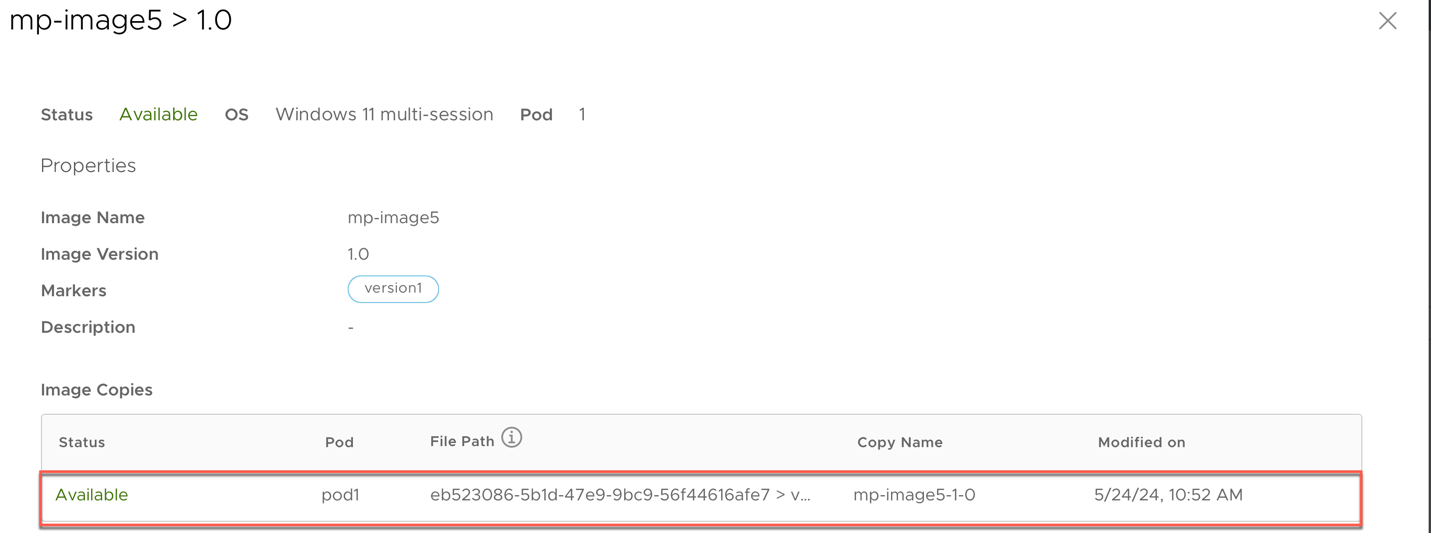
Step-1: Log into your Horizon Cloud on Azure First Gen administrator console and identify the images Name, version and image copy name that need to be moved to Next Gen Azure Subscription. In HCS Next Gen, Azure Subscription is also called as “Provider”. Just FYI 🙂
In my case image name = mp-image5, version = 1.0, image copy name = mp-image5-1-0

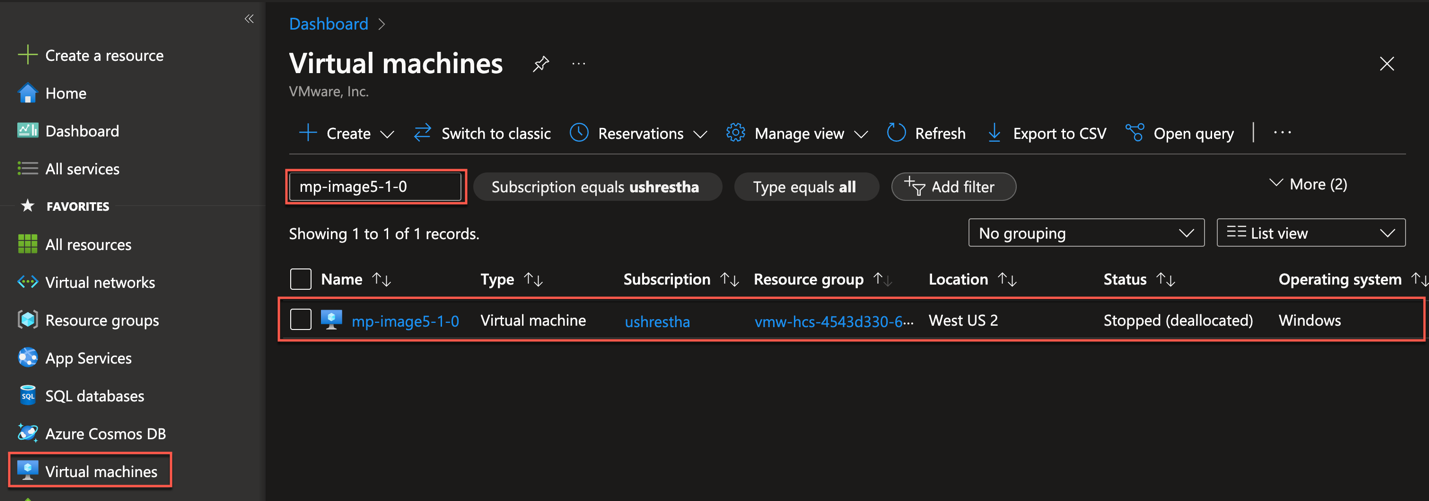
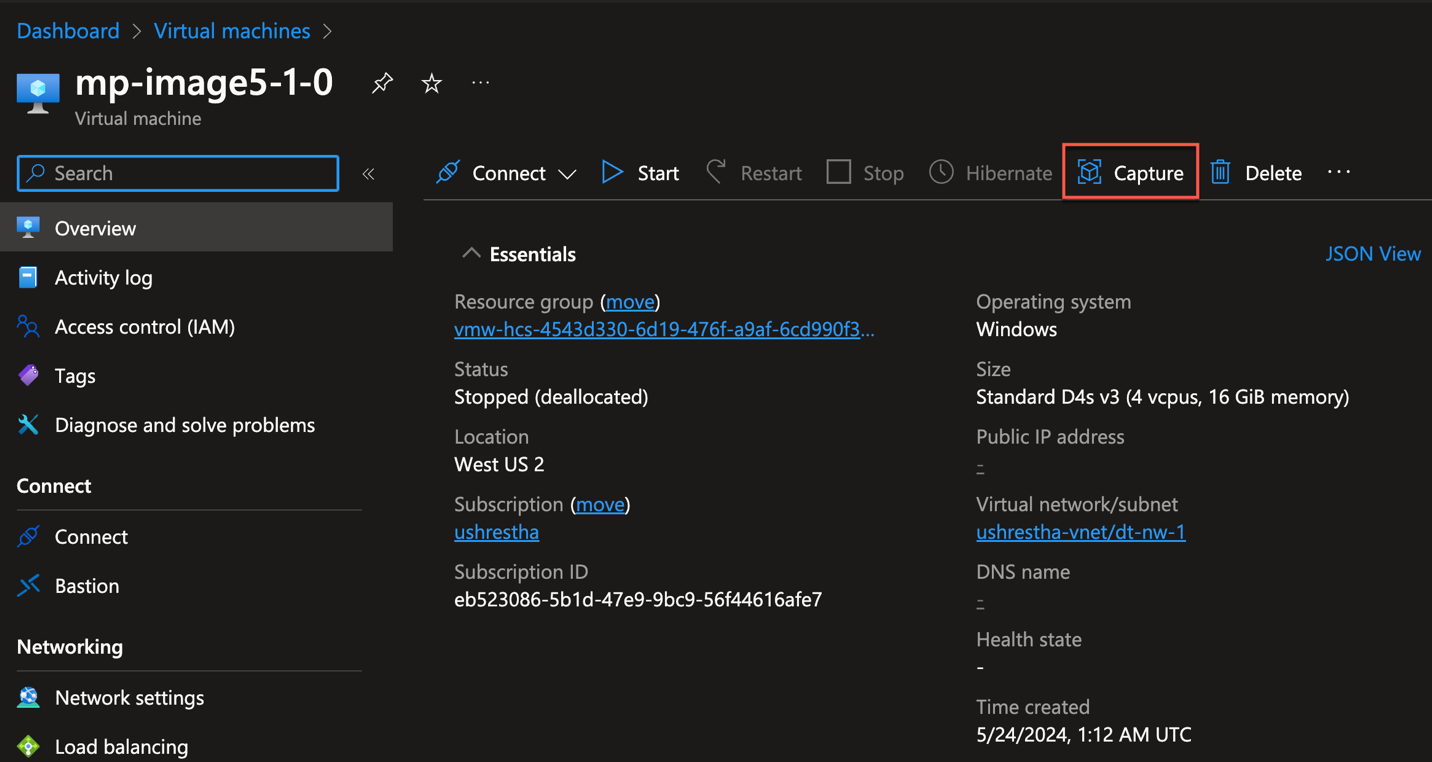
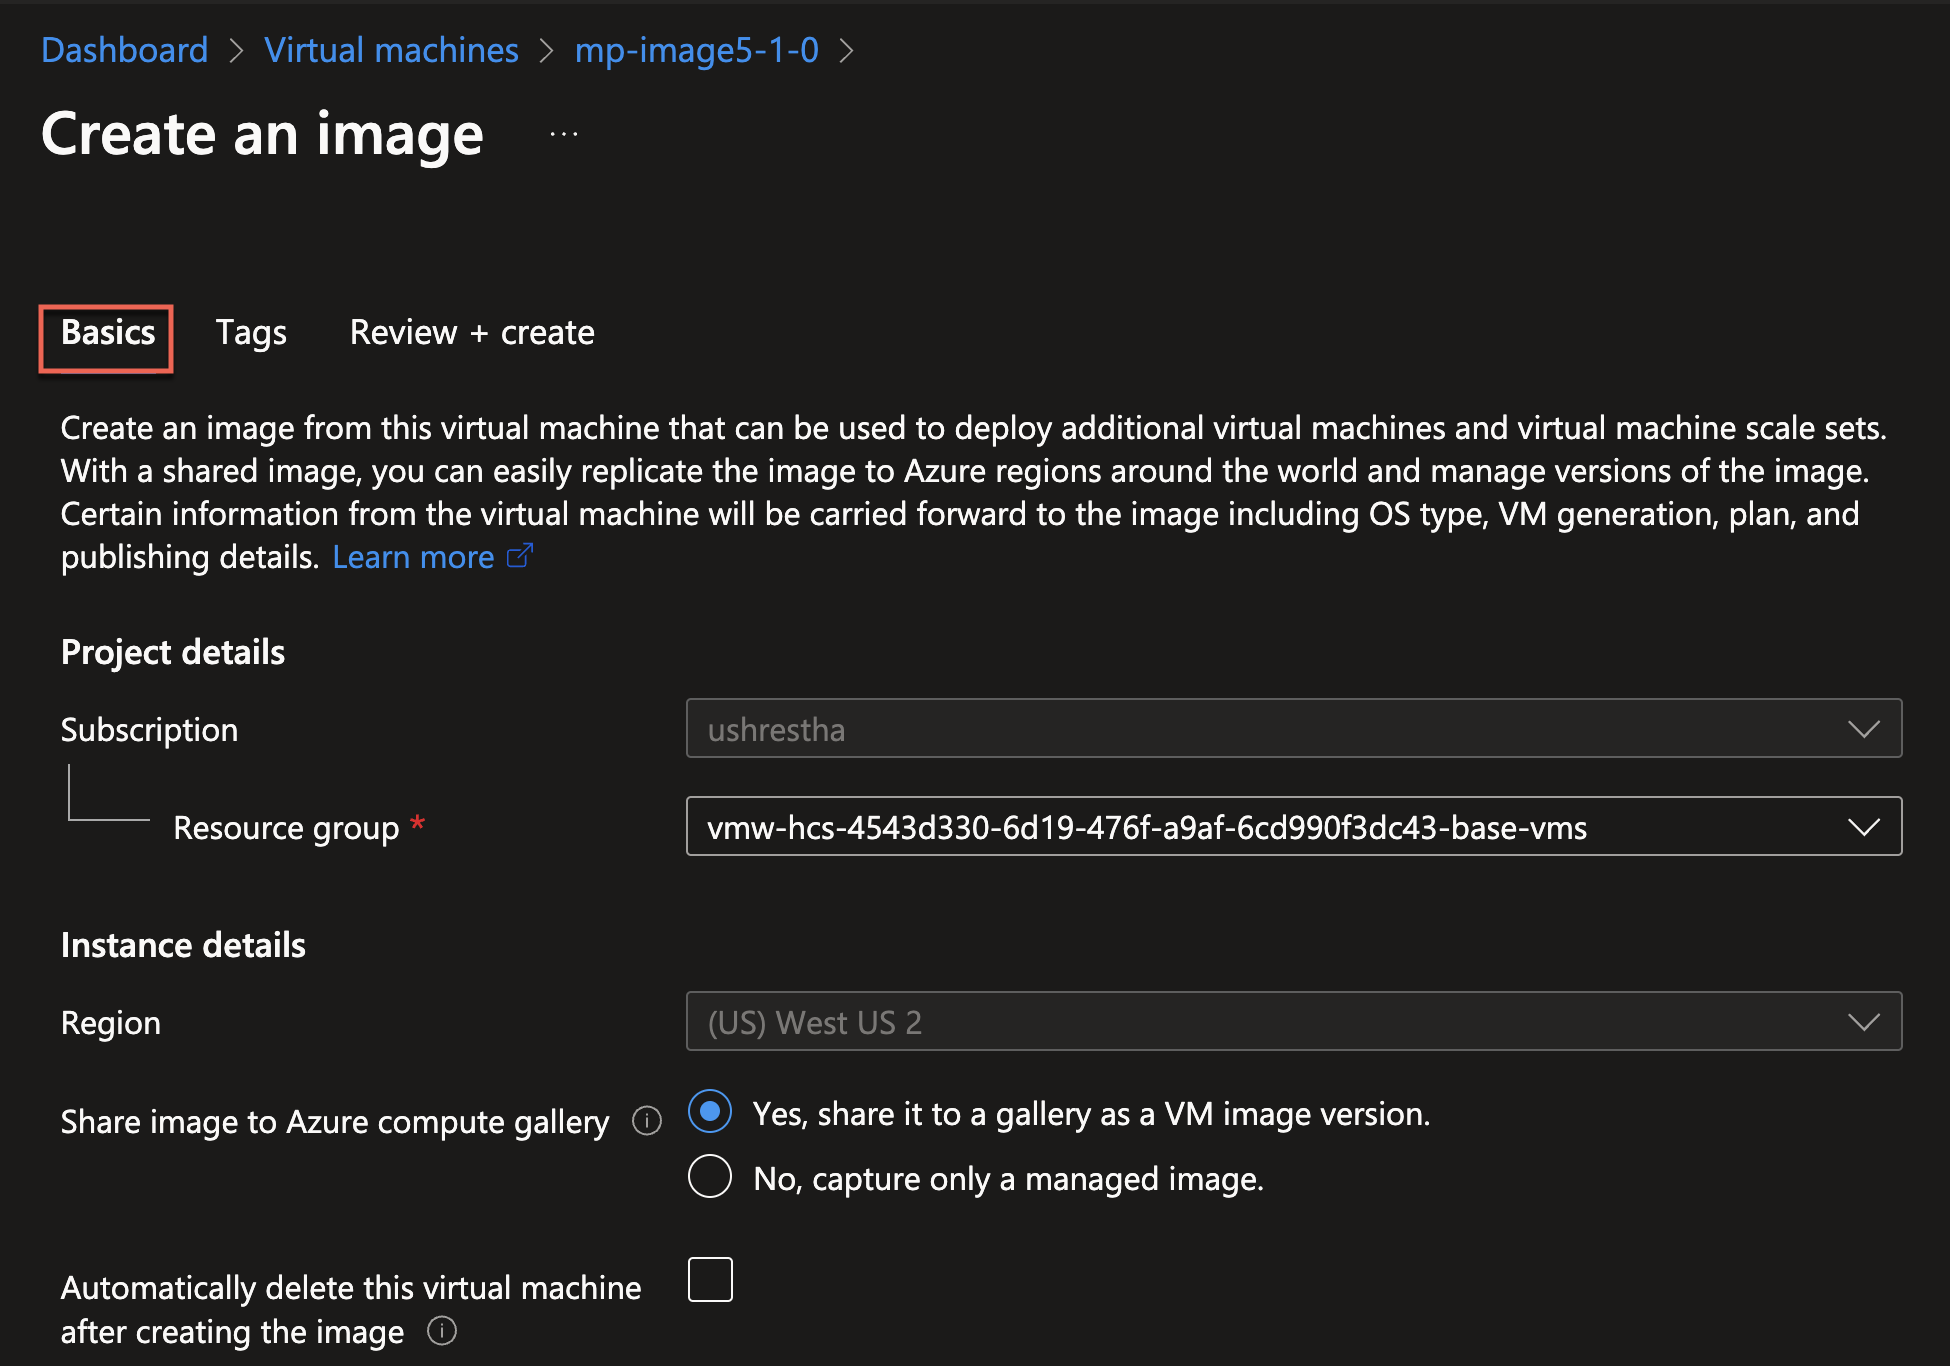
Step-2: Log in to your First Gen Azure Subscription > navigate to [Virtual Machine] > find the image virtual machine name > click on [Virtual Machine] name > select [Captuer].
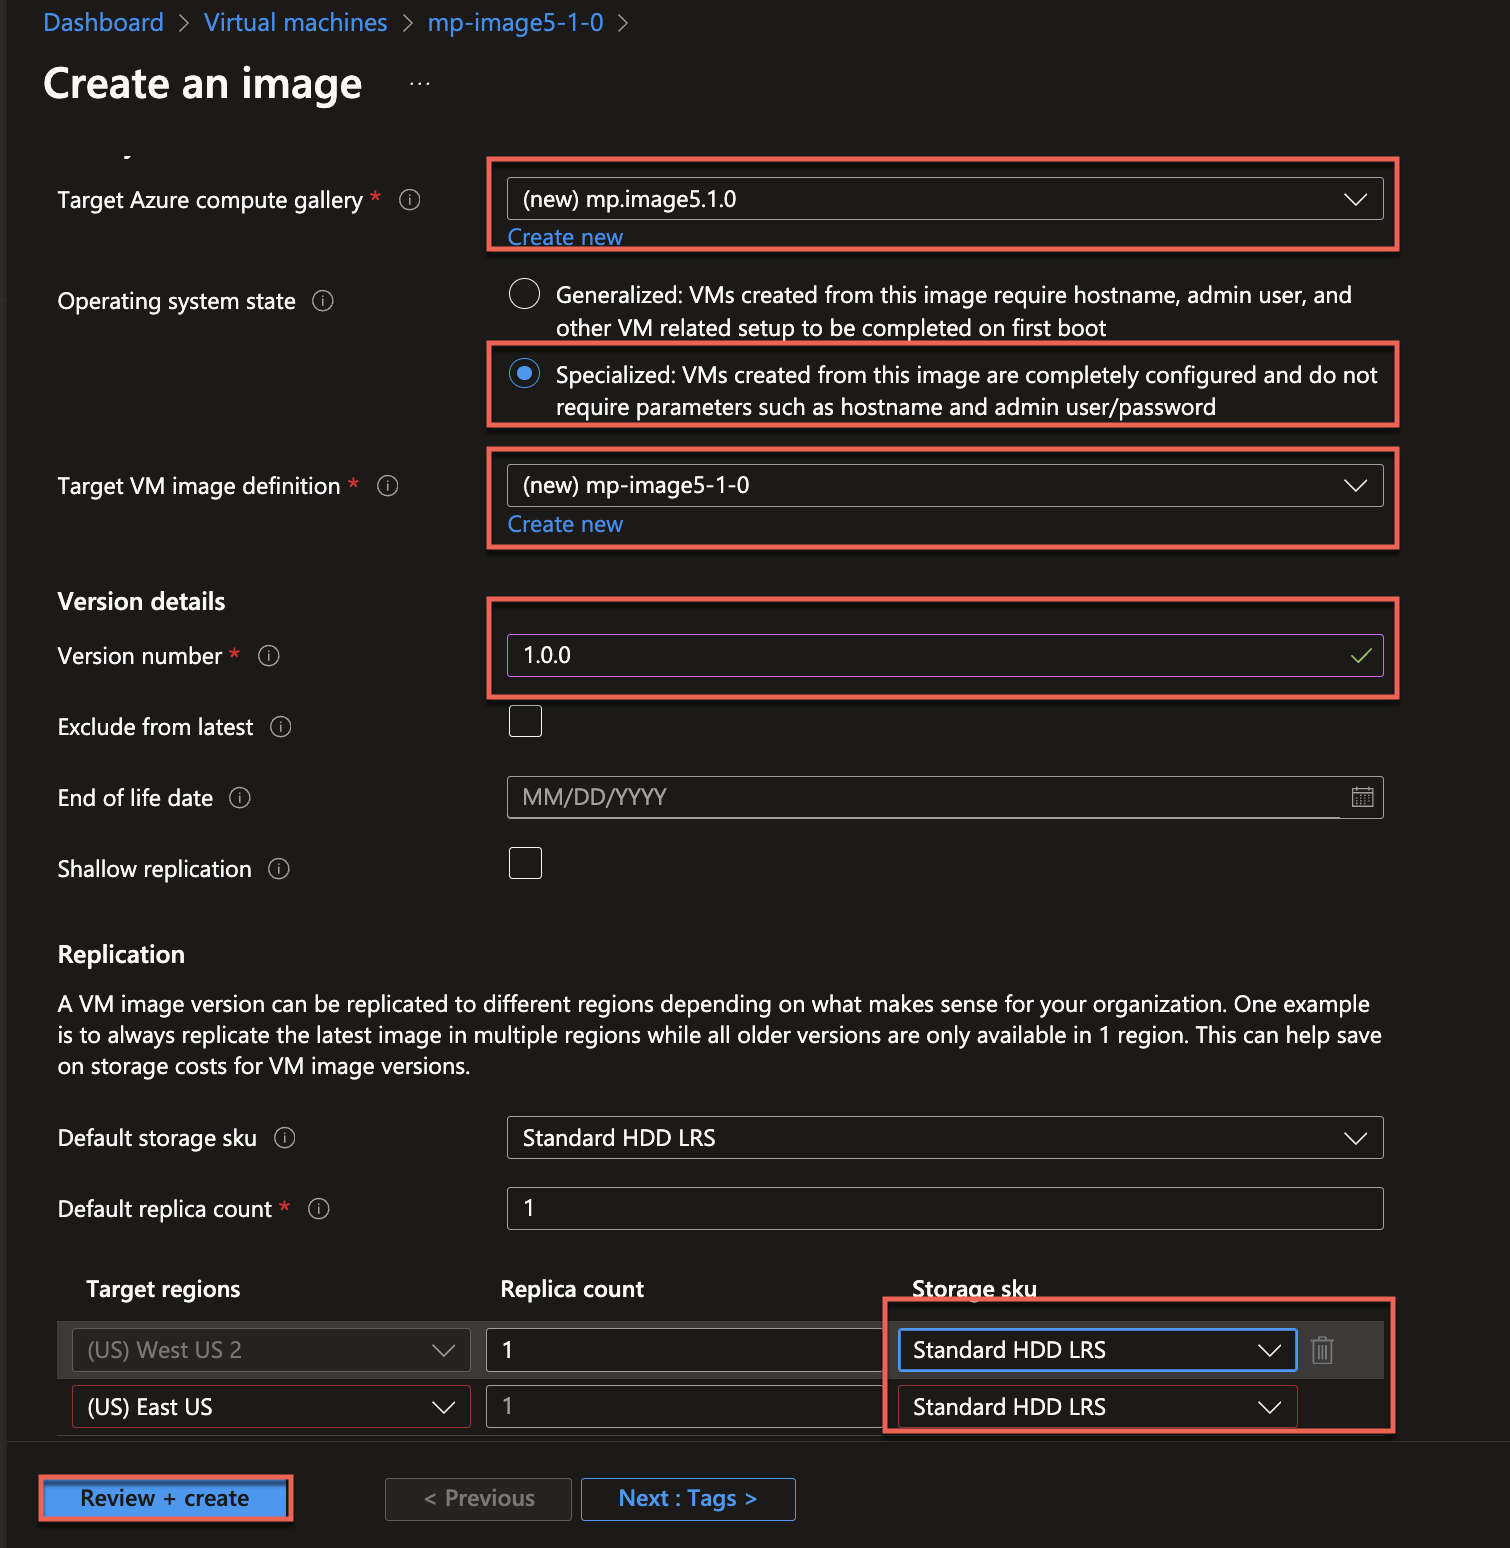
In next page > navigate to [Basics] menu > give the name for [Target Azure Compute Gallery] > Operating System State= Specialized (this is must) > give the name for [Target VM Image Definition] > give [Version Number] > Default replica count =1 > Storage sku = Standard HDD LRS > select [Verify] and [Create].
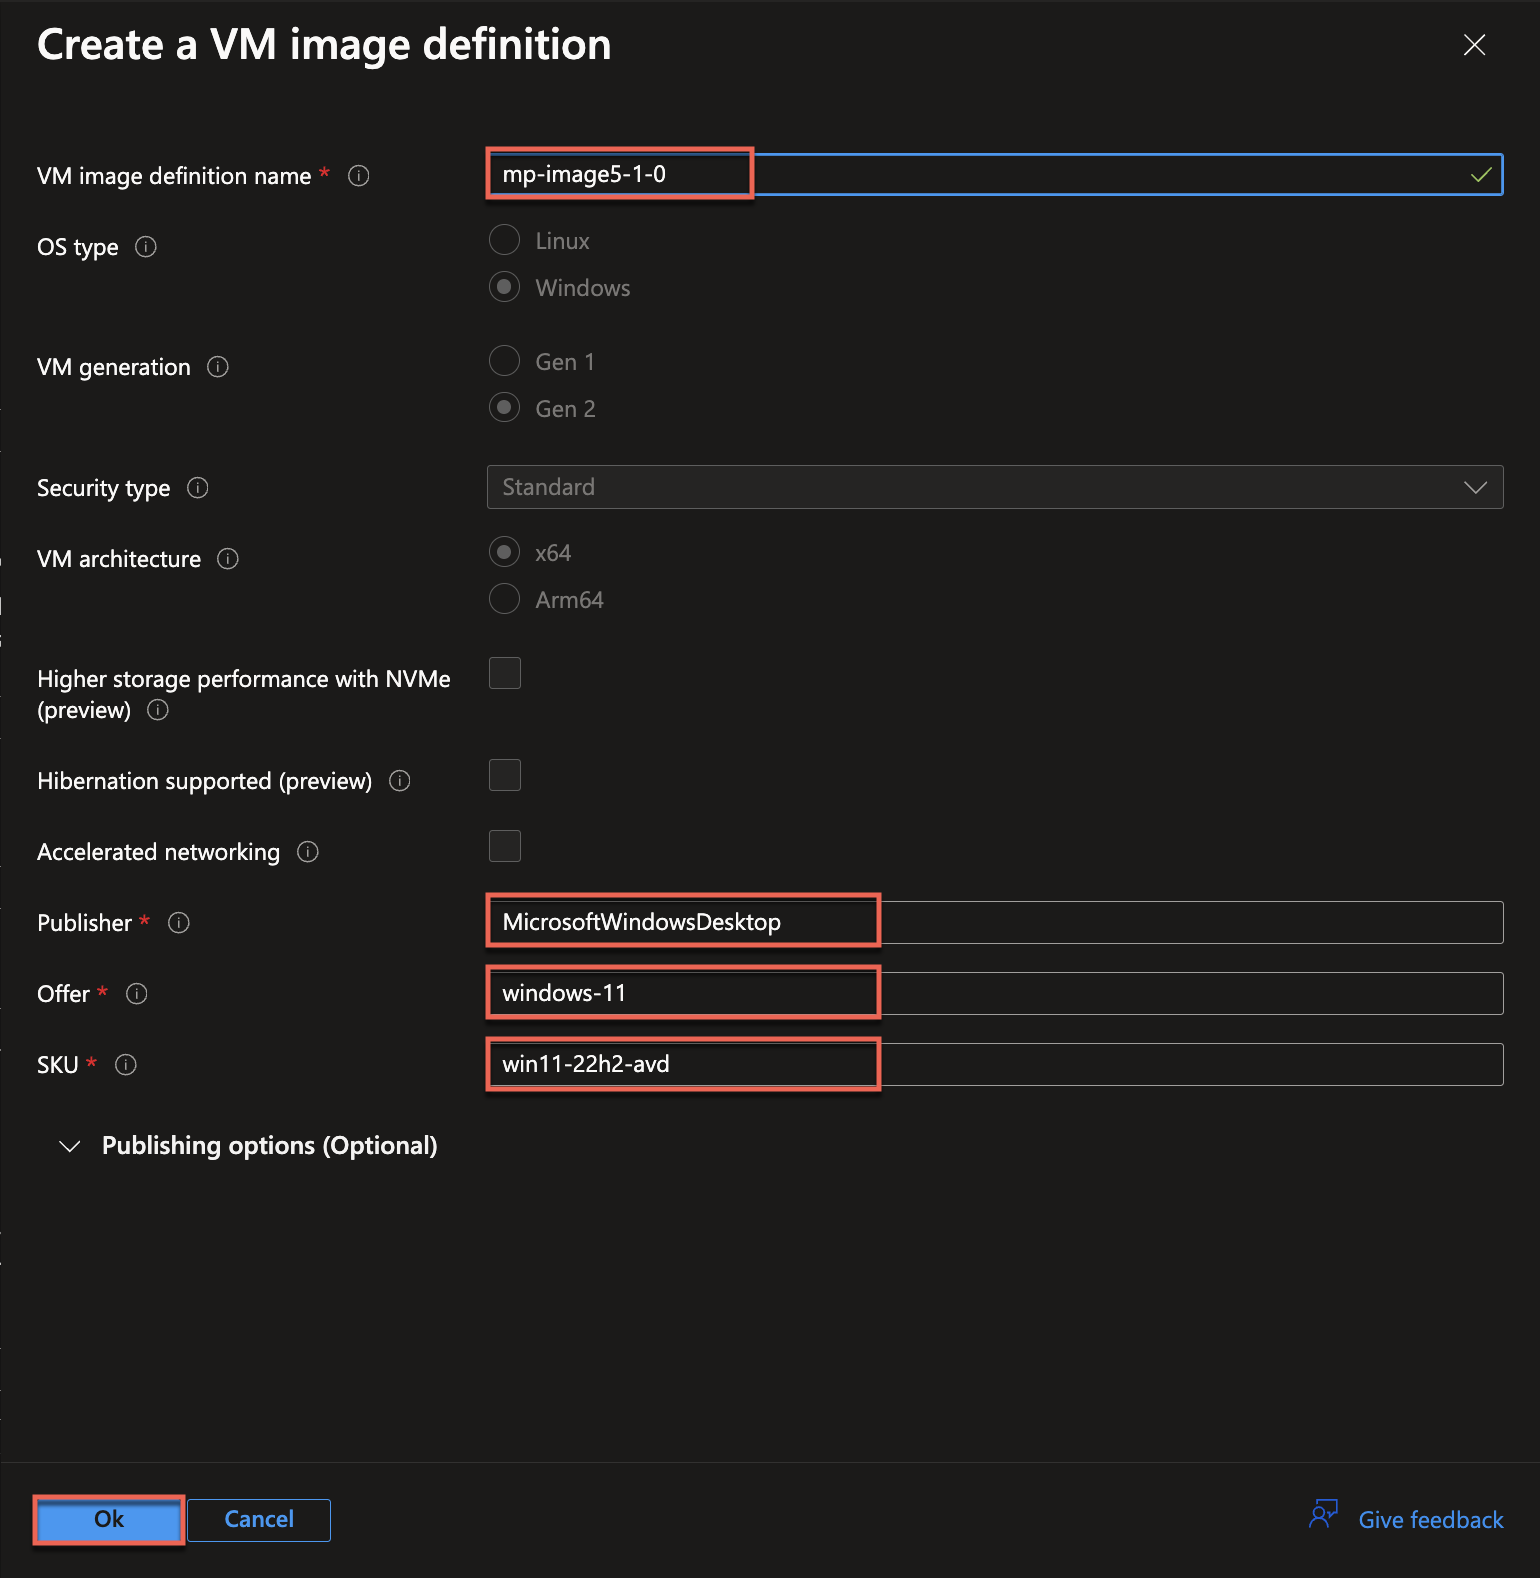
The “Target VM Image Definition” should be like below.
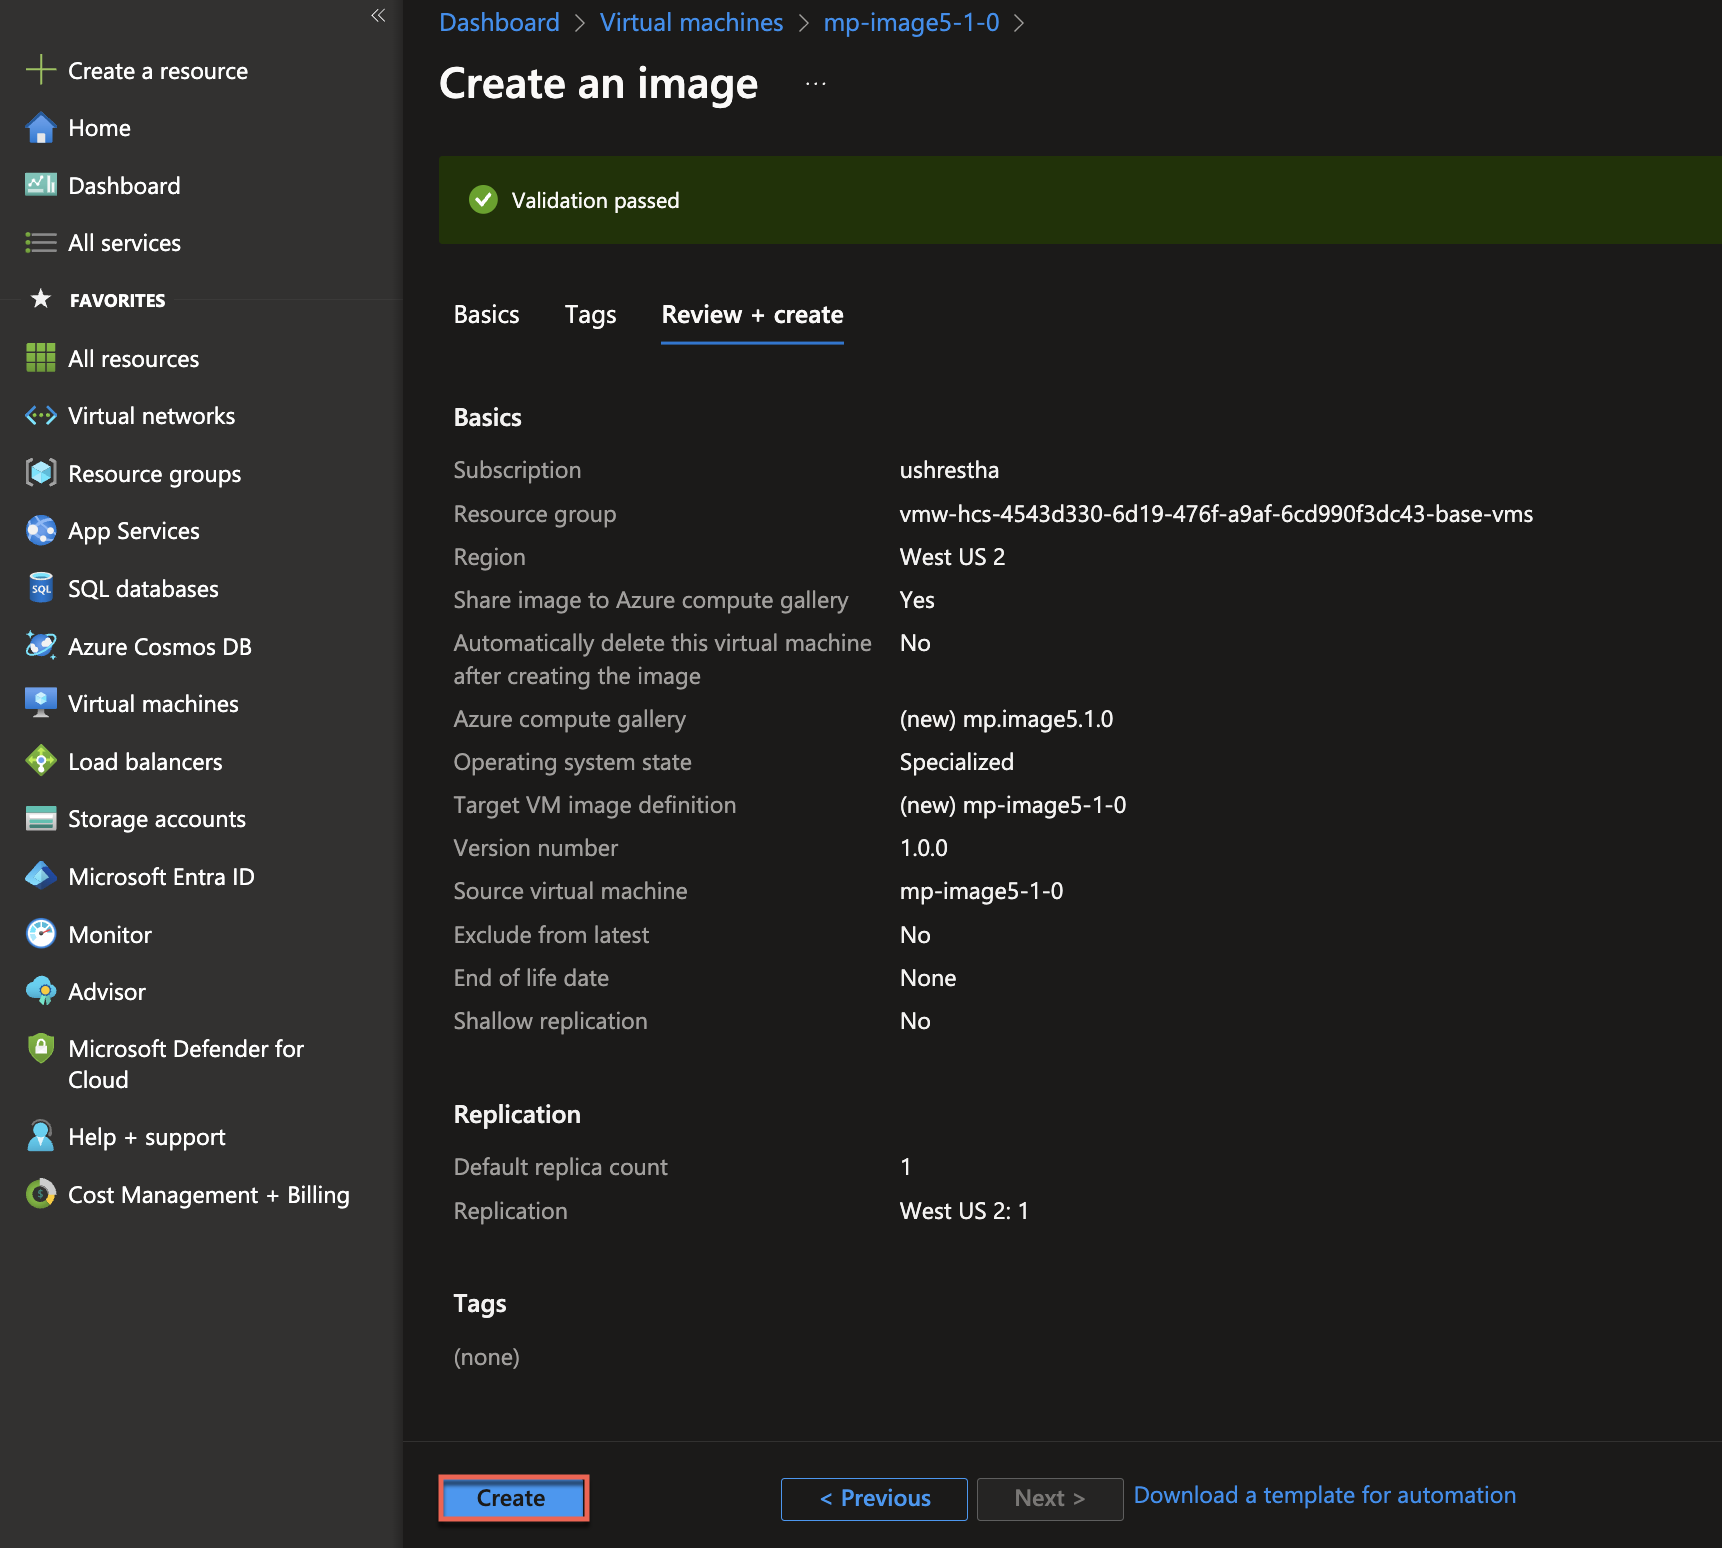
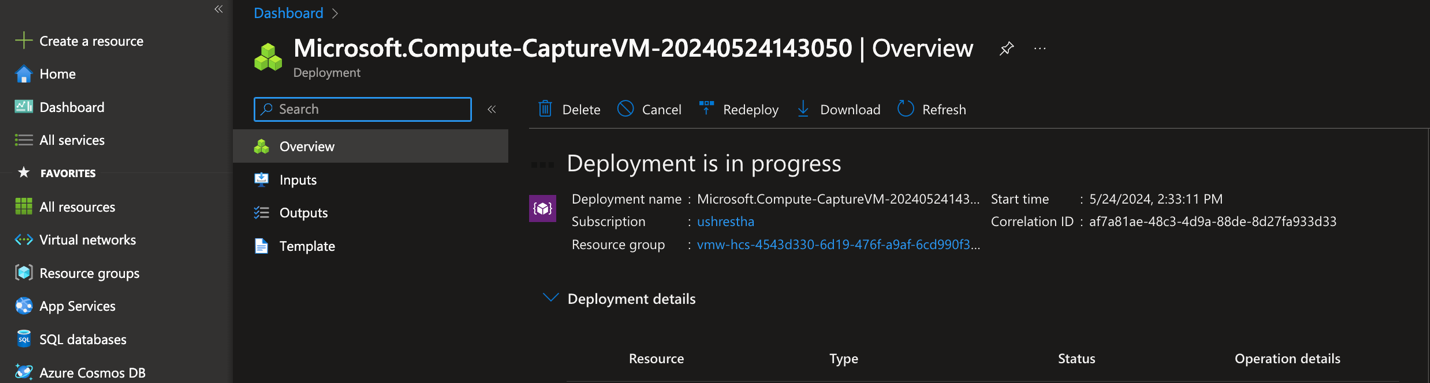
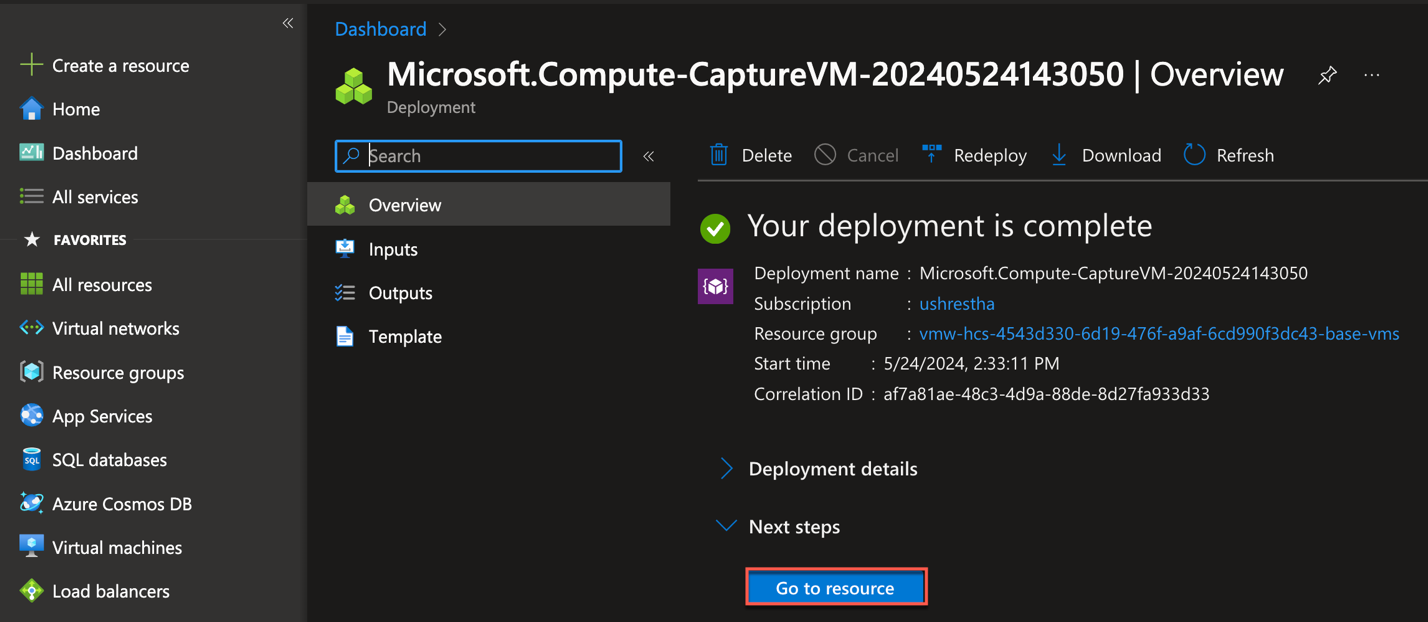
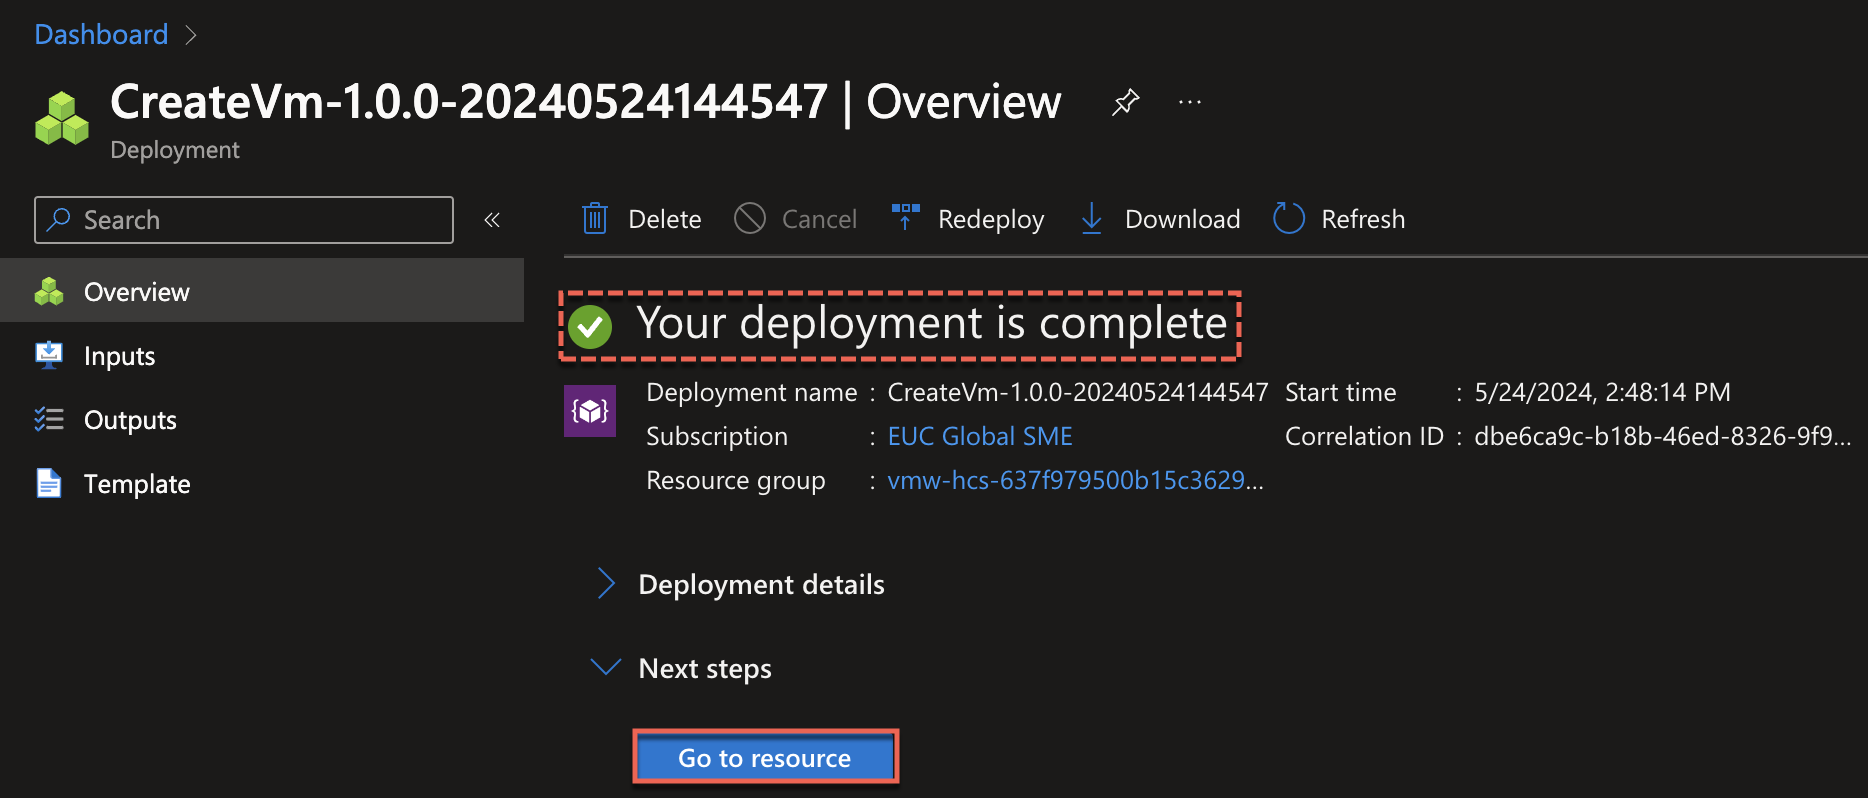
Confirm your Deployment completed successfully and select [Go to resource].
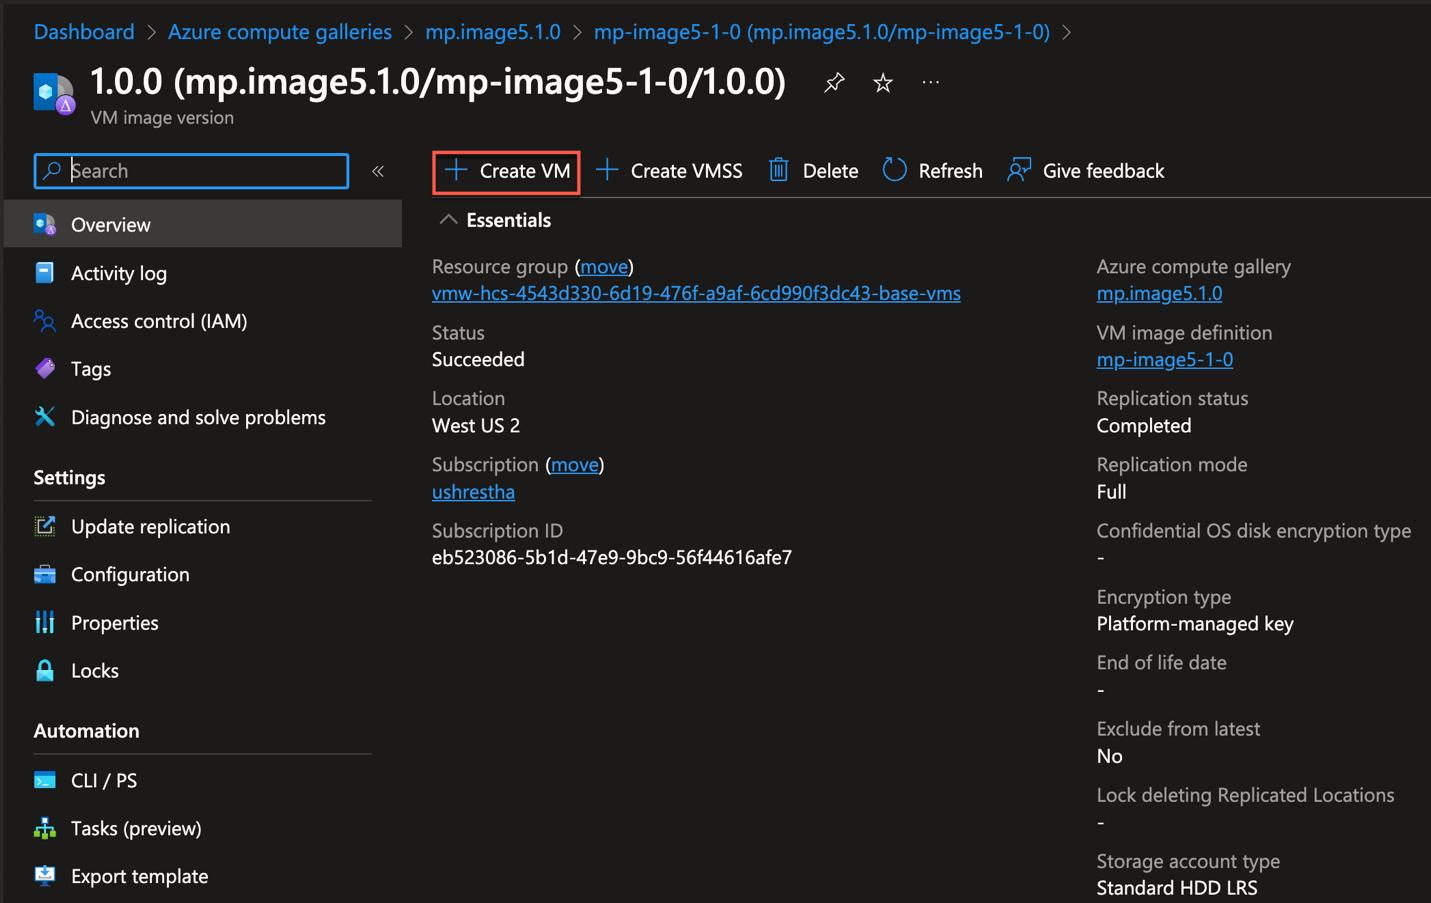
Step-3: Click on [Create VM]
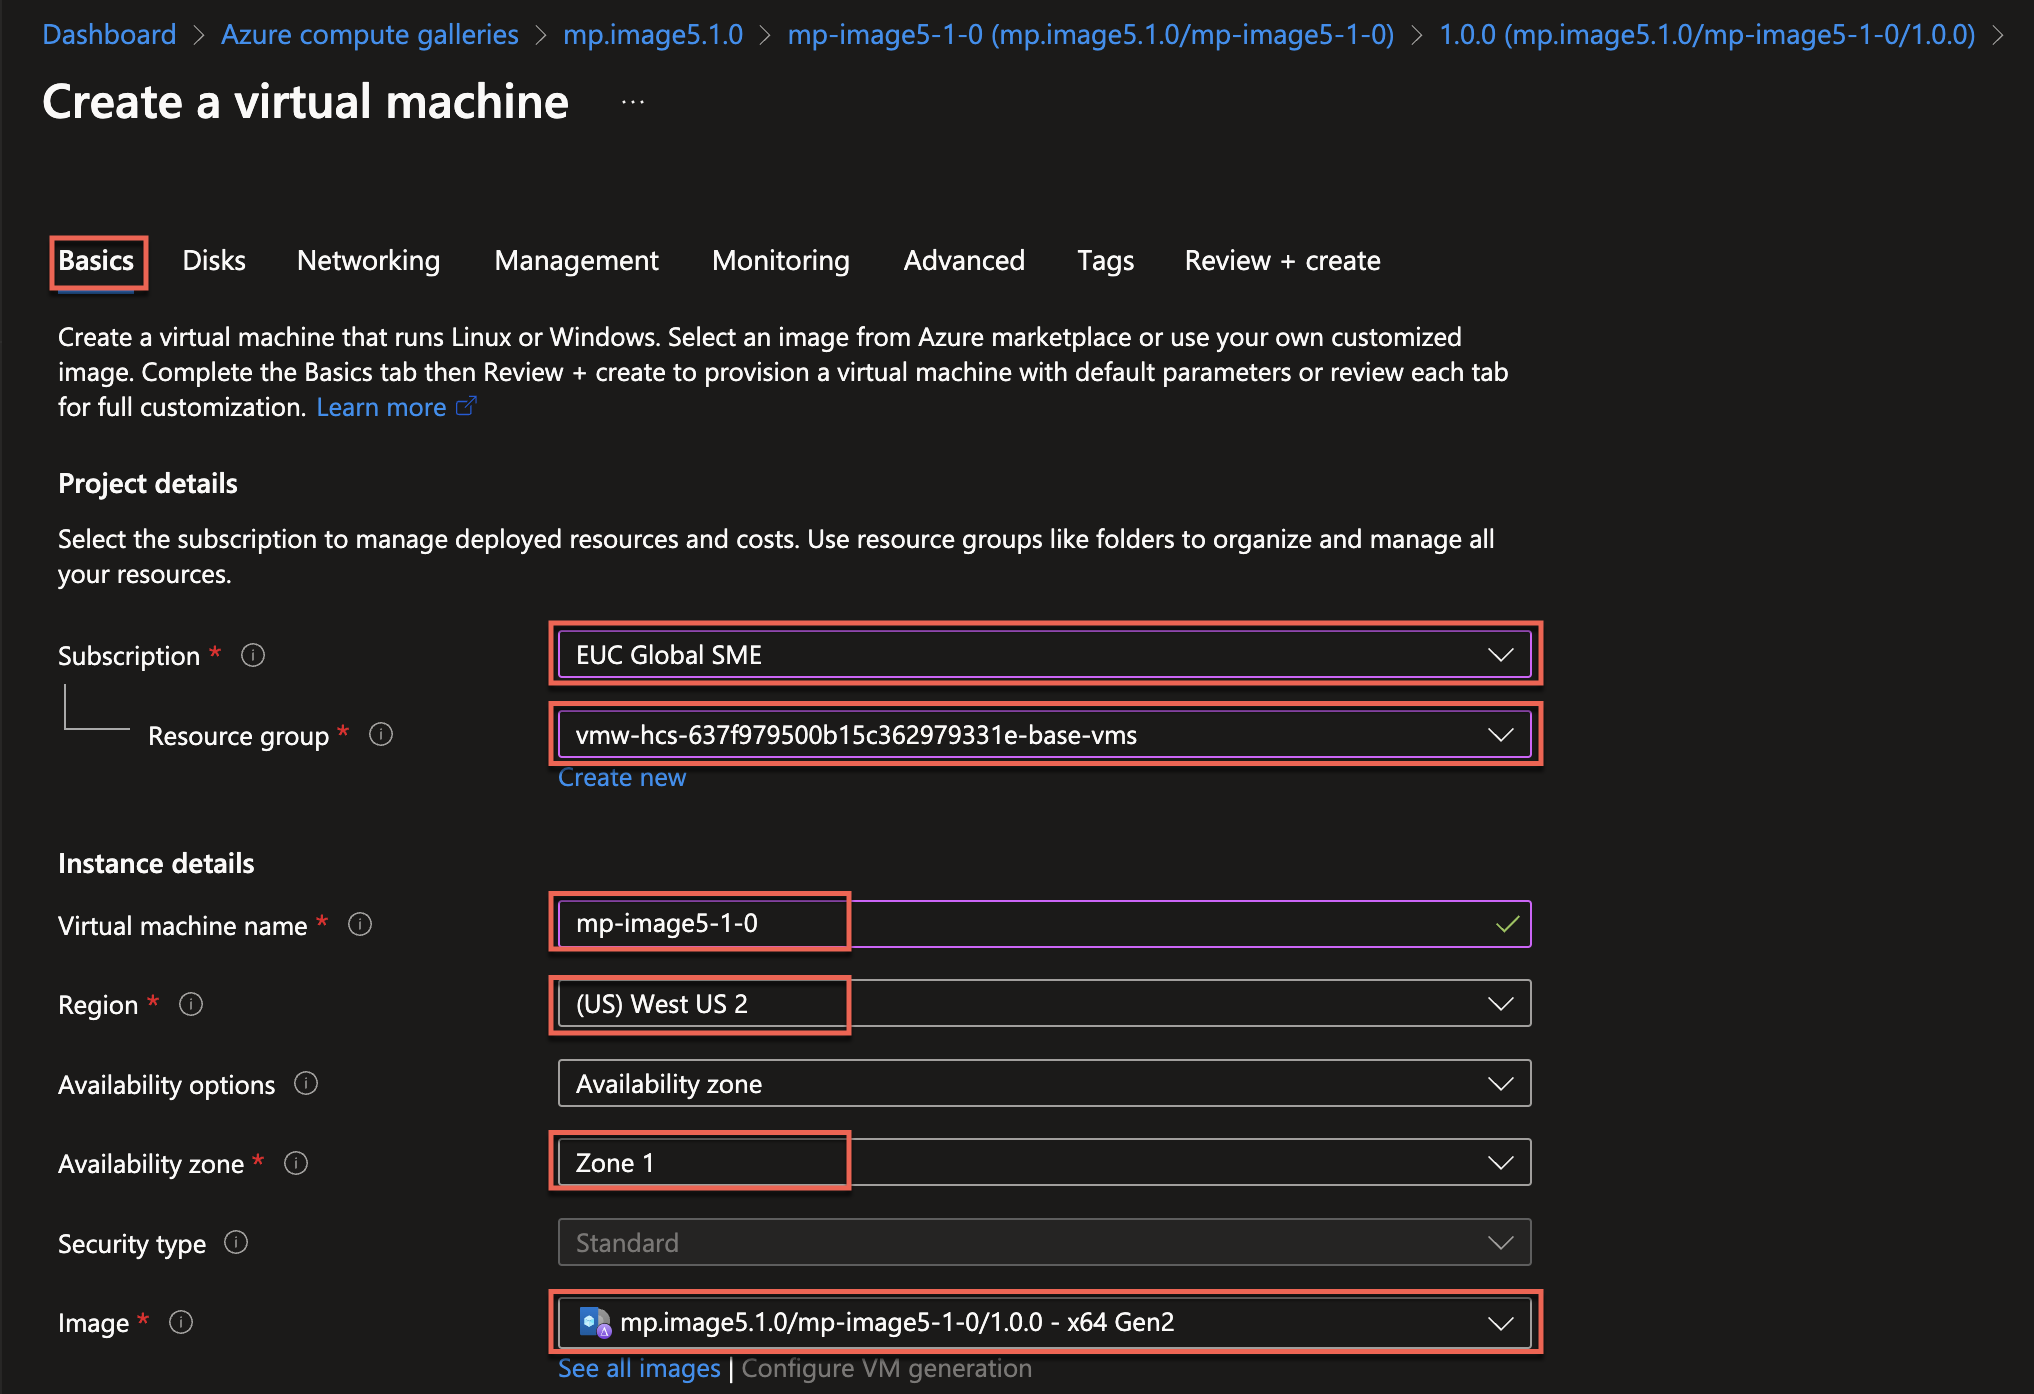
In Project details section, select the Azure subscription being used for Next Gen Edge and select the resource group name of Next Gen images. Resource group name starts with “vmw-hcs” and ends with “base-vms”.
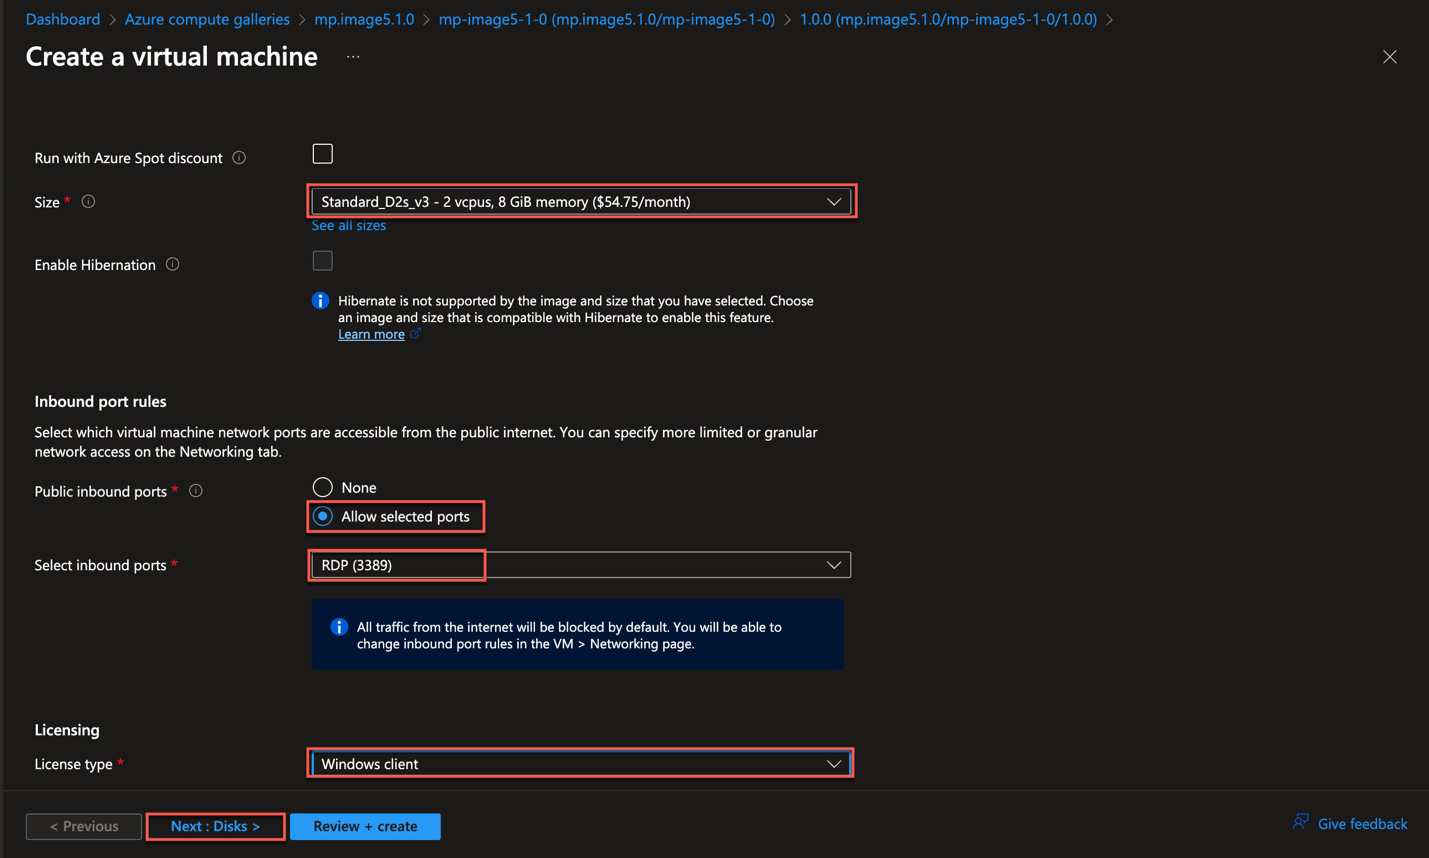
Provide the detail of [Virtual machine name], [Region], [Availability options] is optional and select the SIG image that you created in step-2, VM size and allow RDP.
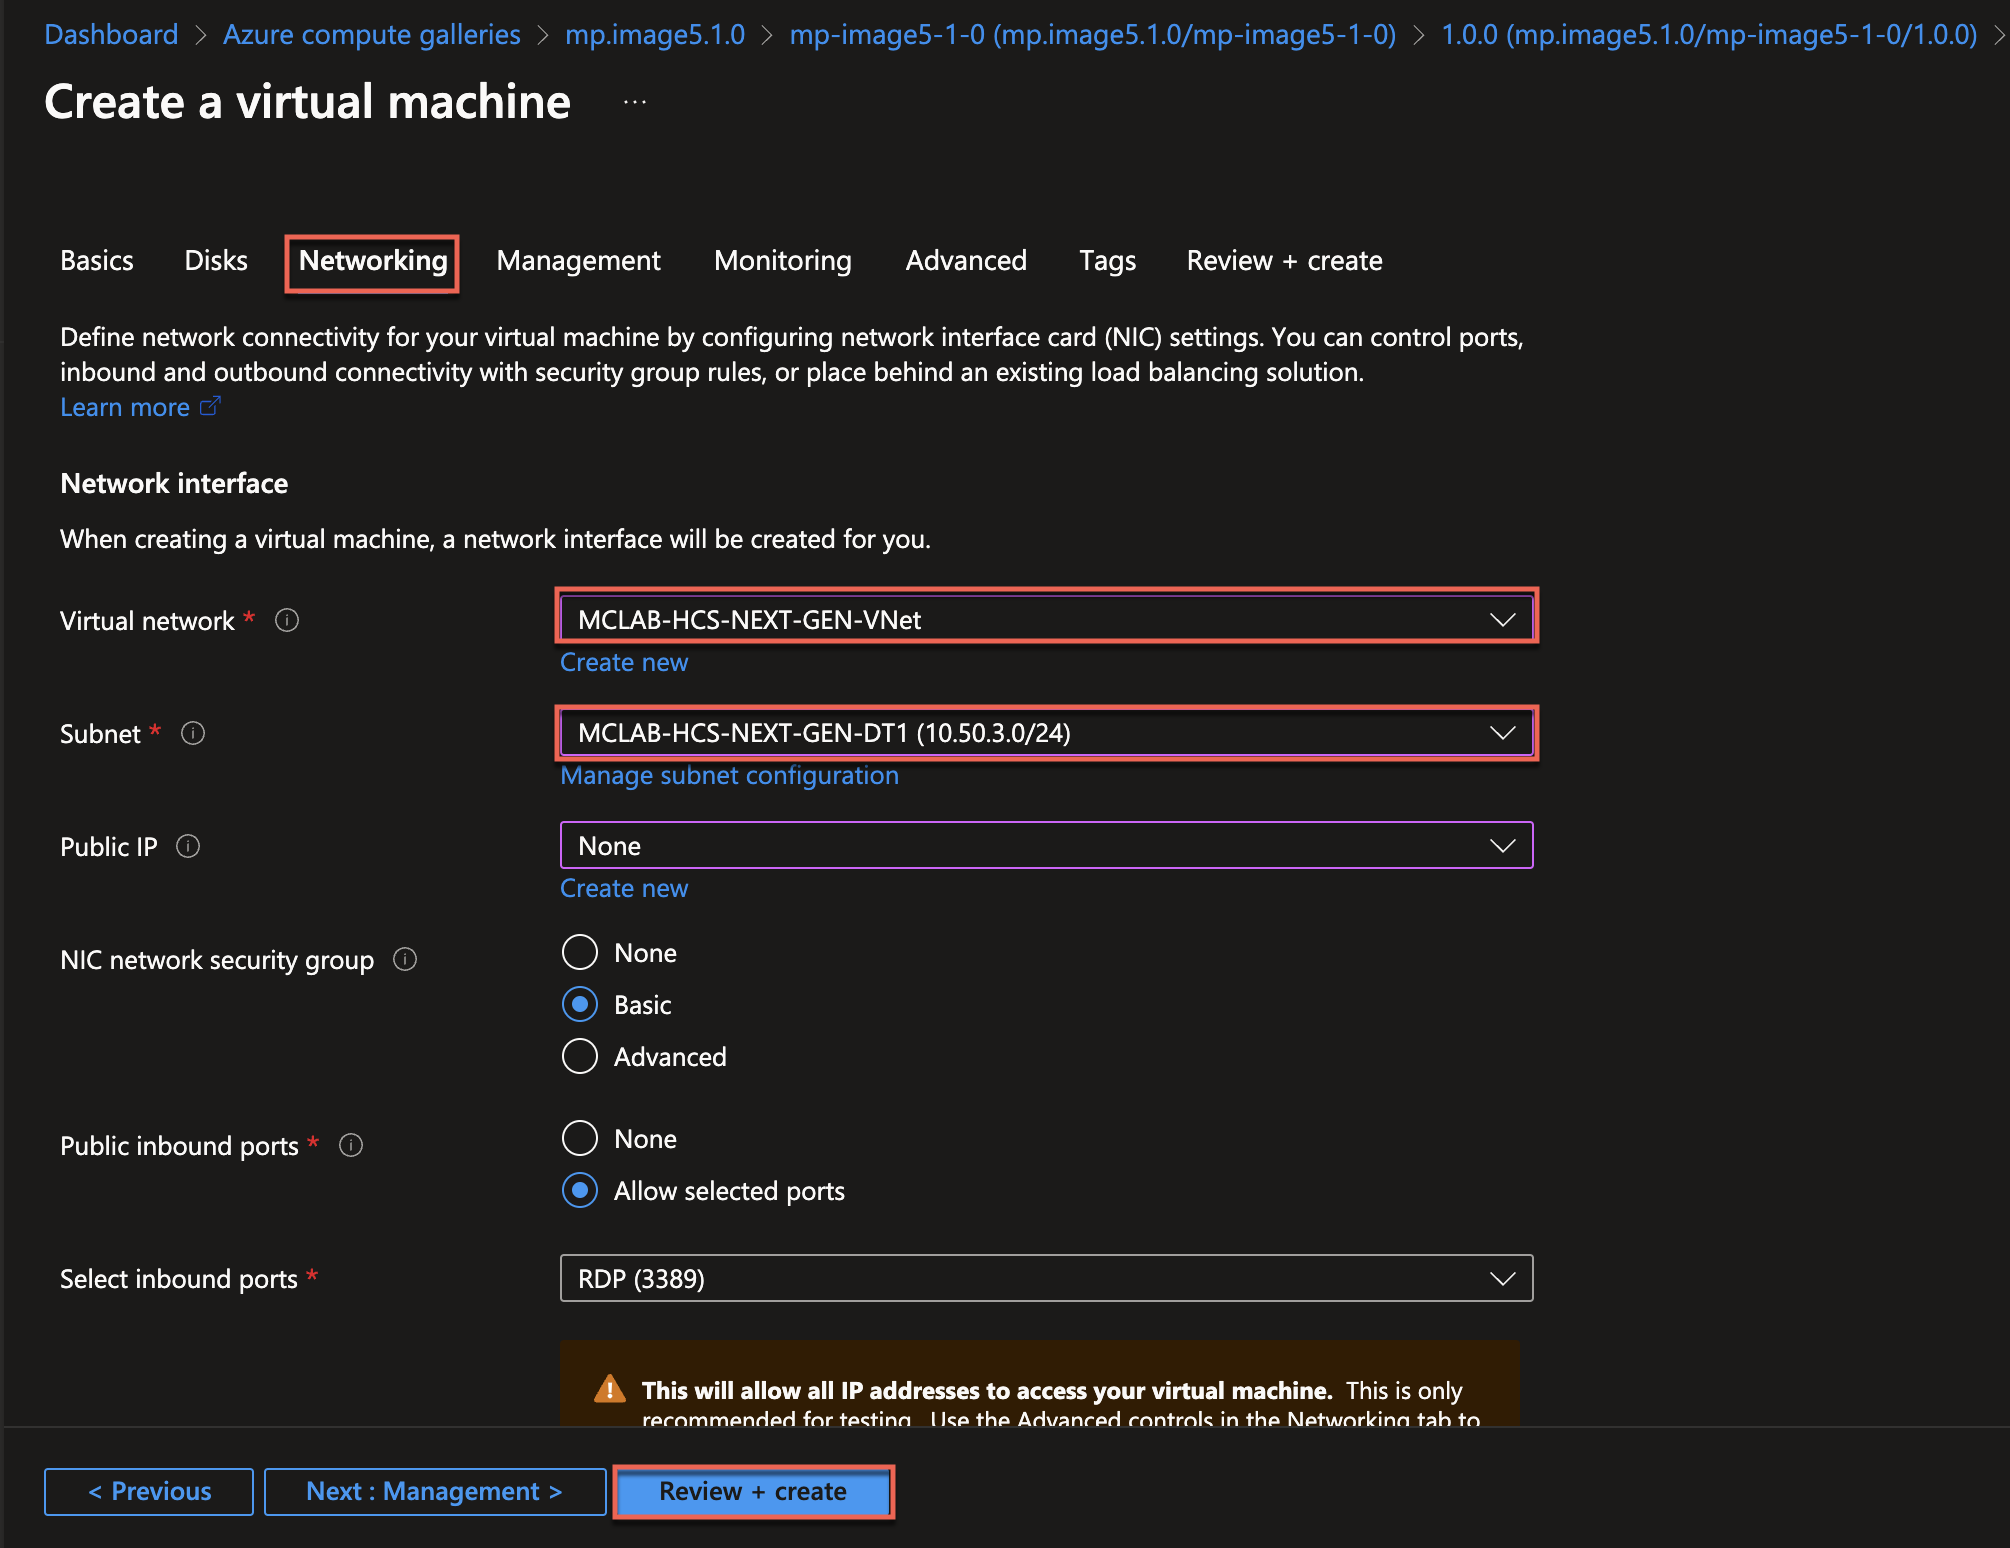
Navigate to [Networking] tab > select the [Virtual Network] used for Next Gen > select the desktop [Subnet] > Allow RDP > click on [Review + Create].
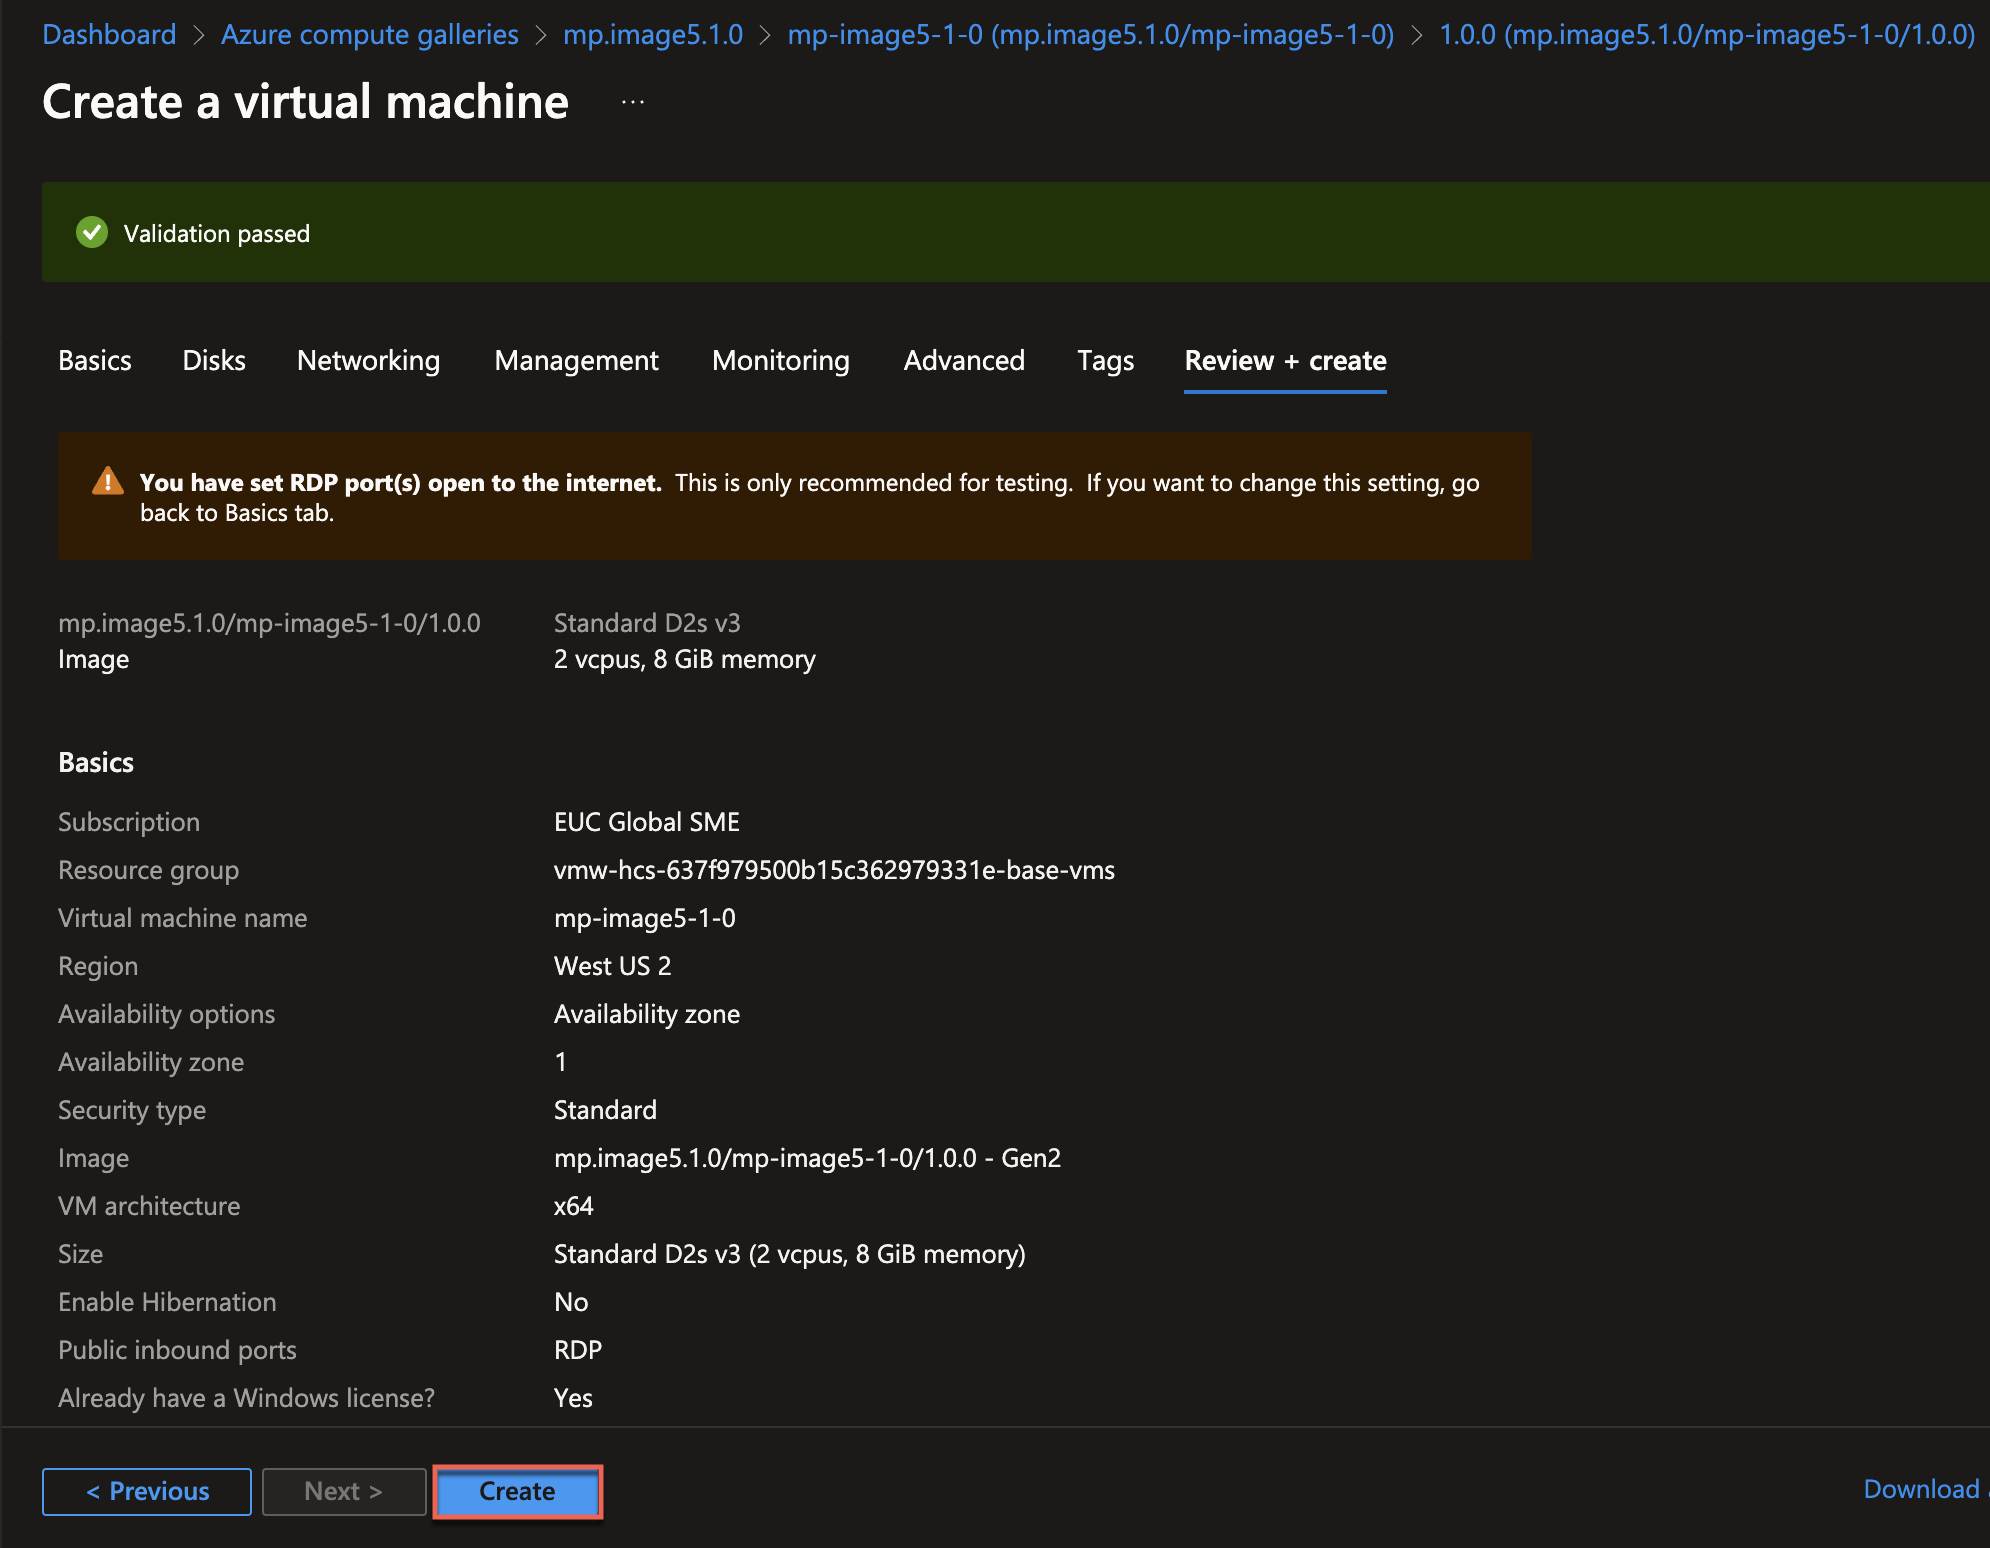
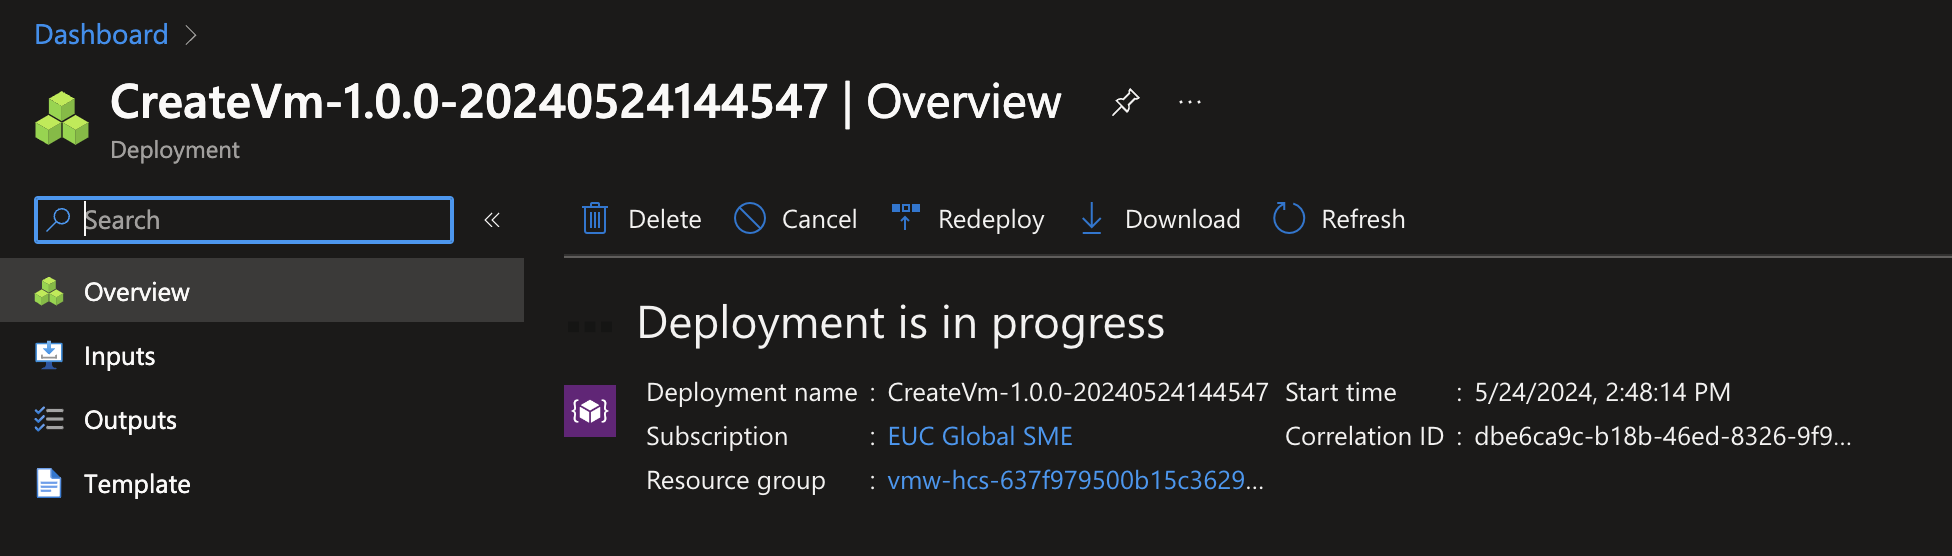
Confirm creating VM is completed successfully.

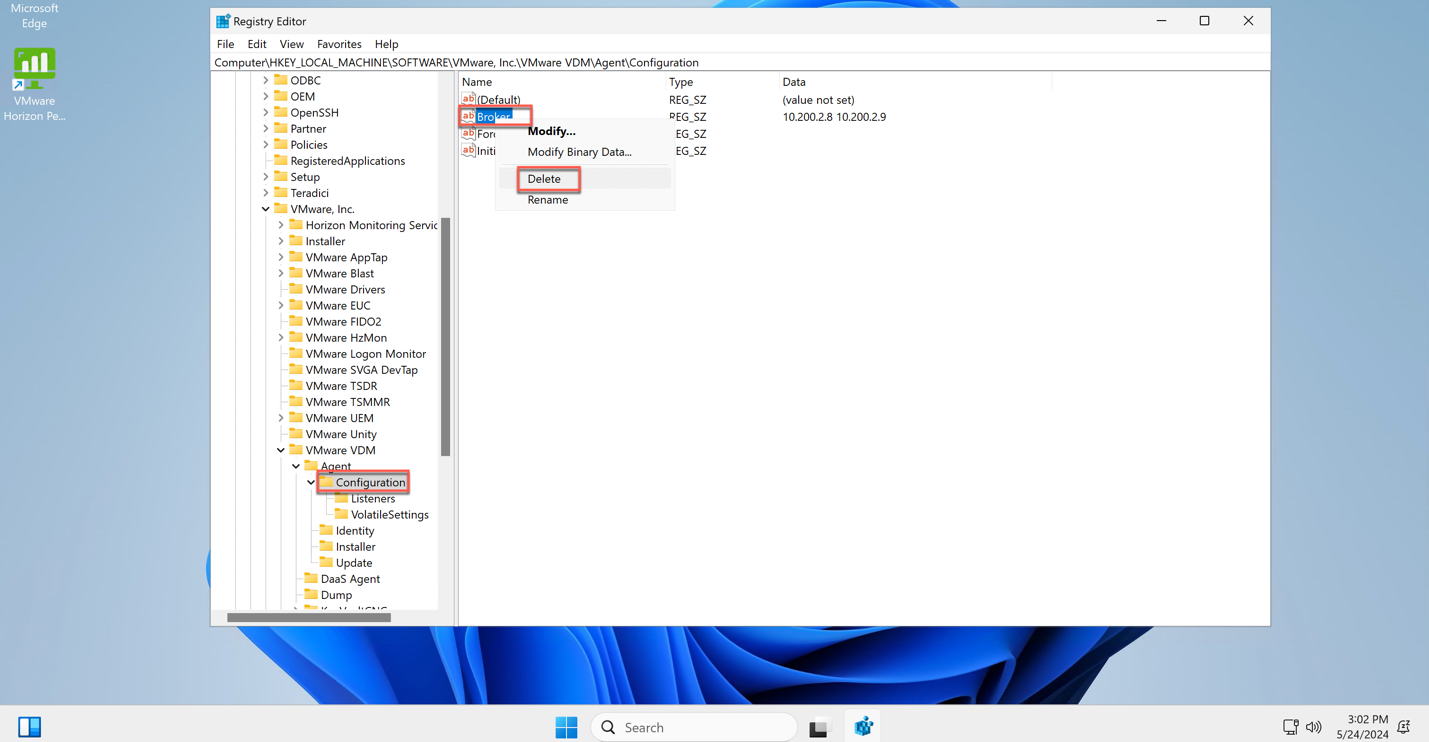
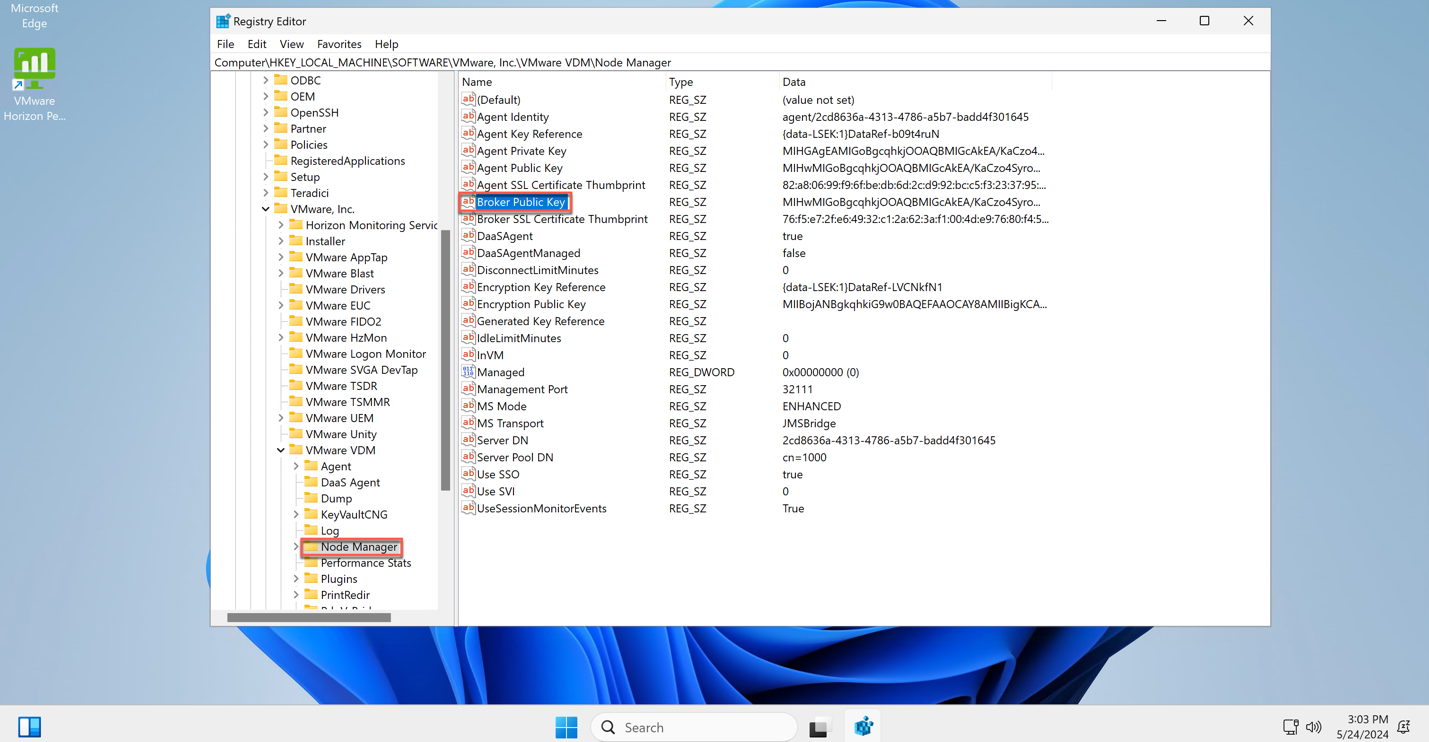
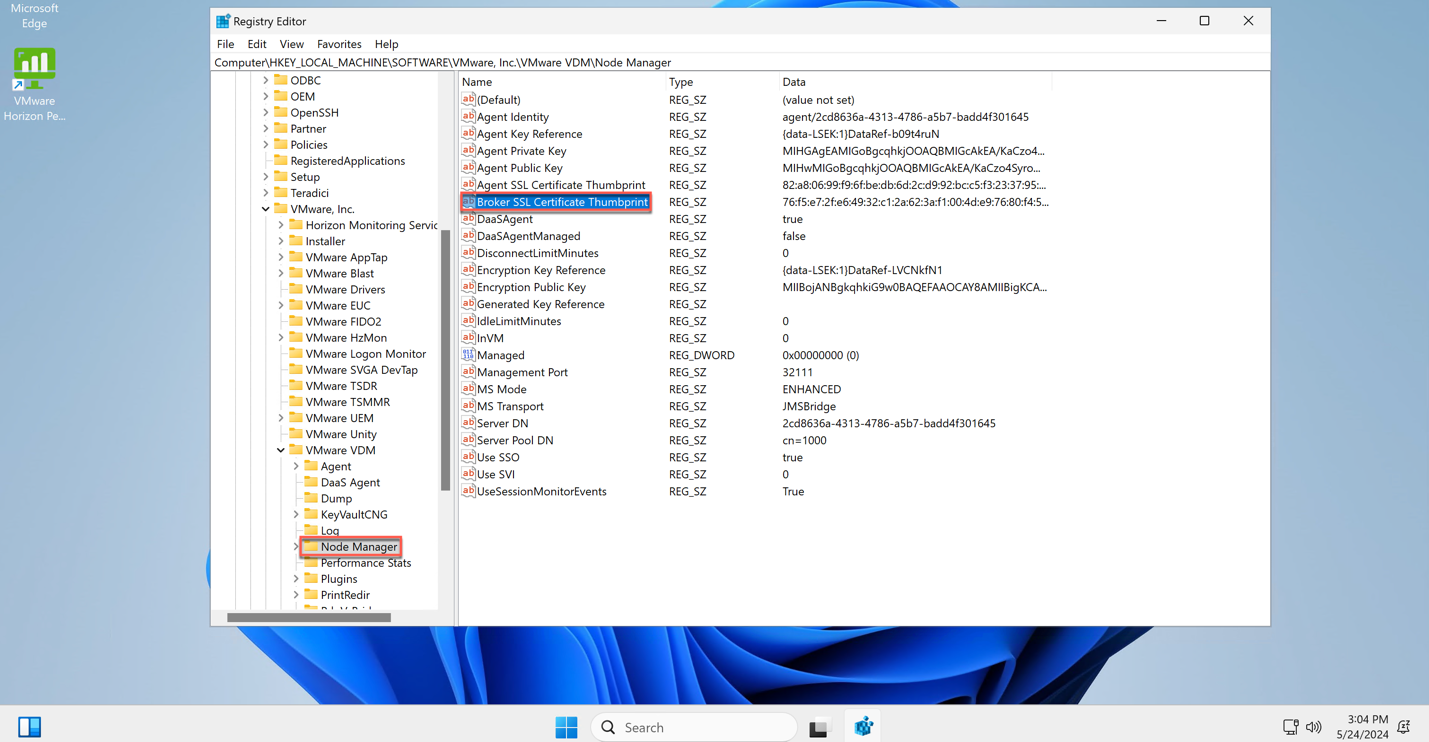
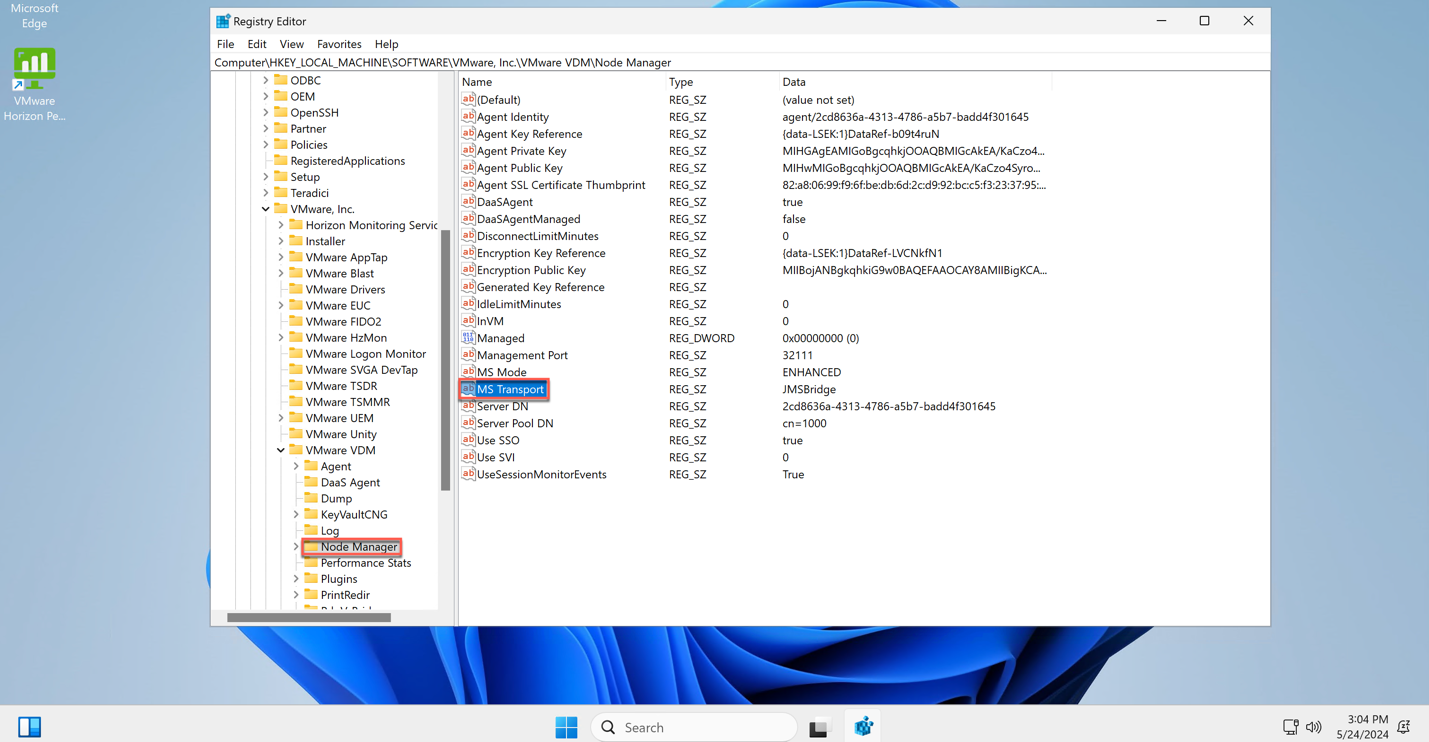
Step-4 : RDP to newly created Virtual Machine in step-3 and remove the below registry keys on the Guest OS. If the local administrator account you specified in V1 image does not work, you can use “administrator” account for RDP.
Note: if you missed to clean up the registry, pool deployment will fail in Next Gen!
HKEY_LOCAL_MACHINE\SOFTWARE\VMware, Inc.\VMware VDM\Agent\Configuration\Broker
HKEY_LOCAL_MACHINE\SOFTWARE\VMware, Inc.\VMware VDM\Agent\Identity\Bootstrap
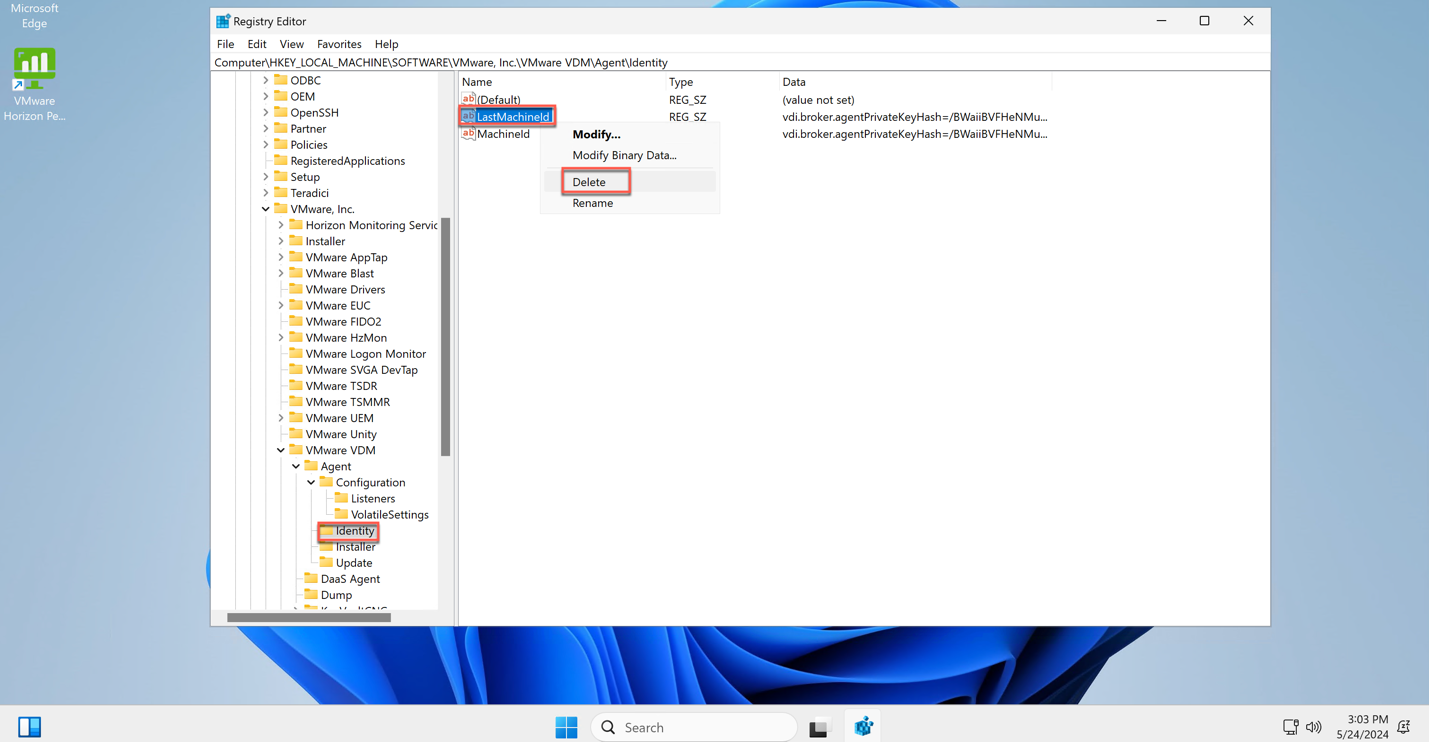
HKEY_LOCAL_MACHINE\SOFTWARE\VMware, Inc.\VMware VDM\Agent\Identity\LastMachineId
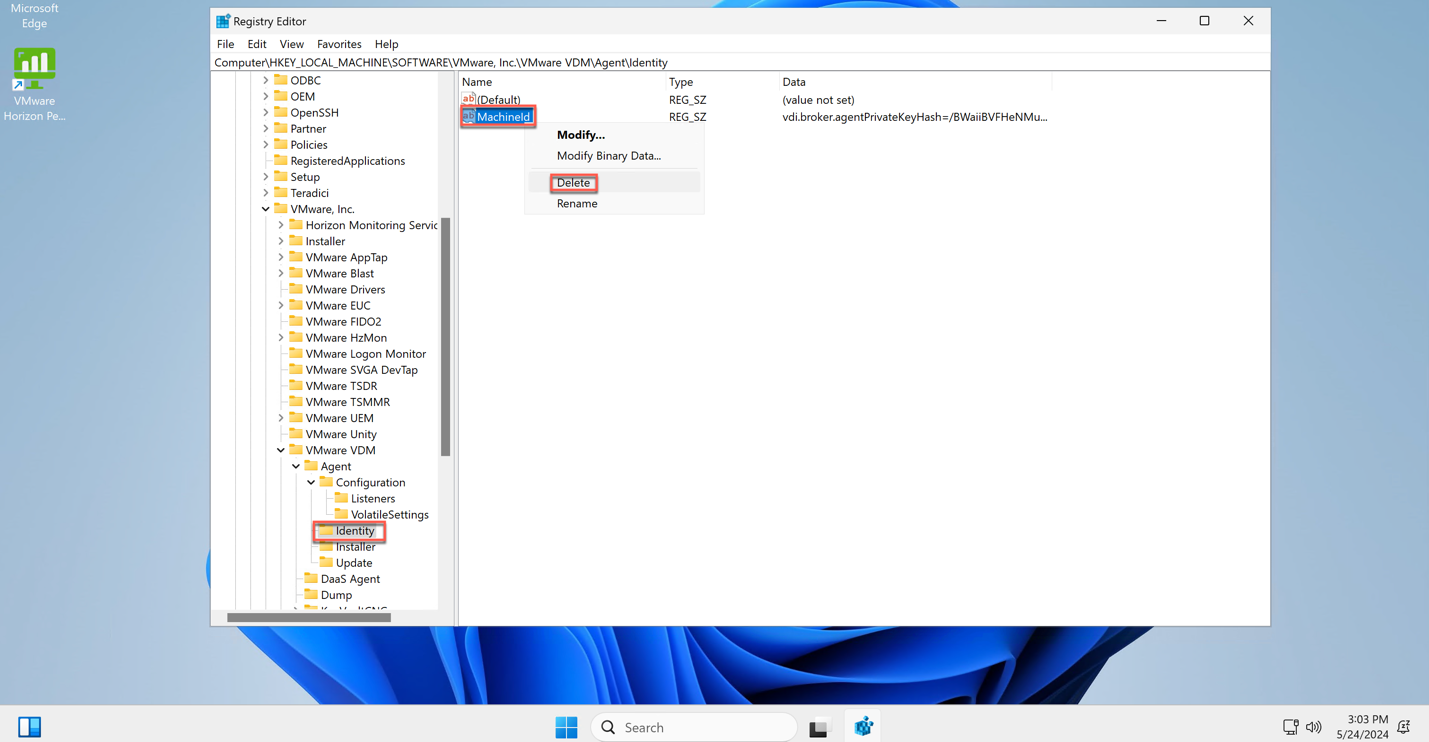
HKEY_LOCAL_MACHINE\SOFTWARE\VMware, Inc.\VMware VDM\Agent\Identity\MachineId
HKEY_LOCAL_MACHINE\SOFTWARE\VMware, Inc.\VMware VDM\Node Manager\Broker Public Key
HKEY_LOCAL_MACHINE\SOFTWARE\VMware, Inc.\VMware VDM\Node Manager\Broker SSL Certificate Thumbprint
HKEY_LOCAL_MACHINE\SOFTWARE\VMware, Inc.\VMware VDM\Node Manager\MS Transport

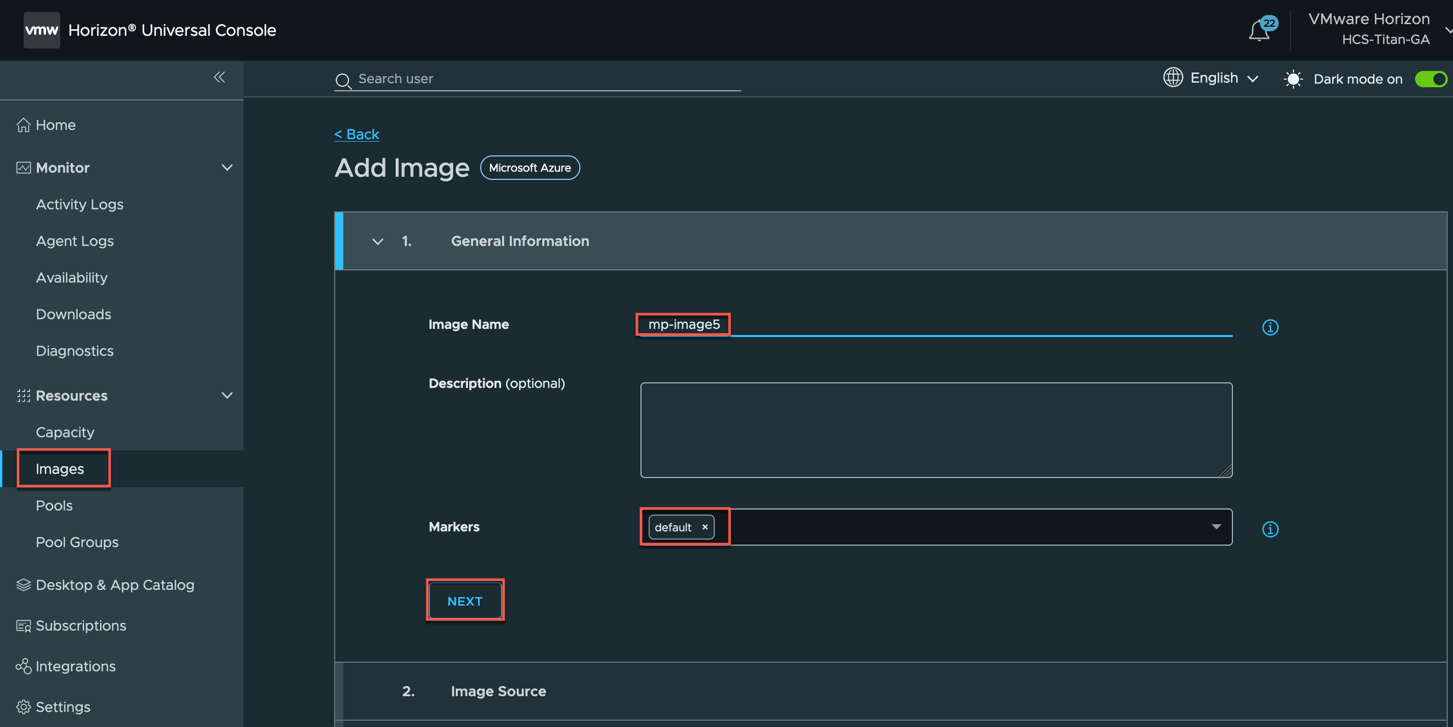
Step-5: Login to Next Gen Horizon Universal Console > navigate to [Image] > [Add] > give [Image Name] and [Marker] and click [Next].
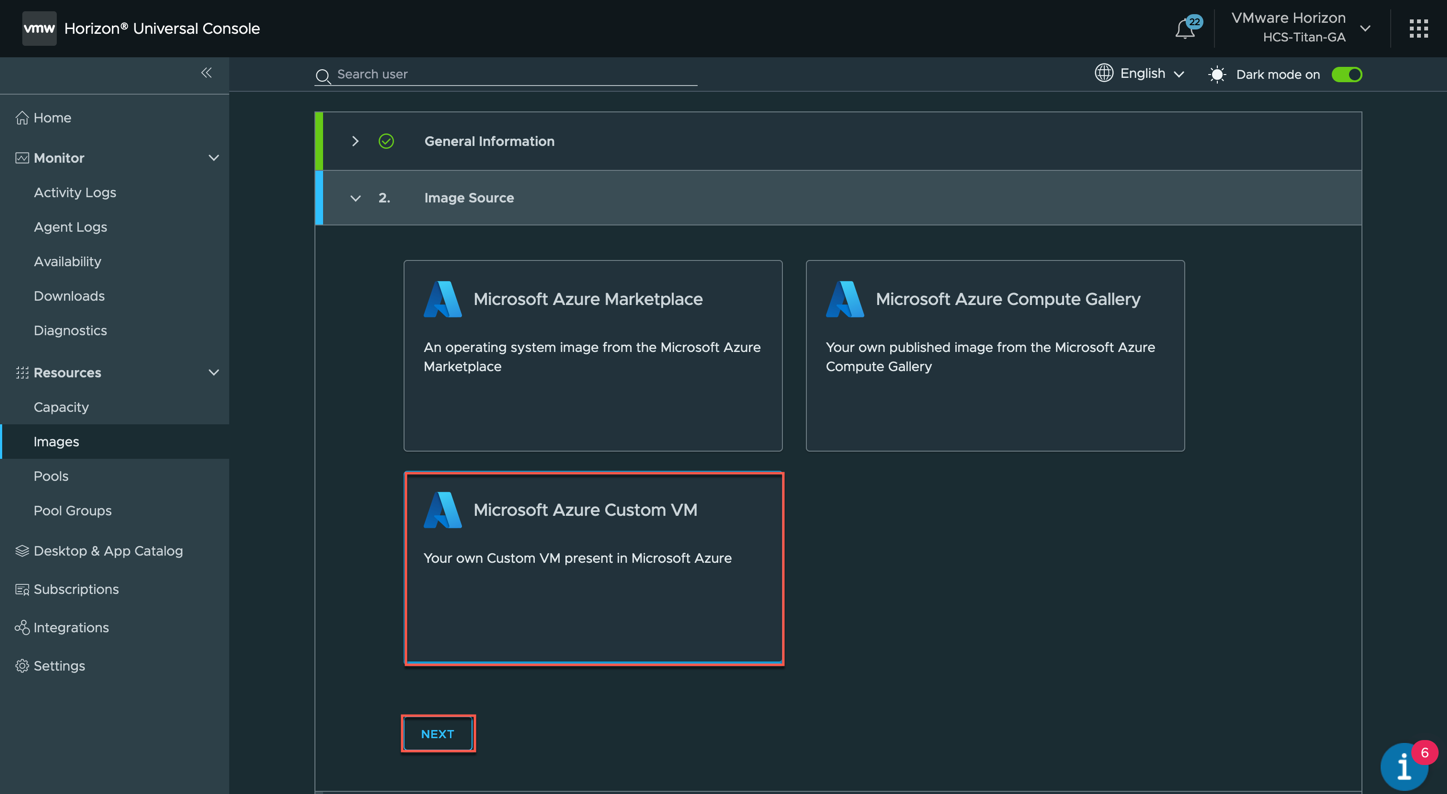
In [Image Source] section, select [Microsoft Azure Custom VM] > [Next].
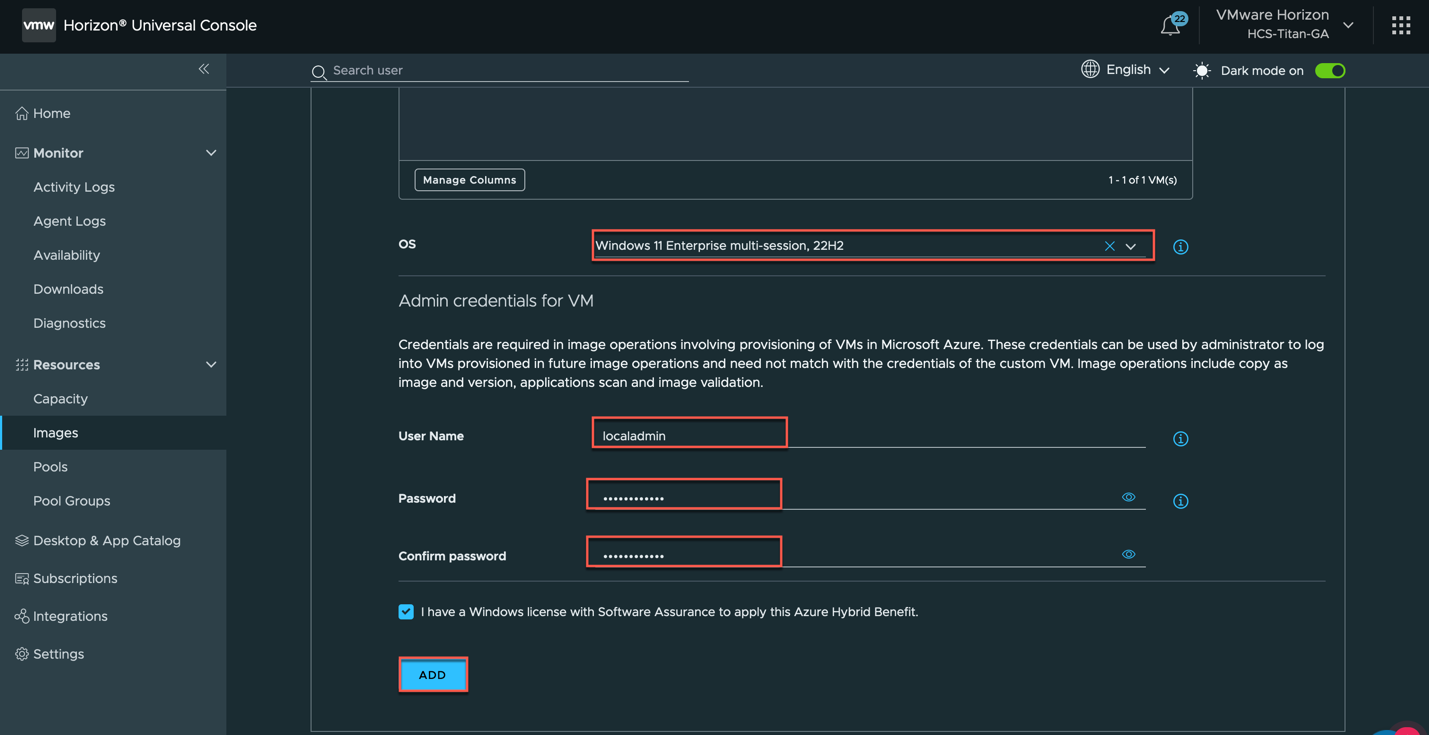
In [Image Details], specify [Site], [Horizon Edge], [Provider] and in [Select VM] section, you should see the newly created image VM (In my case [mp-image5-1-0]) > select the [OS] of image from drop drown > provide username / password for local administrator of image > [Add].

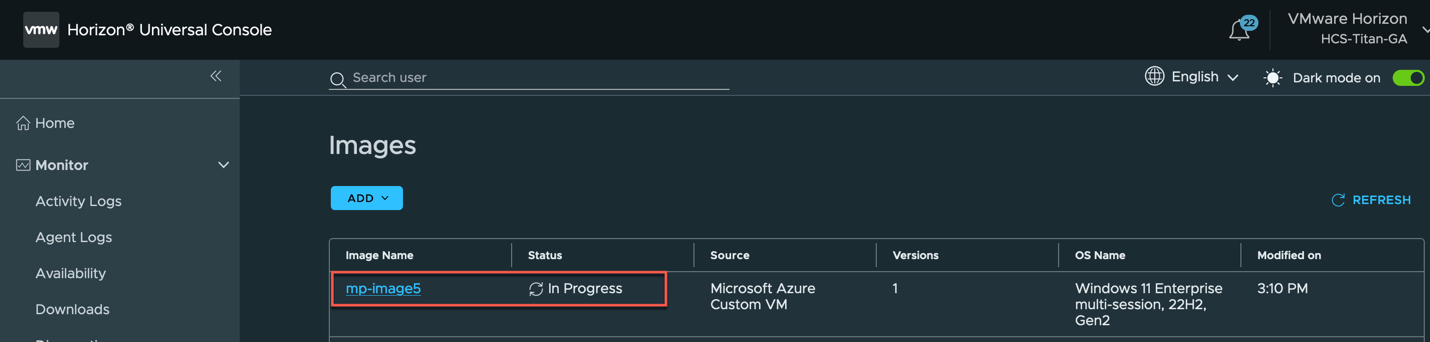
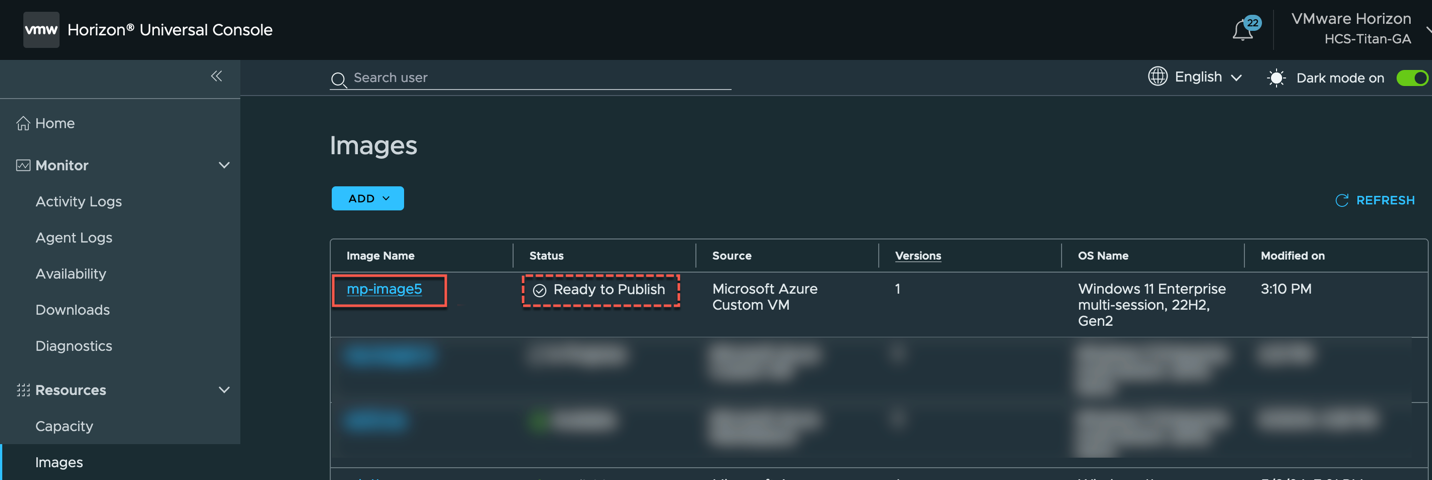
You can see the adding image to Horizon Cloud Next Gen is [In progress] > the status will change to [Ready to Publish] after a while > click on [Image Name] hyperlink.
Select the image [Version] > [Publish] > Select [Edge] > [Next] > [Next] in properties section > in Agent section, turn on [Install Agent] toggle button > [Next] > In published image operation section, select azure [vNet] and [Subnet] for HCS – Next Gen > [Publish].
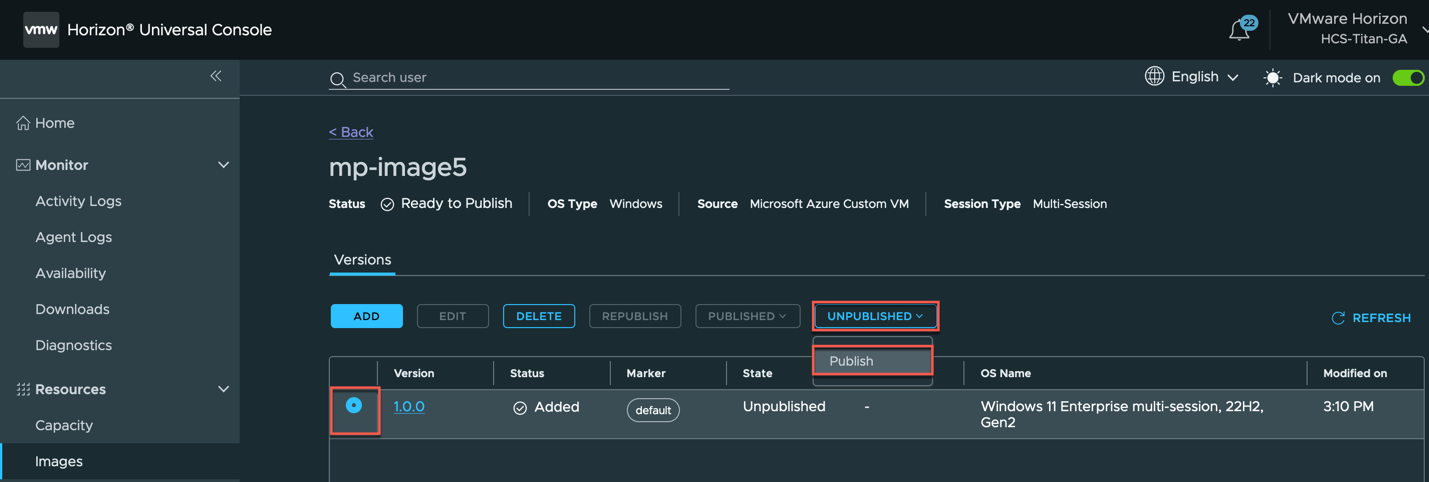
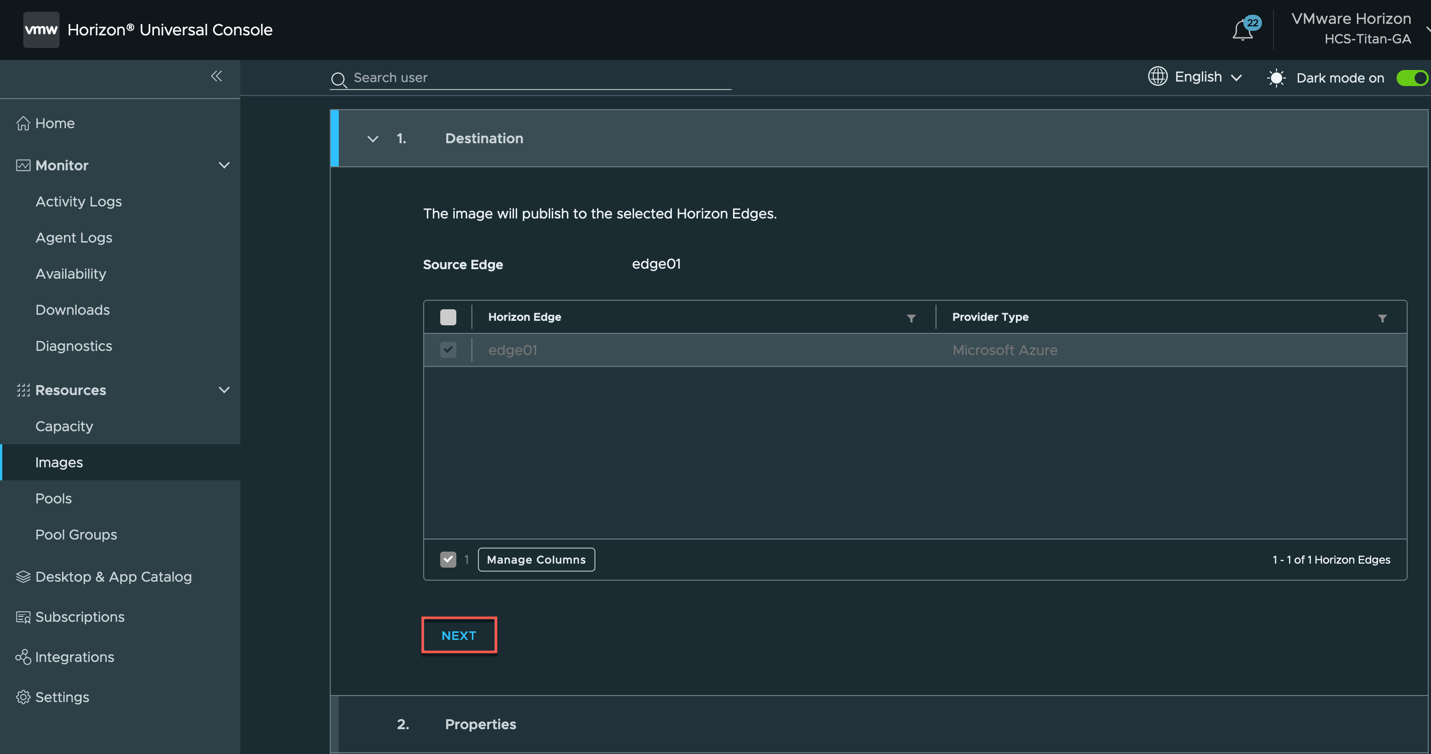

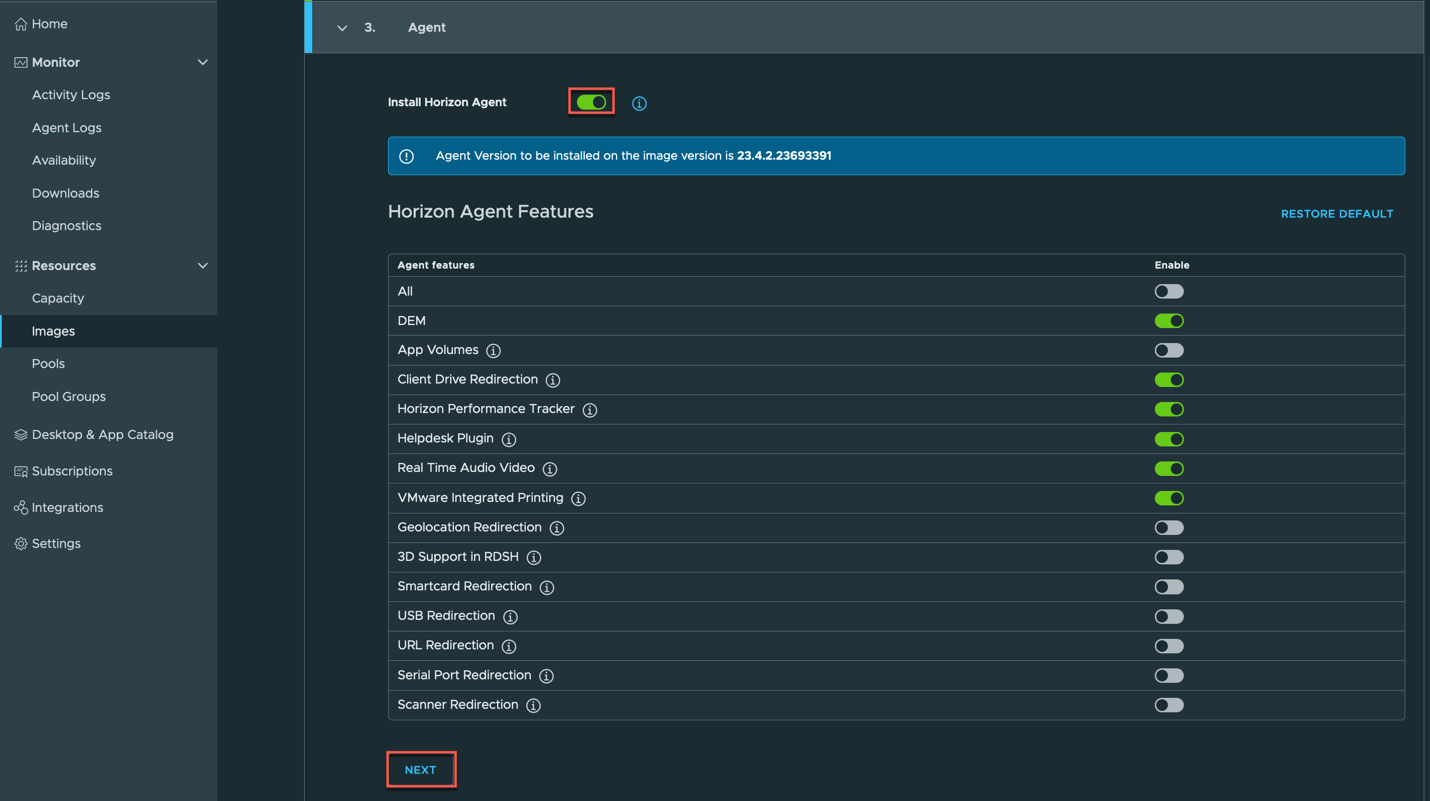
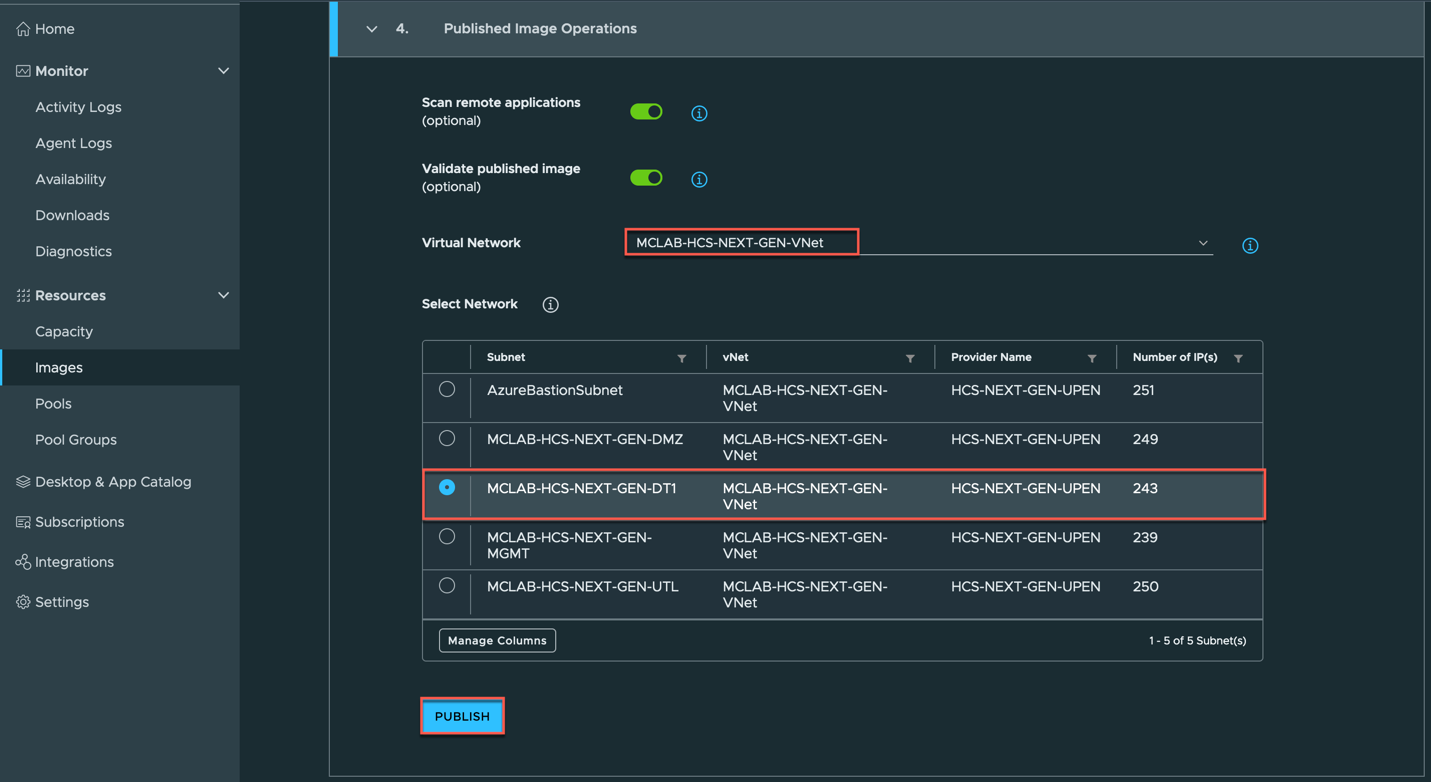
Image publish is [In progress].
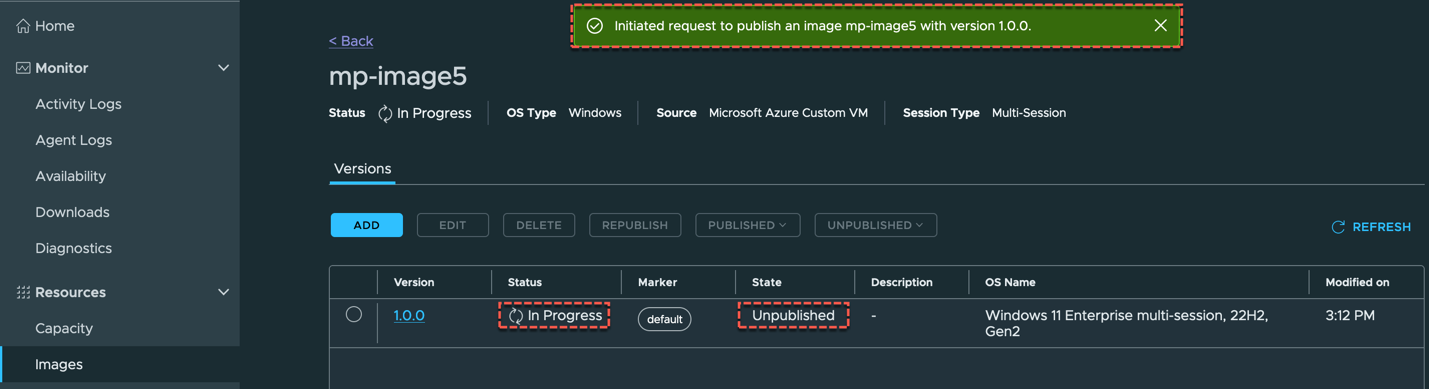
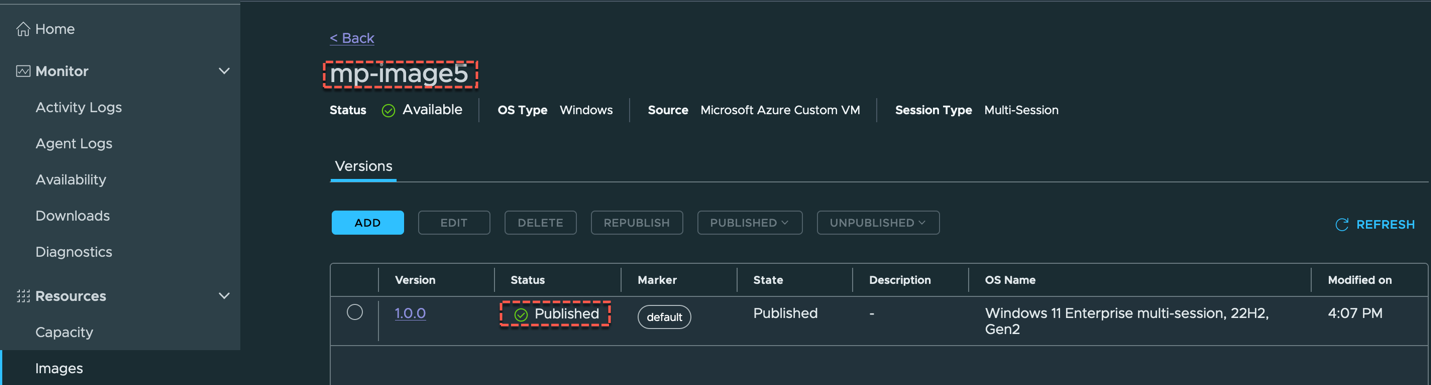
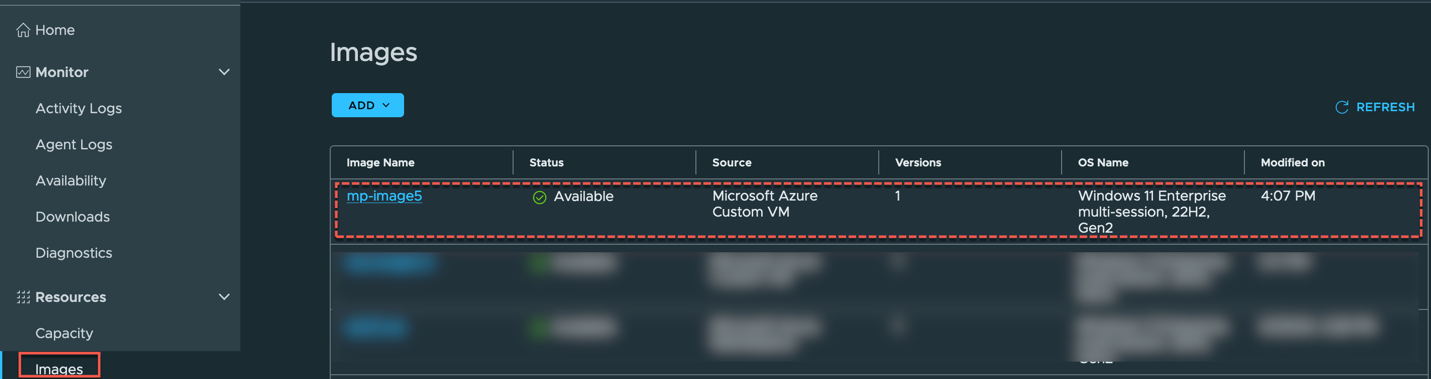
Image status is showing as [Published] and available for pool deployment on HCS – Next Gen!!!
![]()