Overview
In part-I of the post, we covered configuration and installation of Amazon VPC, Networks, Directory Services, IAM Role, Omnissa Horizon 8 and Unified Access Gateway (UAG) etc. Part-II of post covers the creating image and bundle in Amazon WorkSpaces, image pairing with Horizon 8 and creating pool in horizon by using Workspace bundle.
From image/bundle creating and pool deployment work flow
-
- Create a Workspace from Amazon Workspace public bundle
- Install the Horizon 8 Agent in the Workspace machine
- Agent pairing with Horizon Connection Server
- Create an image in from Workspace machine
- Create a bundle from image in Amazon Workspace (Horizon Agent installed bundle (golden image) for pool creating in Horizon 8 )
- Create a pool in Horizon 8 admin console
- Access the pool desktop from Horizon 8 user portal
Create a Workspace (machine) from public bundle available in Amazon Workspace
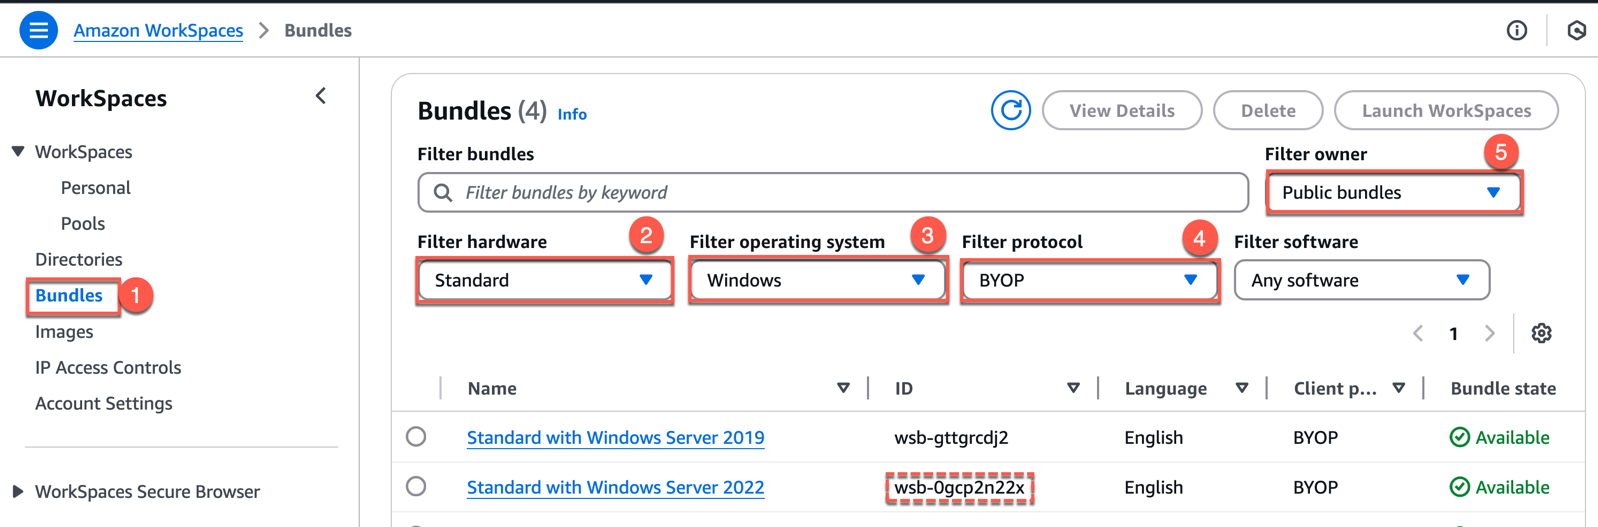
1. Login to your Amazon console and navigate to [WorkSpaces] > [Bundles] and filter the bundle with [hardware],[operating system],[protocol], [public bundles].
Note down the bundle ID which is used to create the bundle in next step.
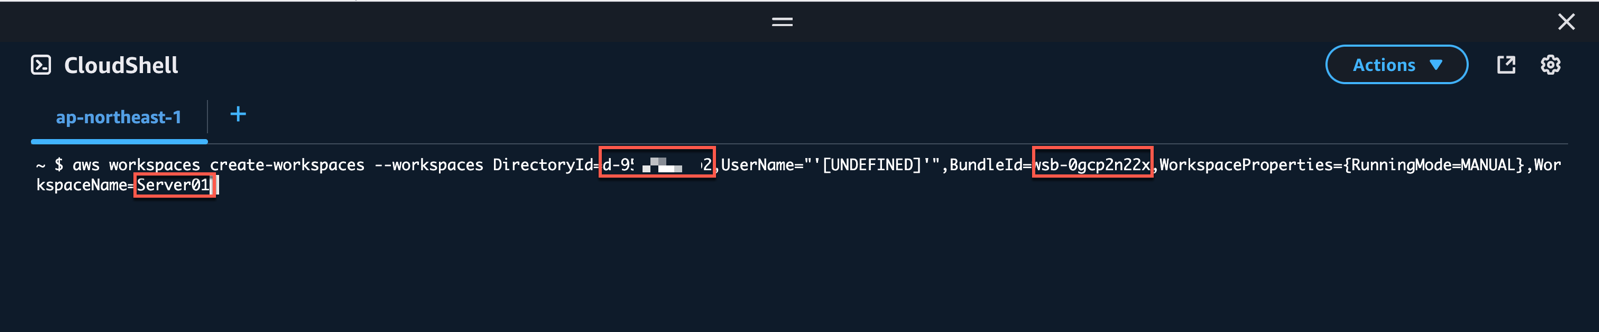
2. We will use Amazon Cloud-shell command to create the Workspace. Replace [DirectoryId], [BundleId] and [WorkspaceName] matching with your configuration. Open the Cloud-shell from AWS console and execute the command.
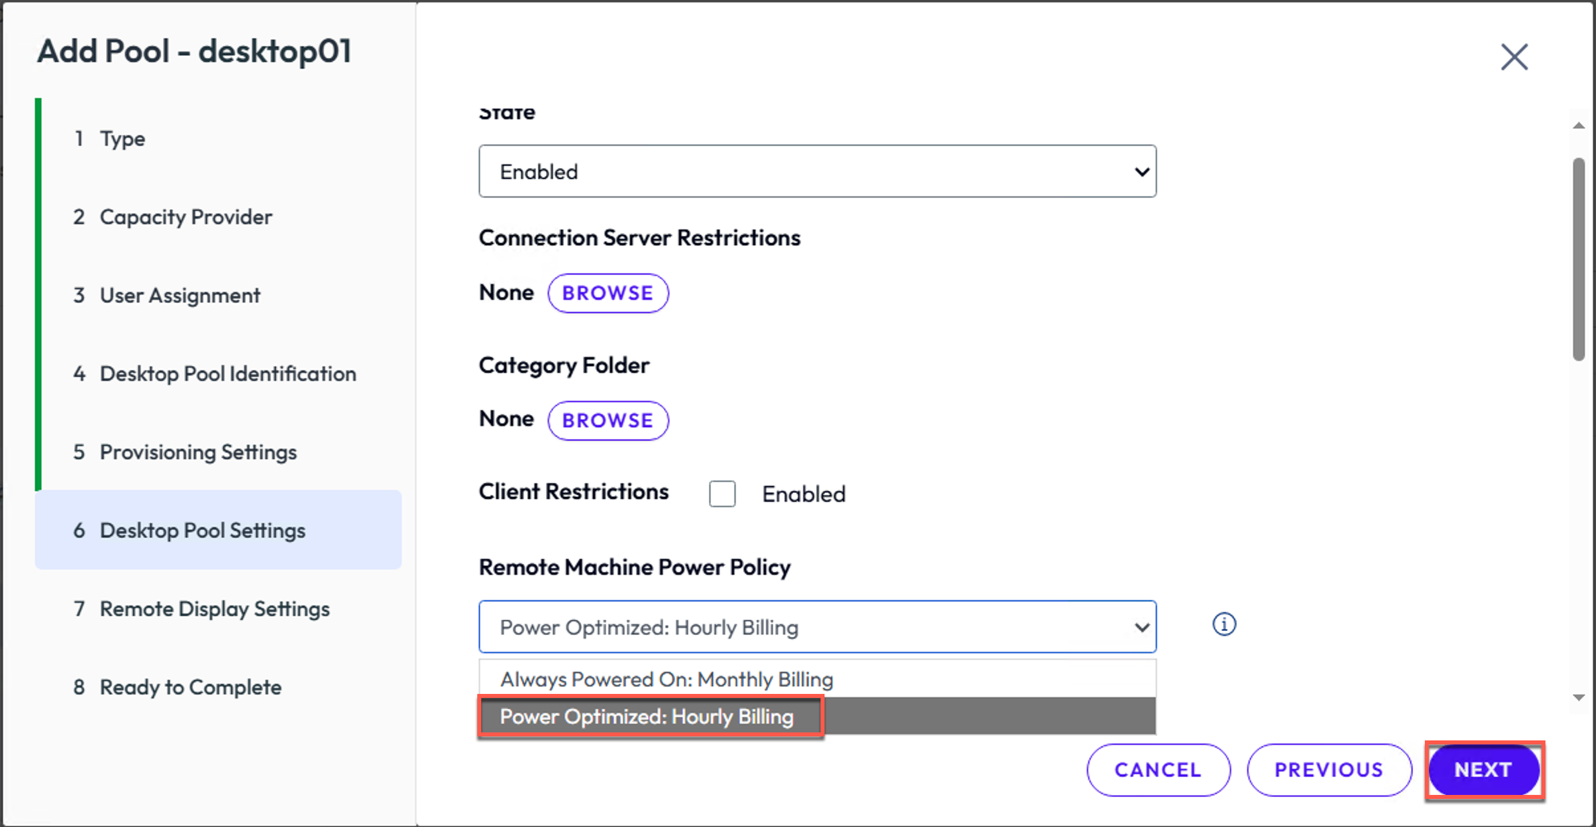
Note: you could create the Workspace from console UI as well but it only allows you to select the monthly billing. For the test purpose, may not want to opt for monthly billing. If you create the workspace machine with cloud-shell, it allows you to choose the hourly billing option while creating the automated desktop pool in Horizon admin console.
Script format:
aws workspaces create-workspaces --workspaces DirectoryId=<your-directory-id>,UserName="'[UNDEFINED]'",BundleId=<bundle-name-in workspace>,WorkspaceProperties={RunningMode=MANUAL},WorkspaceName=<name-of-your-choice>
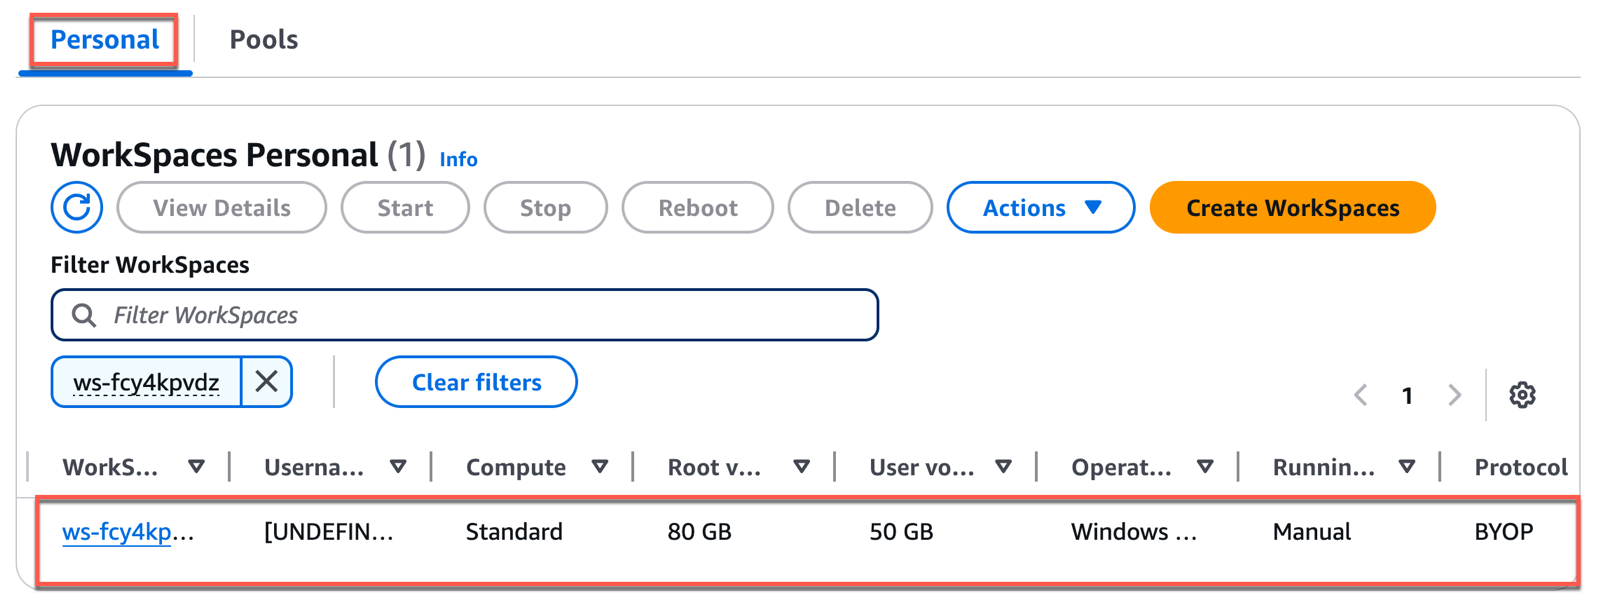
3. Navigate to [Personal] tab and confirm the bundle import is in progress. It may take sometime until it becomes available.
Horizon 8 Agent installation in bundle machine
4. RDP to Workspace machine from one of the EC2 instance and download or copy the Horizon 8 Agent installer to Workspace machine.
Note: To be able to RDP to Workspace machine you need to add the RDP rule on security group which is associated with bundle network interface. Follow this link for detail.
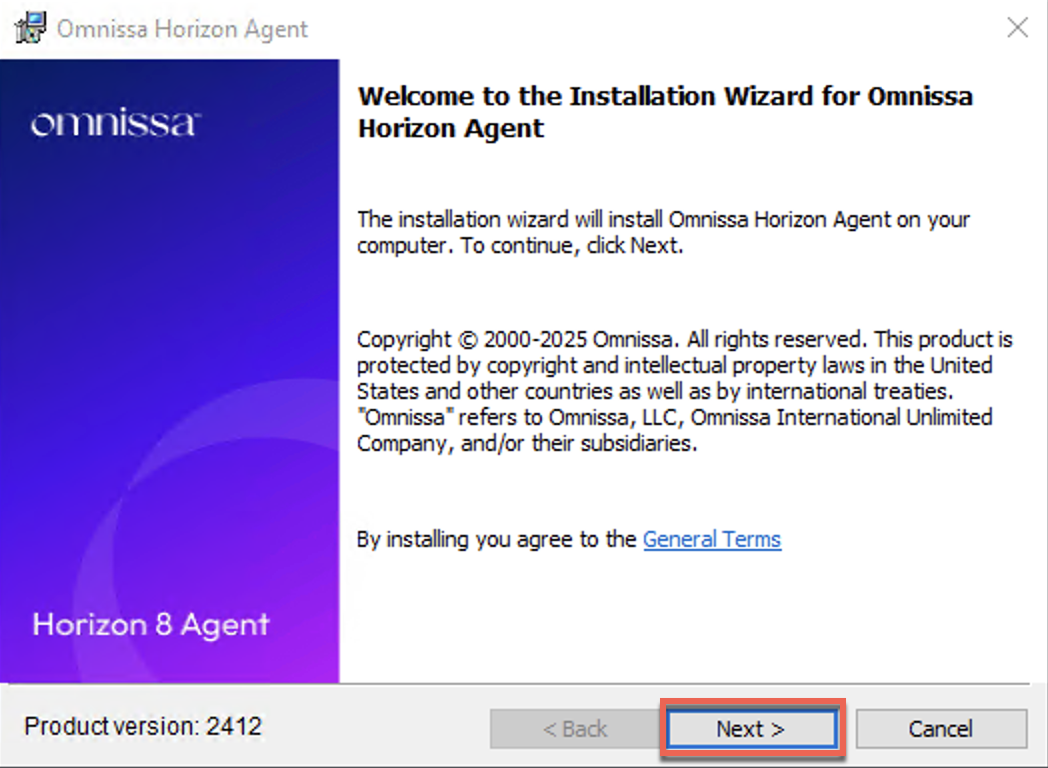
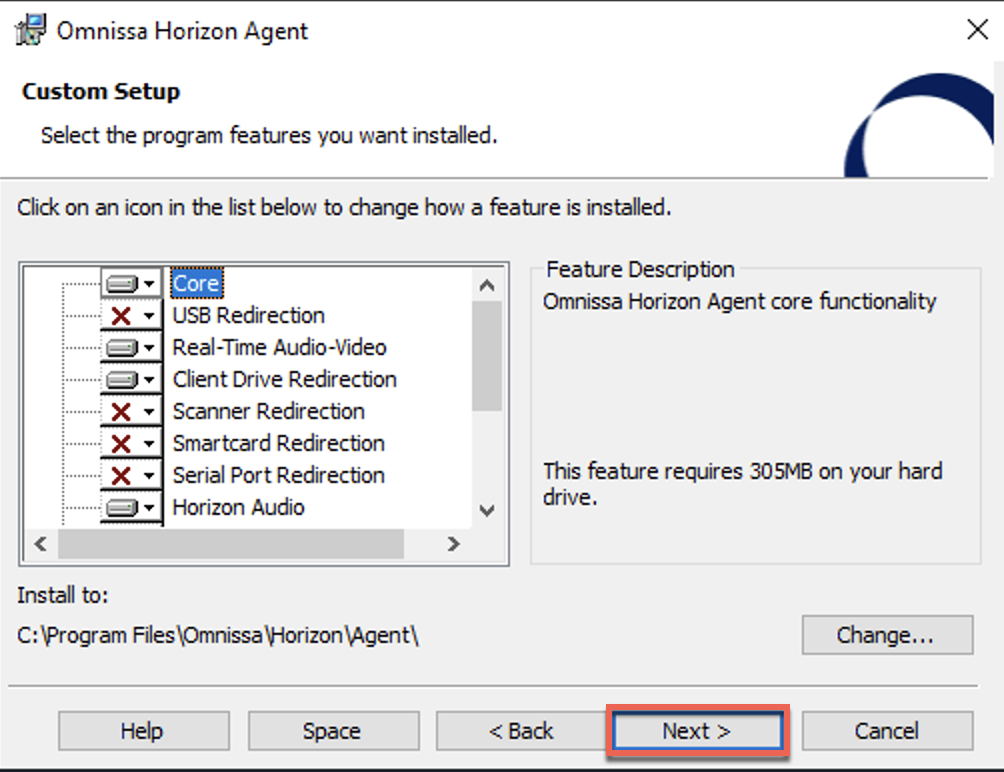
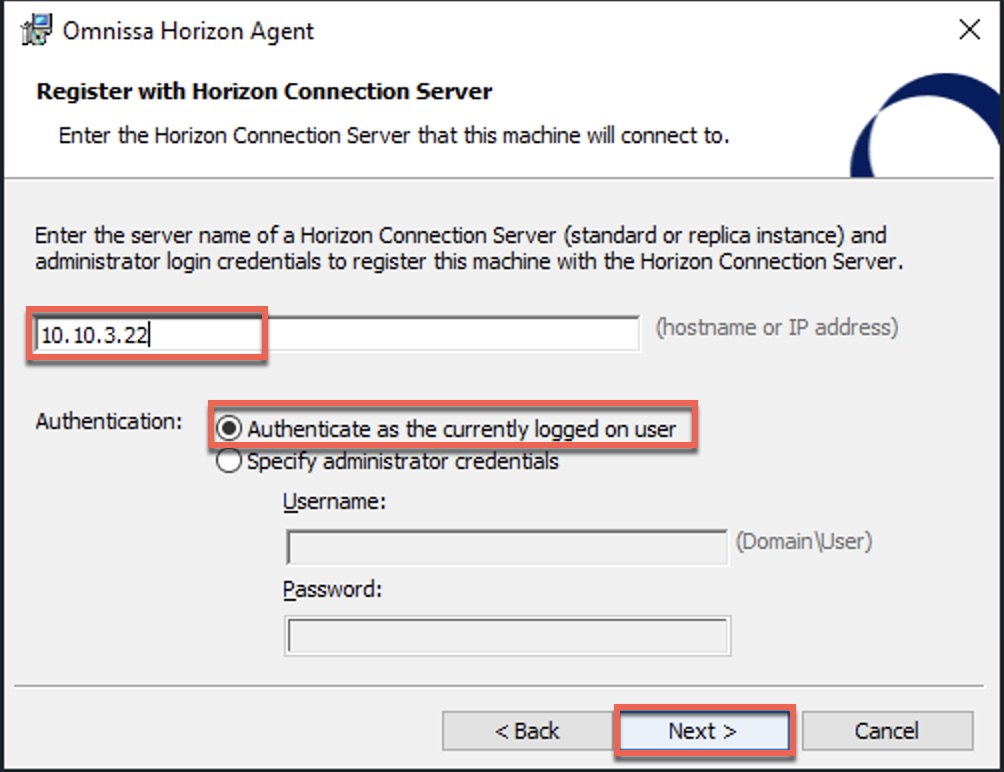
5. Execute the Horizon Agent installer on Workspace machine and follow the on-screen instruction for the installation.
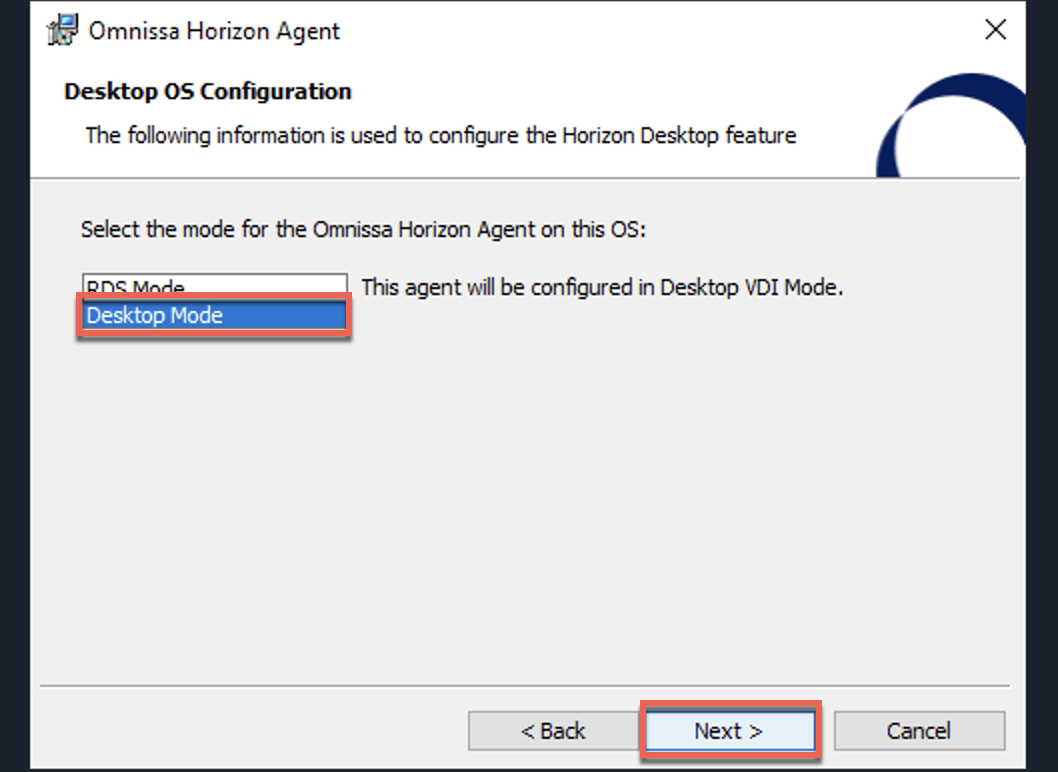
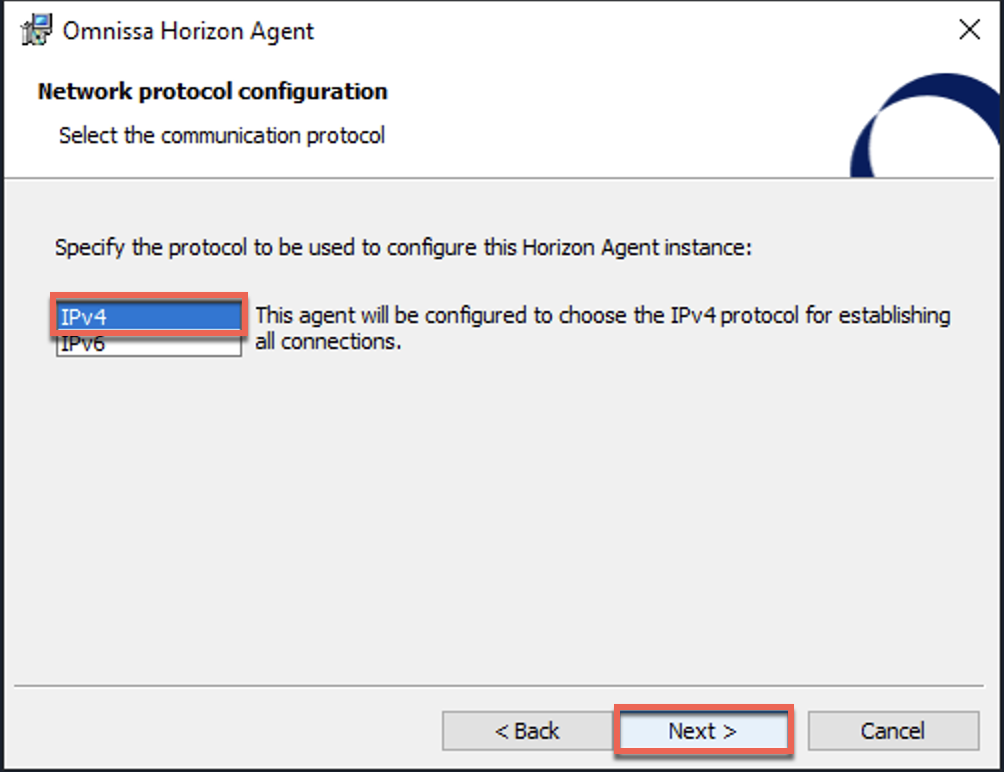
Note: You MUST to select the [Desktop Mode] while installing the Agent on Server OS based desktop. You can leave the rest of the options as default, or you may configure as you need.

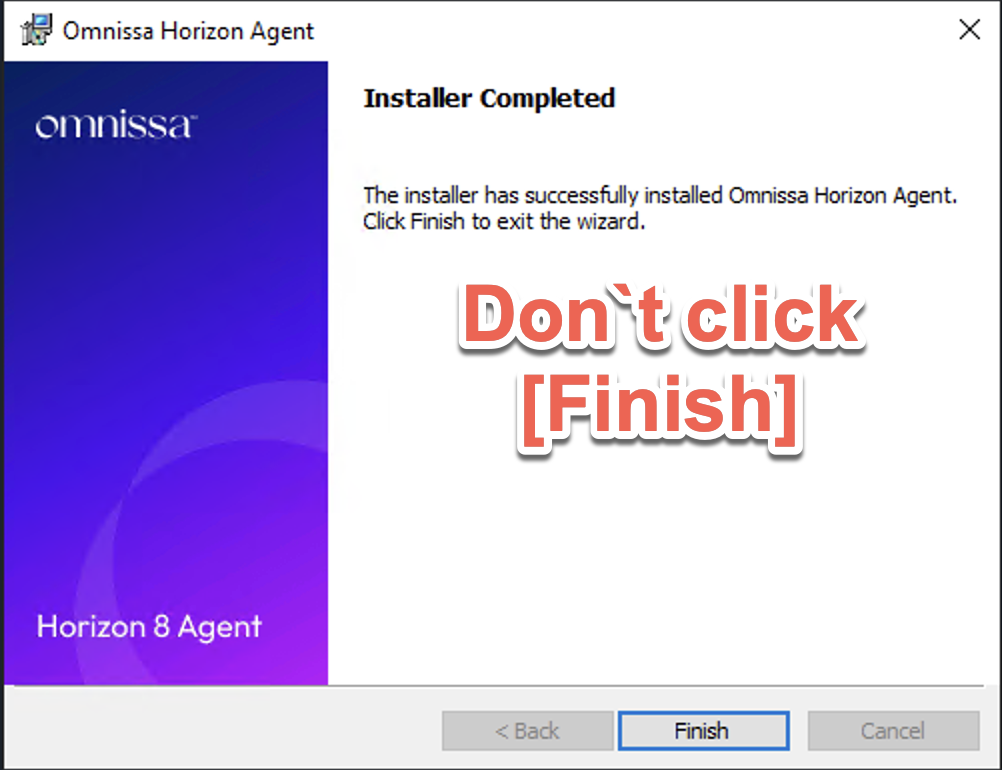
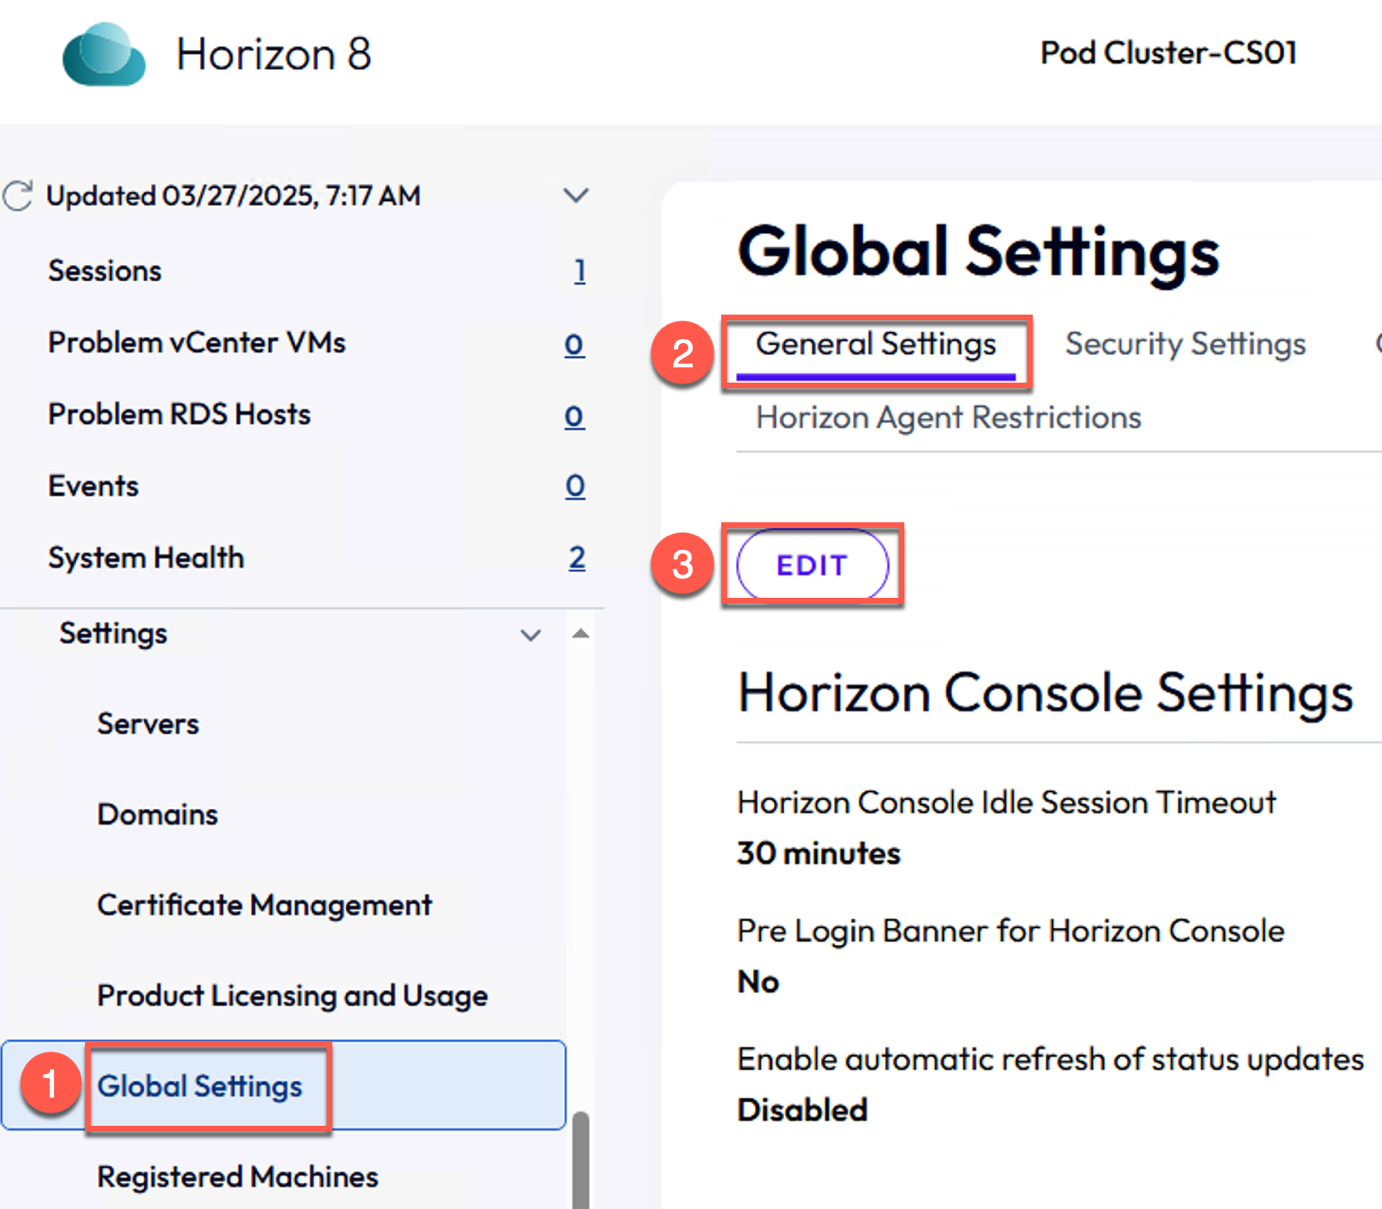
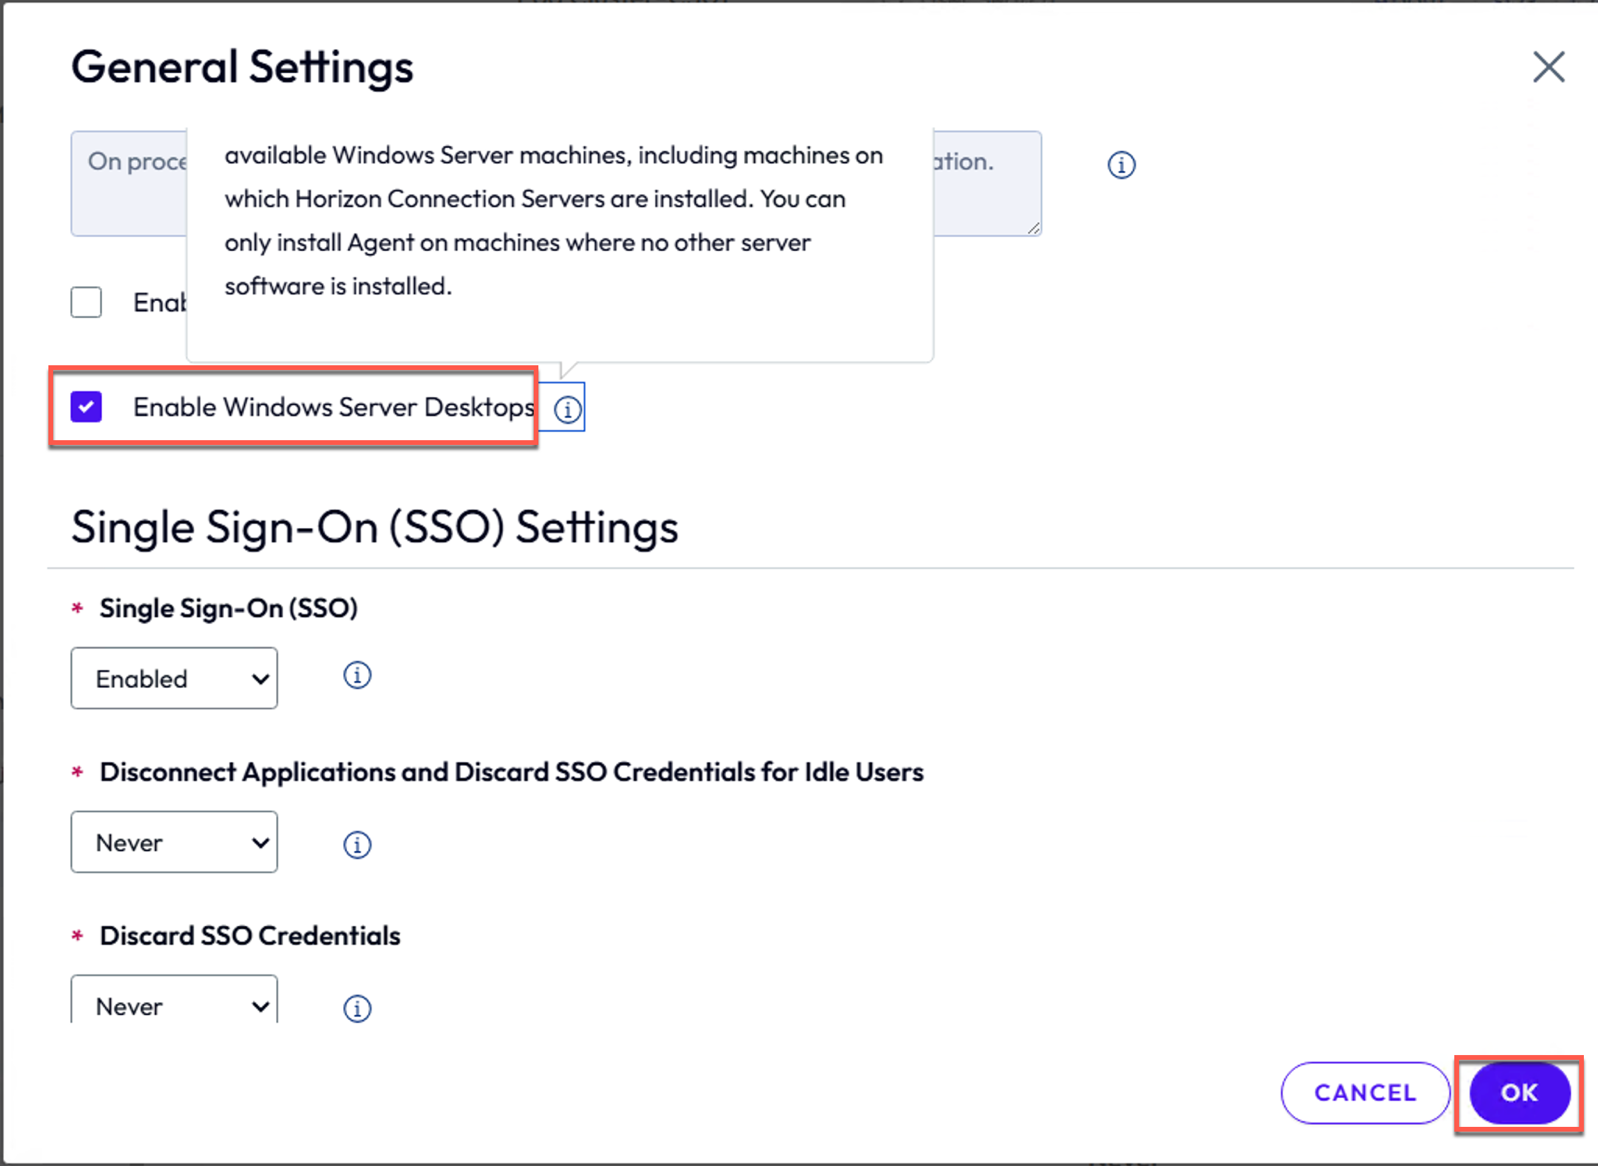
6. Before finishing the installation, login to Horizon 8 admin console > [Global Settings] > [General Settings] > [Edit] > put the check on [Enable Windows Server Desktops] > [OK].
This is required because we are going to create an image with Windows Server OS based desktop public bundle available in Amazon WorkSpaces.
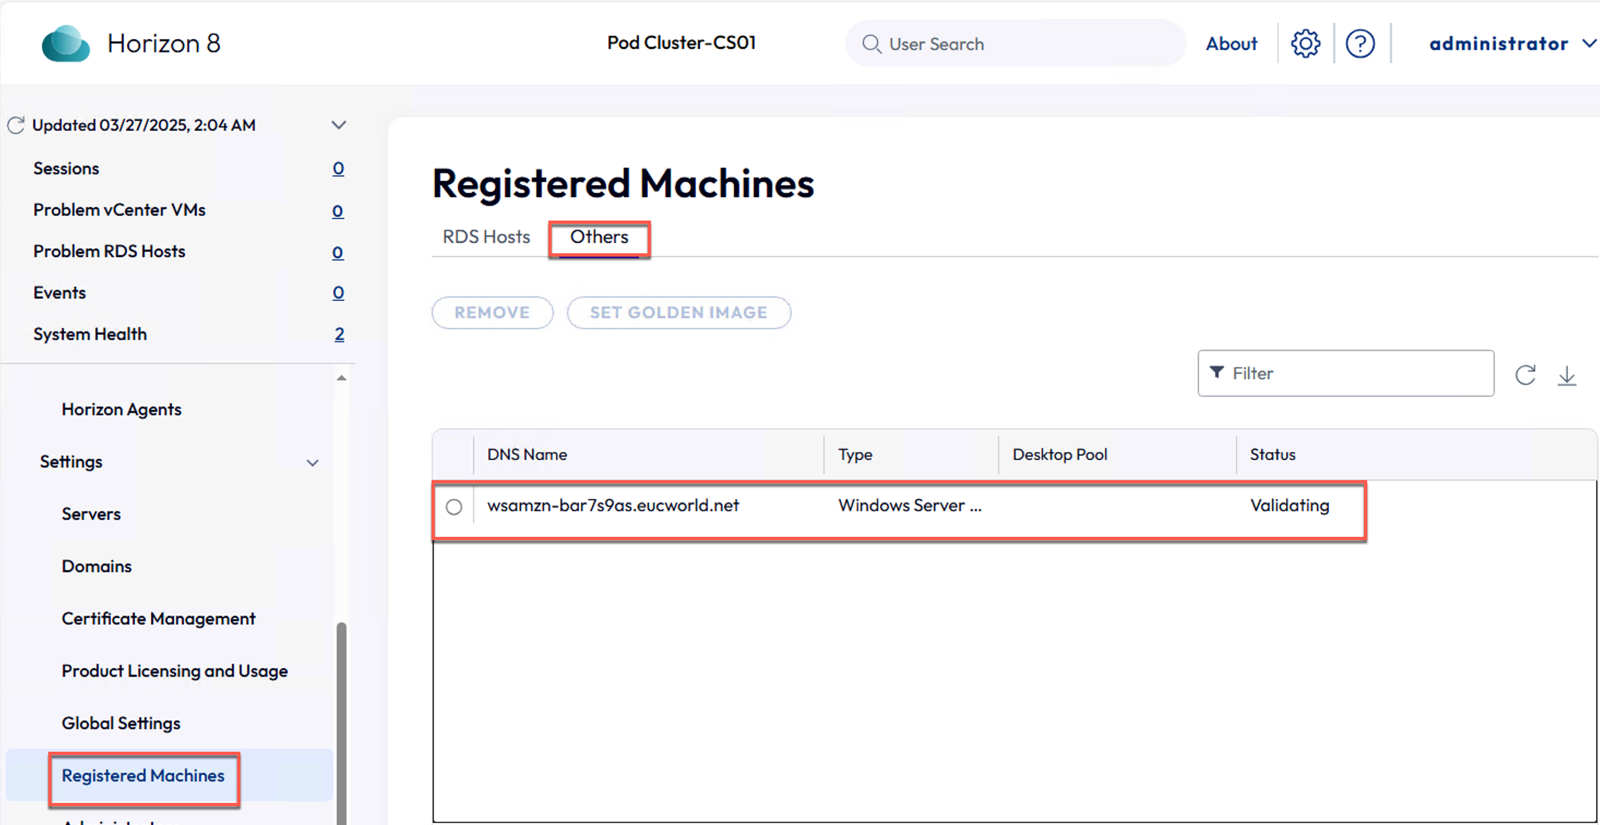
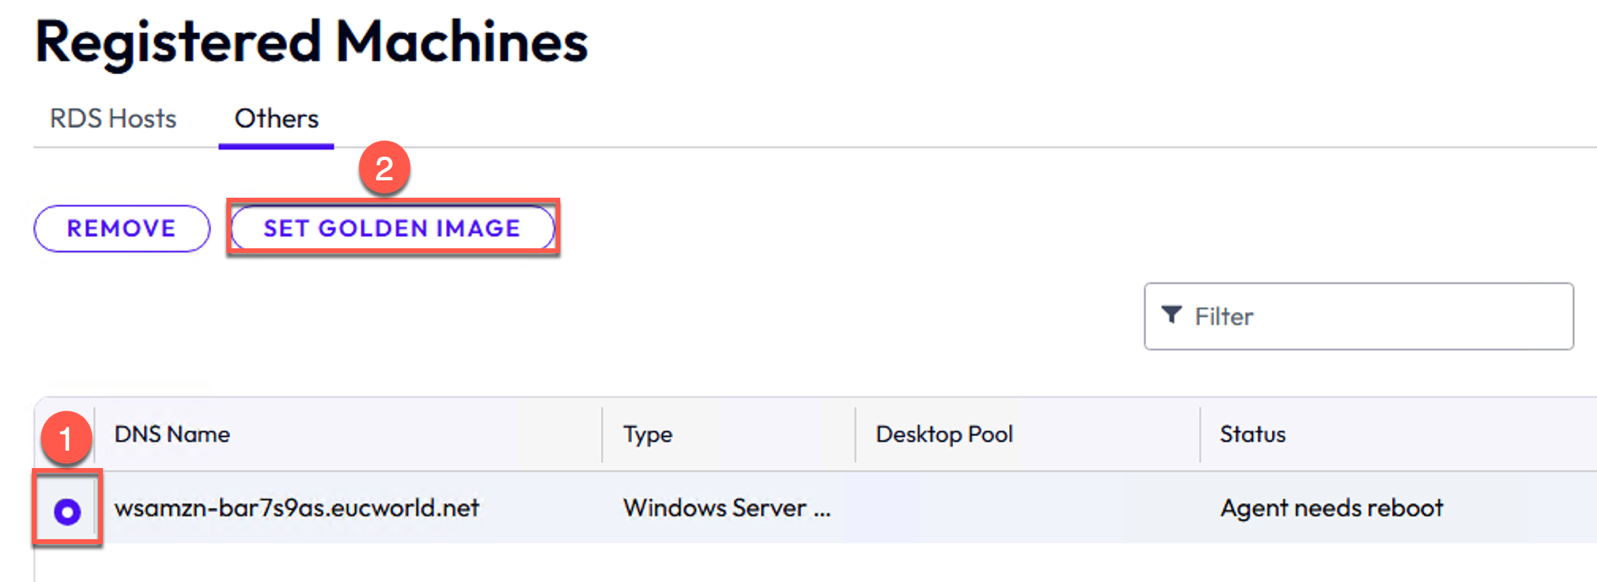
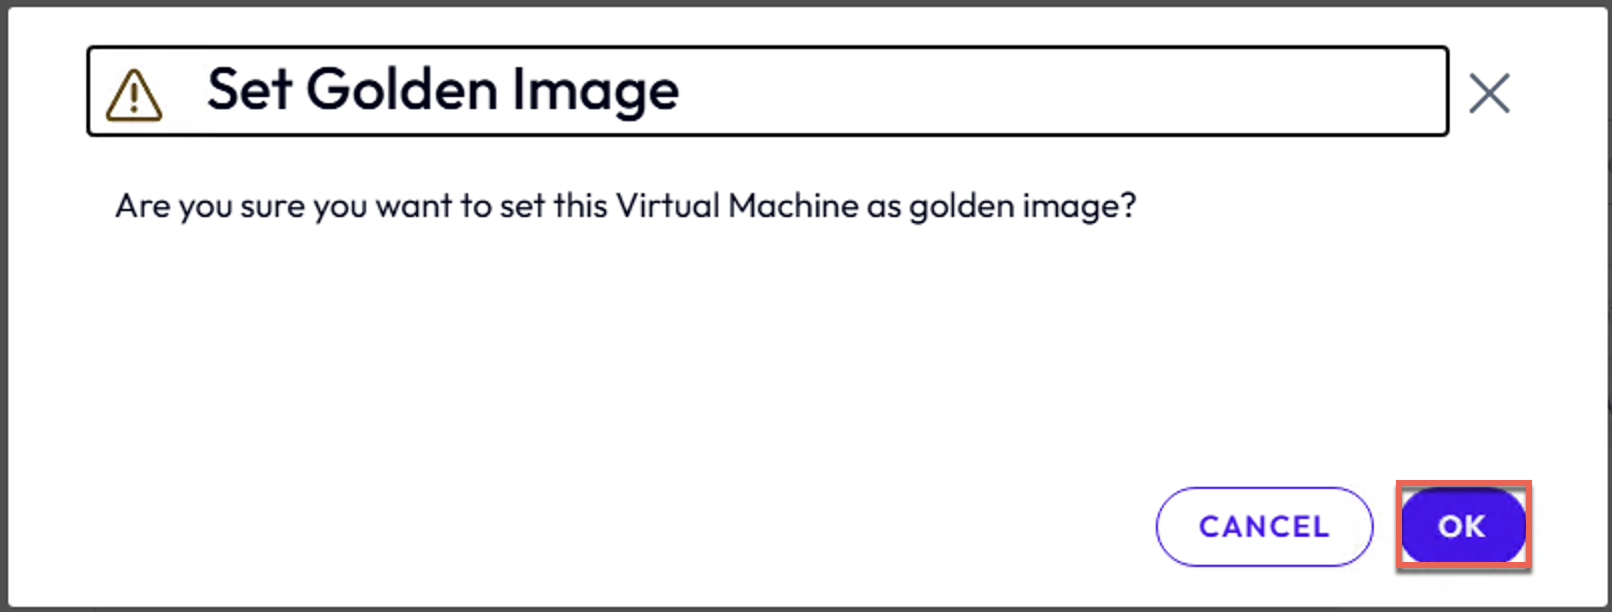
7. Navigate to [Registered Machines] > [Others] > now you should see the bundle machine in the list. Select the [Workspace] name > [Set the Golden Image] > [OK]. This will initiate the agent paring with bundle machine and Horizon Connection Server.
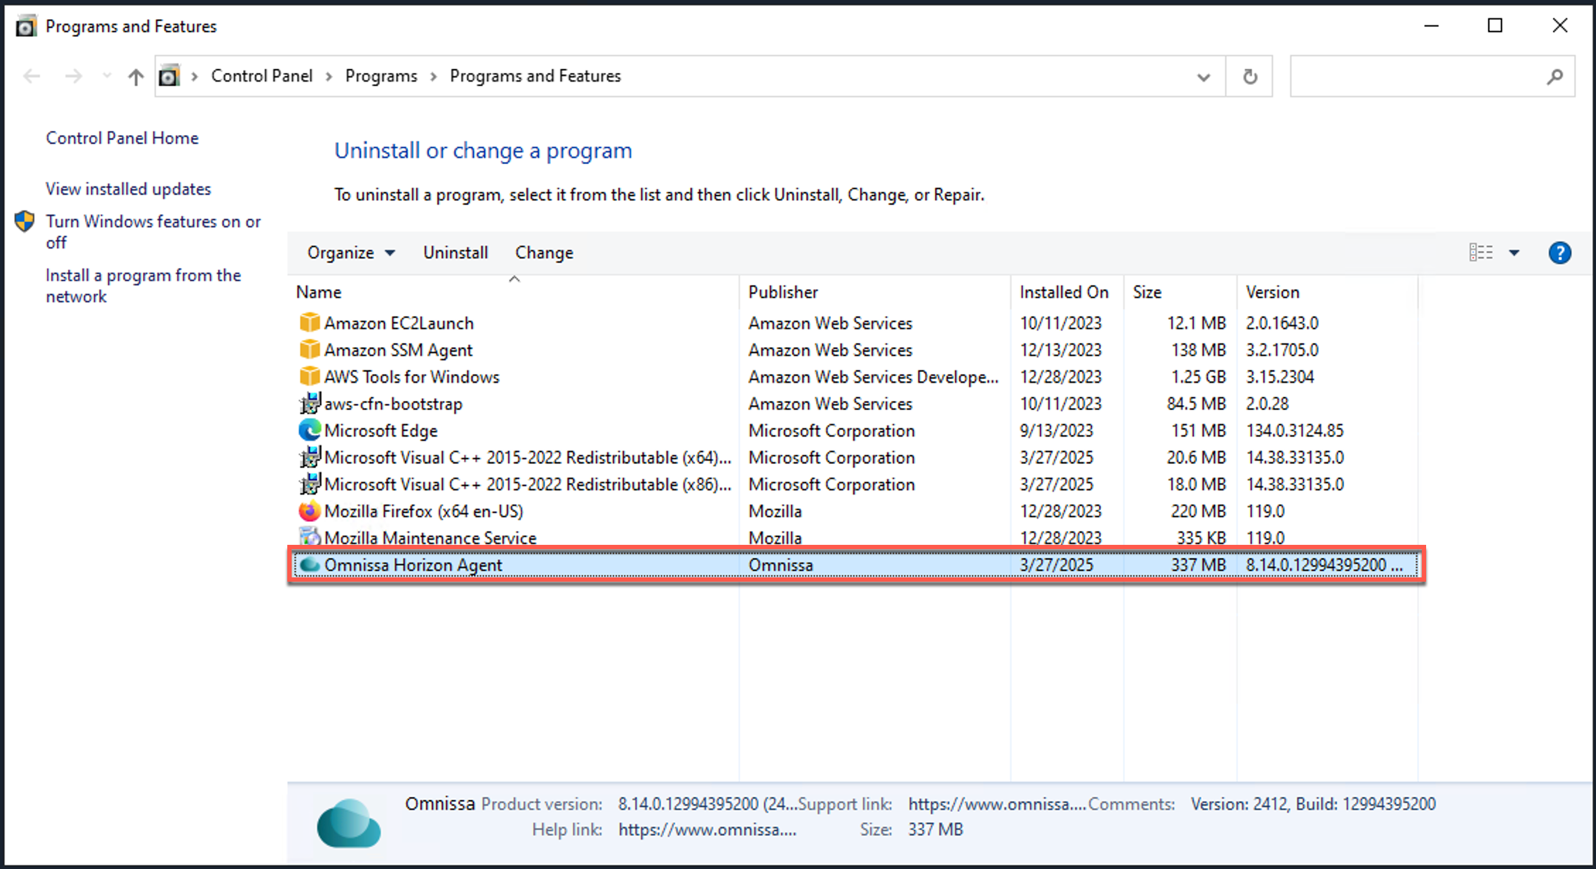
8. Return the Workspace machine RDP session and click [Finish] > [Yes]. Once the image is rebooted, again RDP to Workspace machine and check if the appropriate Horizon Agent is being installed correctly. 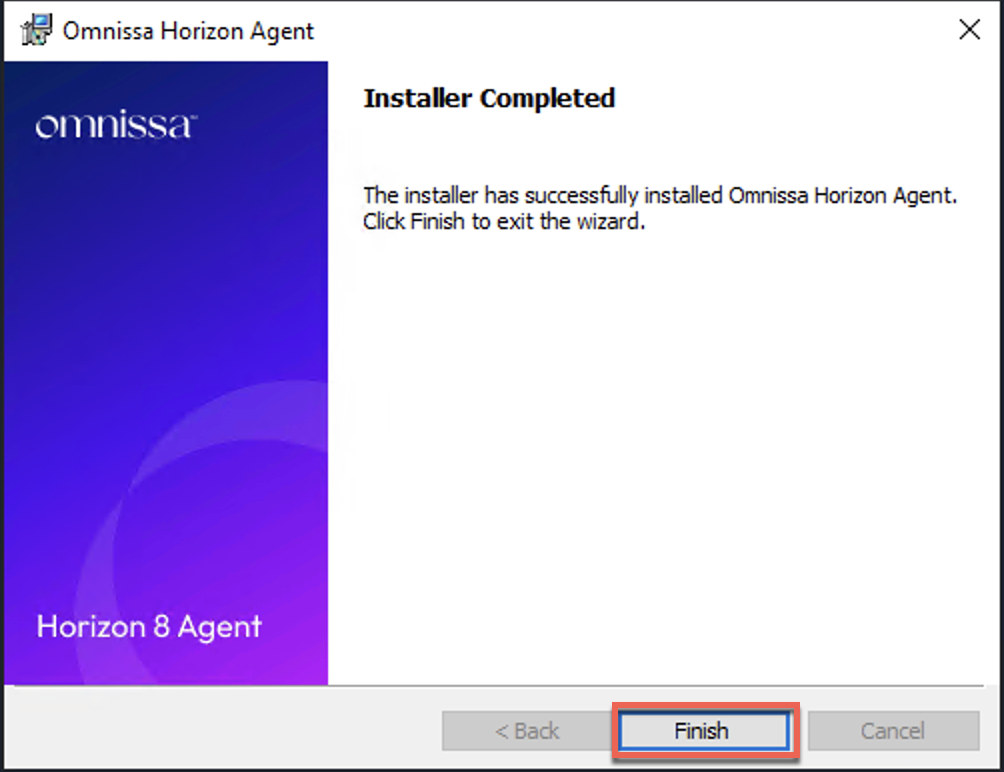
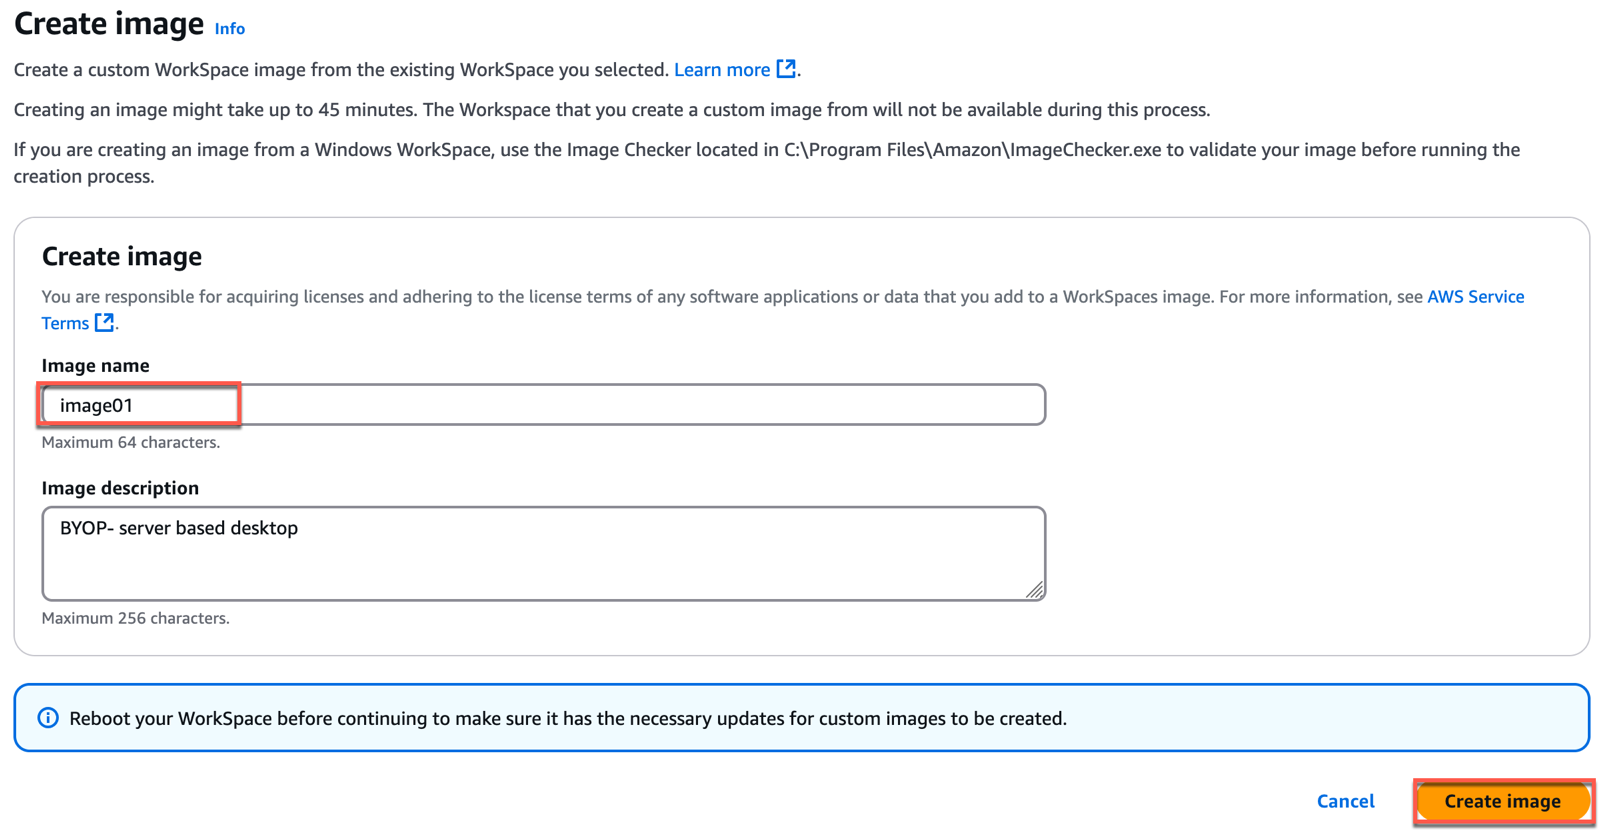
9. Navigate to Amazon WorkSpaces console > [Personal] > click on hyperlink of [Workspace Name] where you have installed the Horizon Agent > select [Create Image] > give the name of your choice to the image > [Create Image].
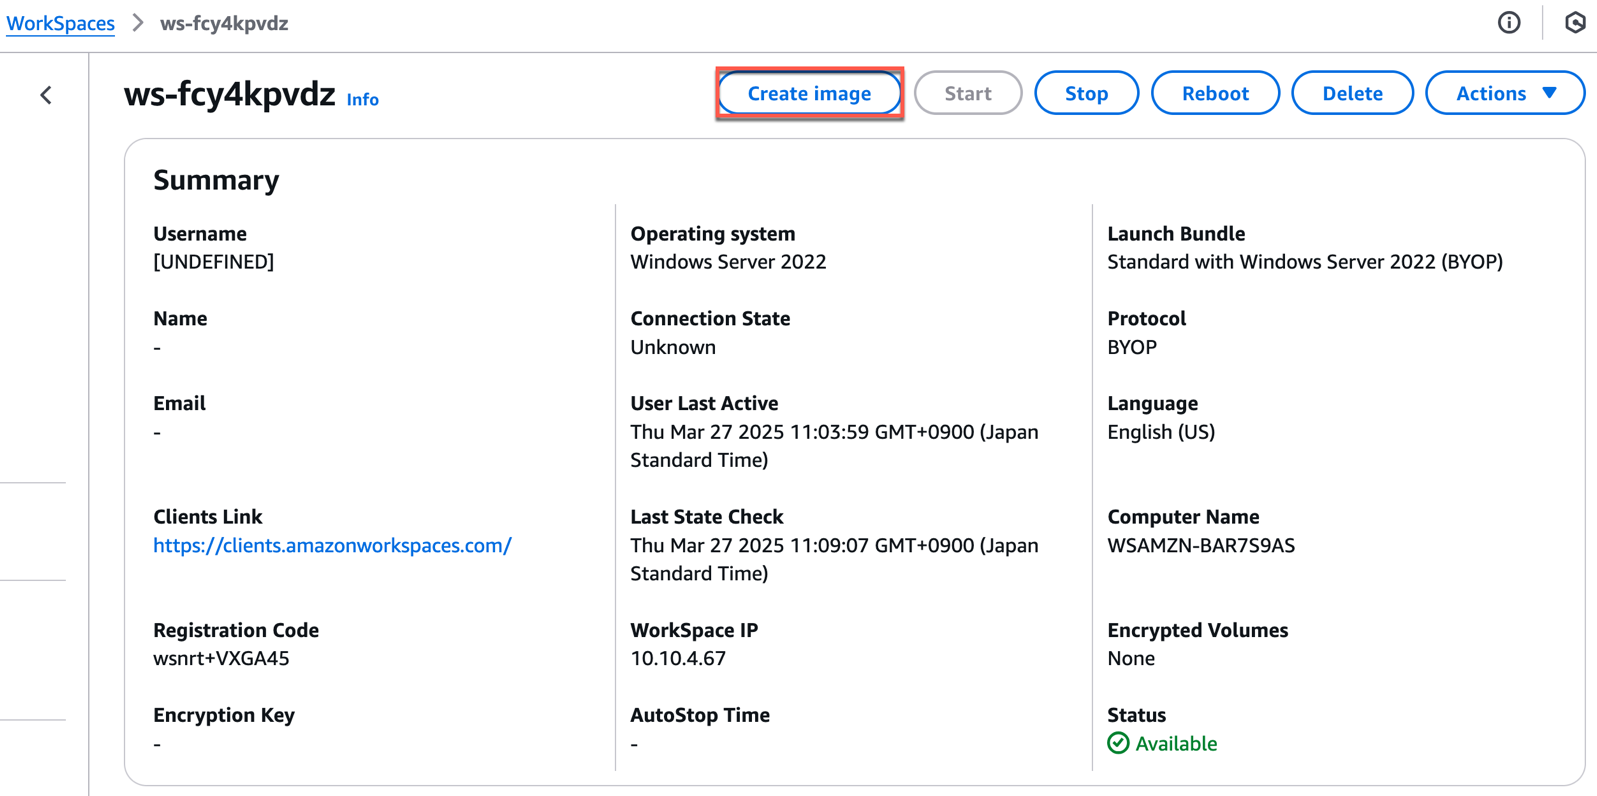
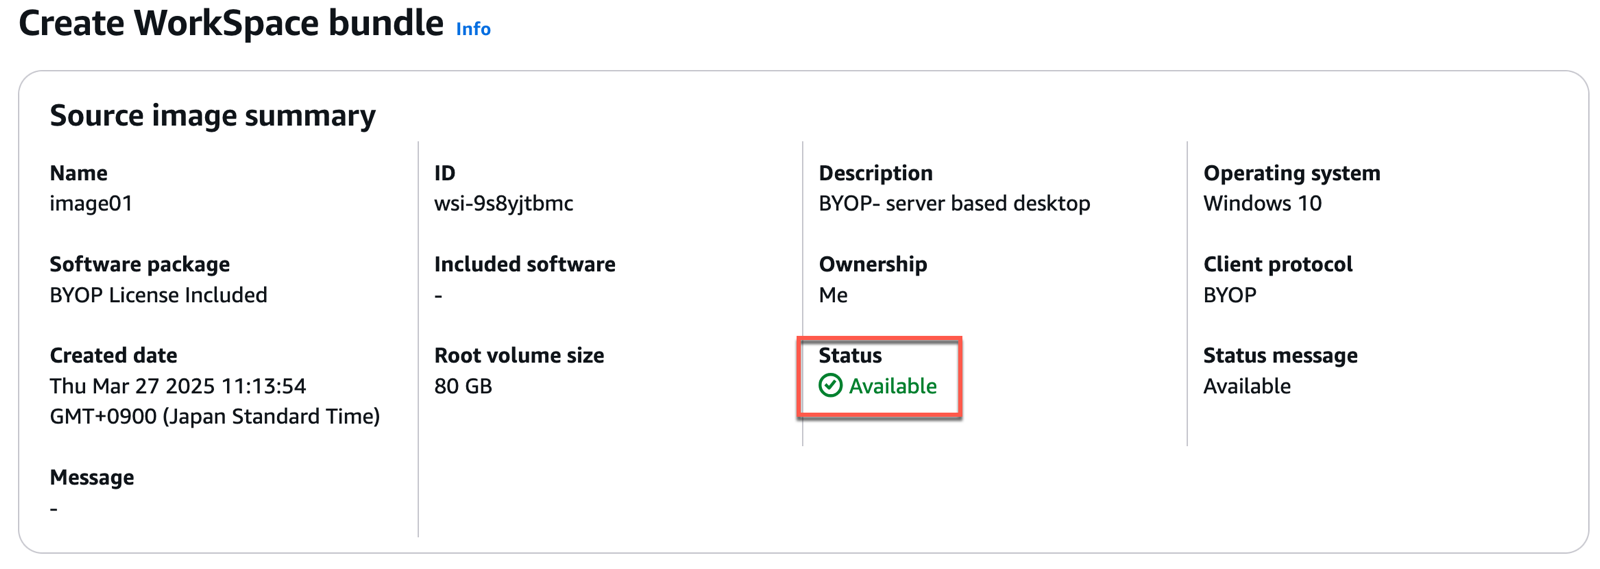
10. Confirm that the image is created successfully, and the status is [Available]. Image creation may take 30-40 minutes. If you can
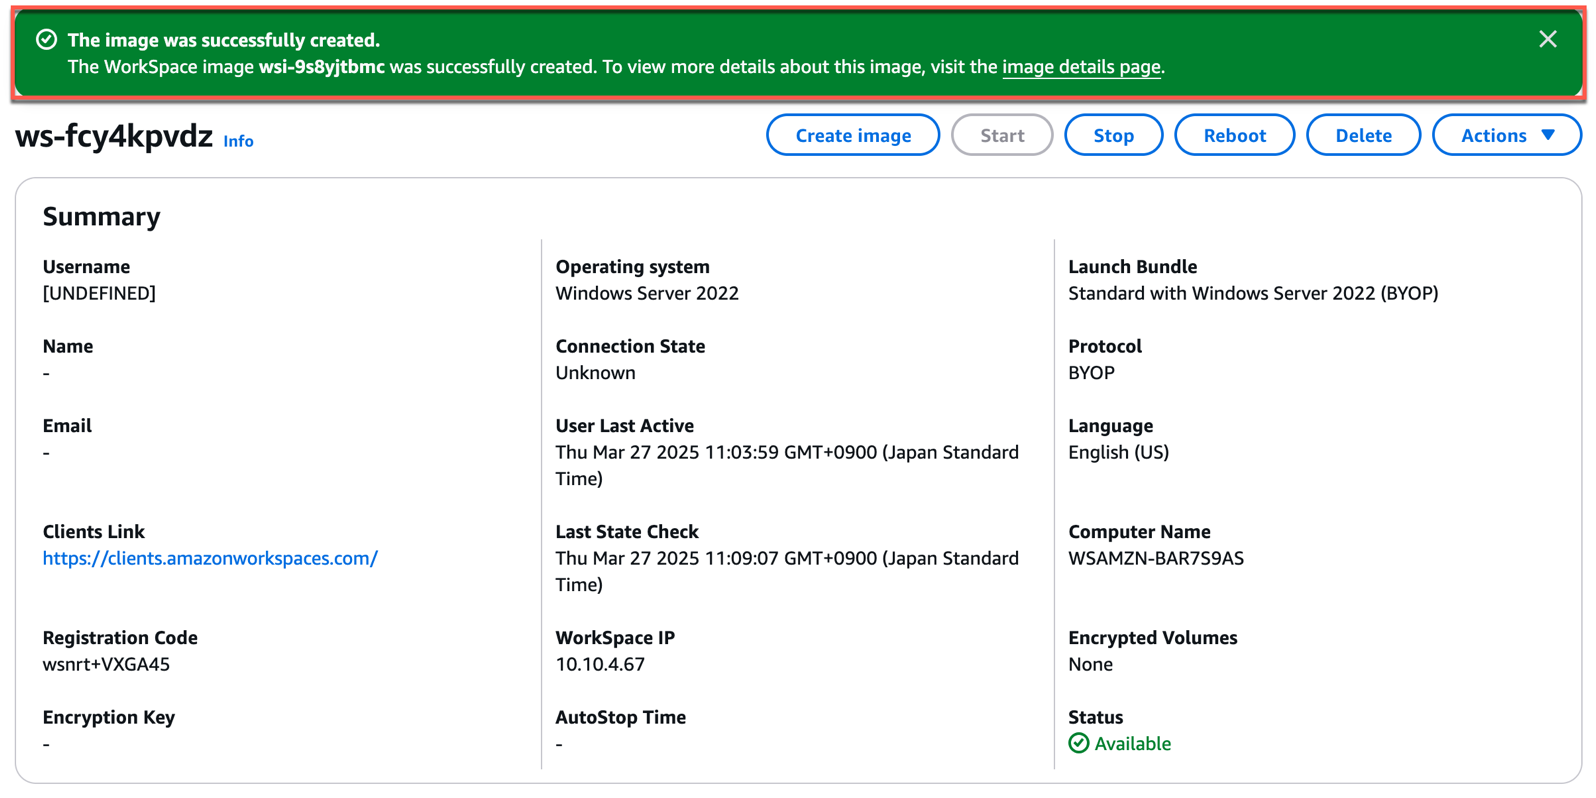
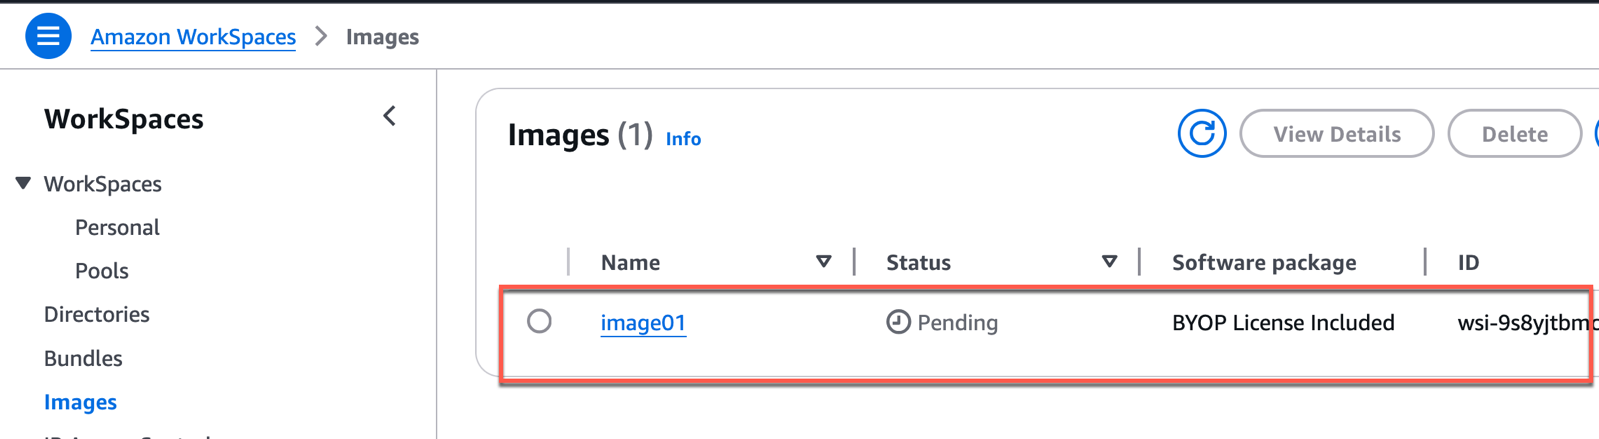
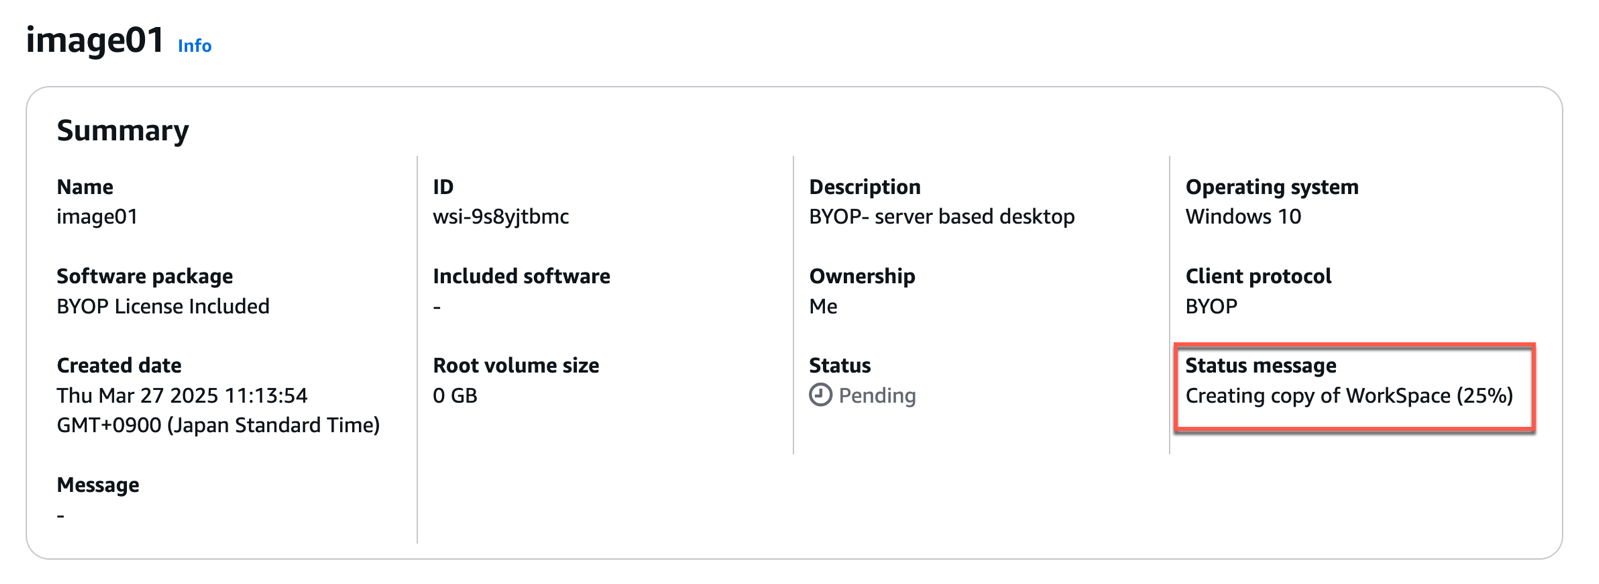
Note: Image creation may take 30-40 minutes. You can monitor the status in properties of image. Click at the image name hyperlink.

Create a bundle for Horizon 8 pool consumption
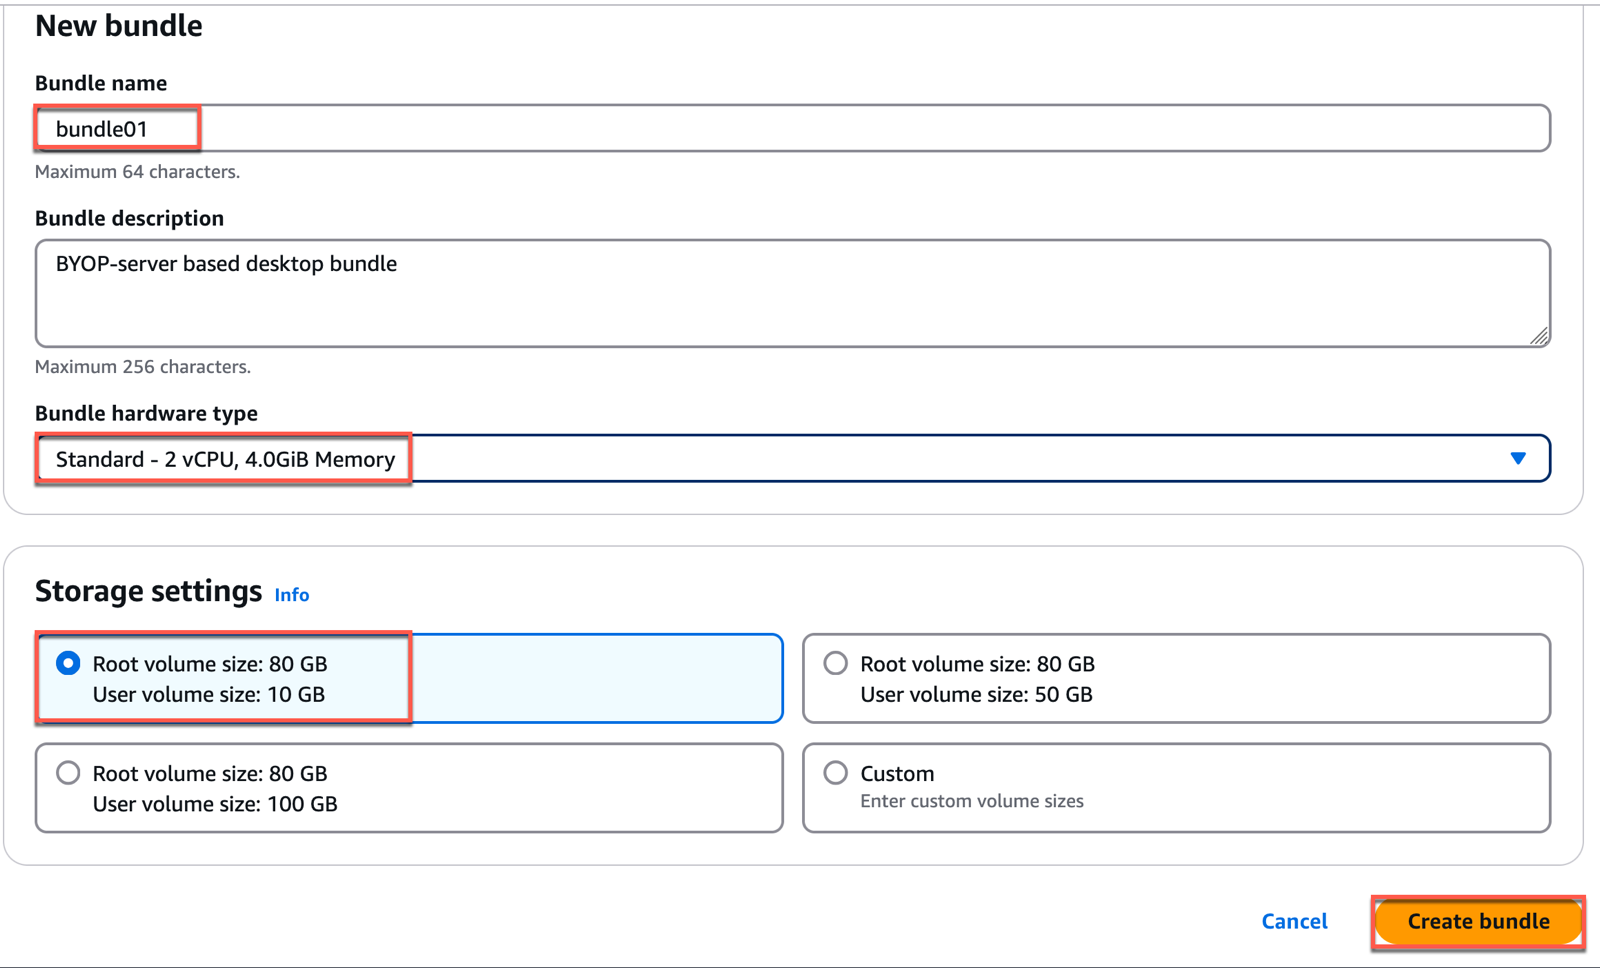
11. Once the image creation is completed and status becomes [available], select [Image] > [Action] > [Create Bundle] > give the name of your choice to the bundle in [Bundle Name] > select [Bundle hardware type] and [Storage] as you need > select [Create Bundle].

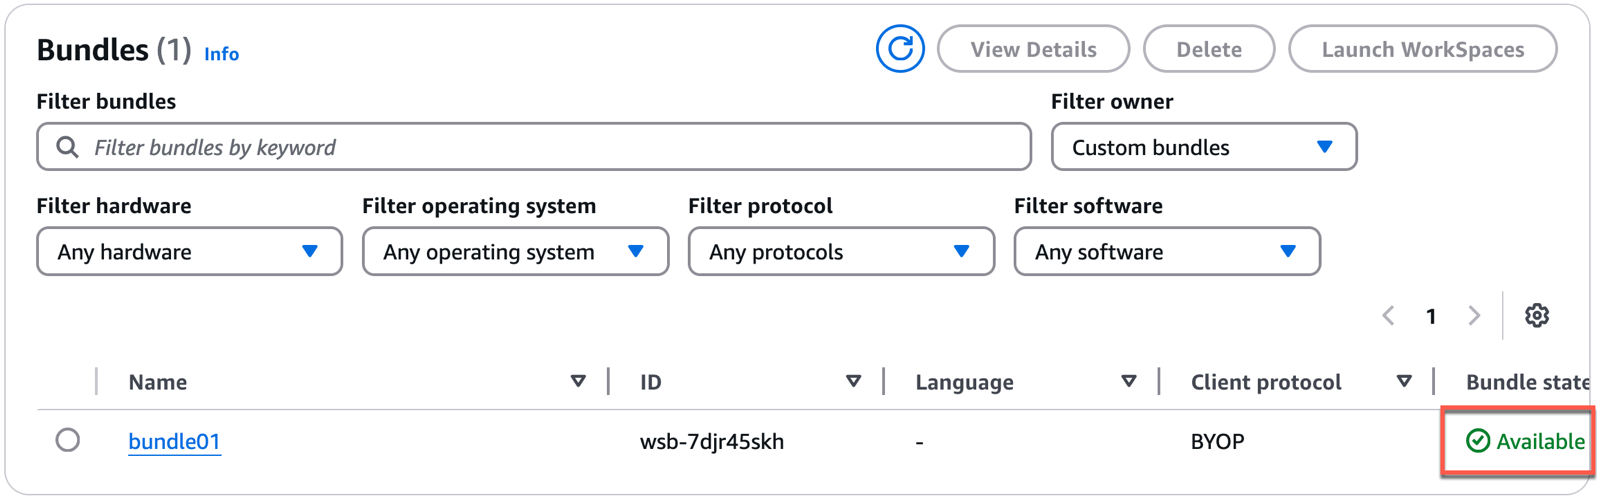
12. Confirm that your bundle has been created successfully, and status is showing as “Available”.

Create a pool in Horizon 8 admin console
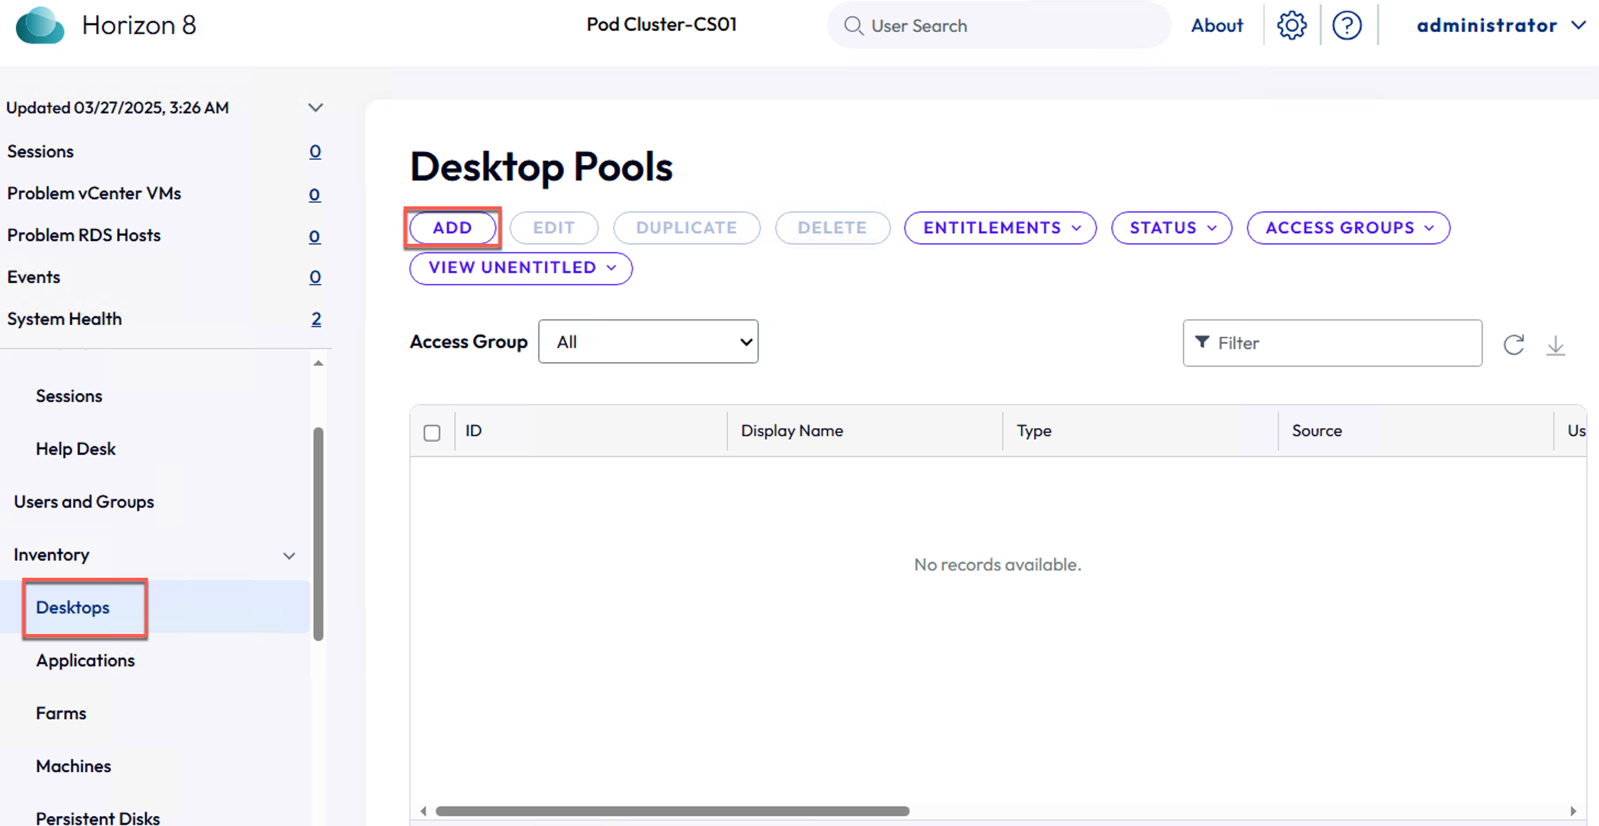
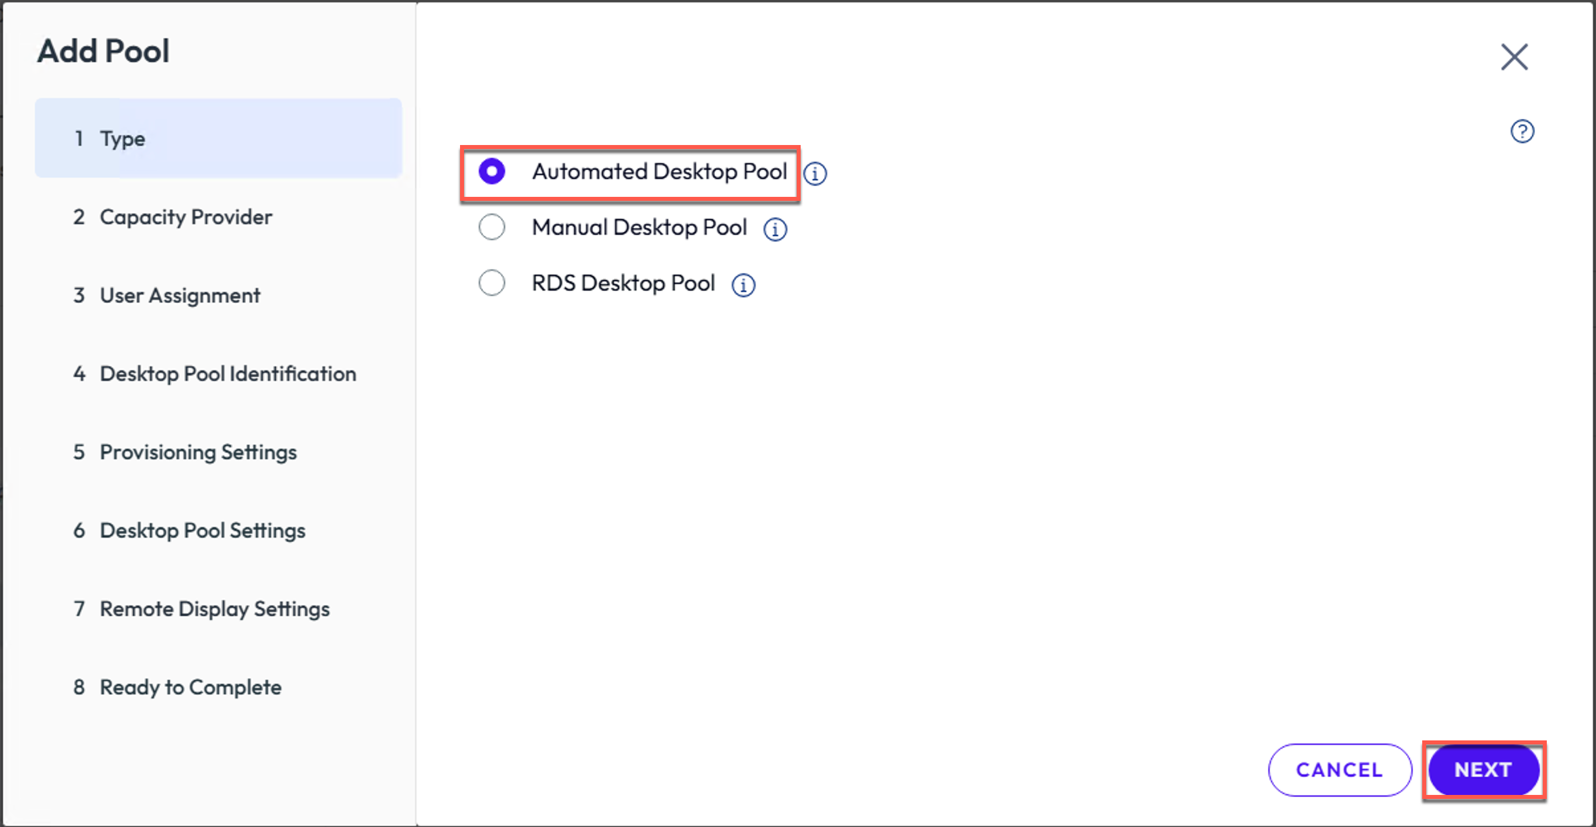
13. Login to Horizon 8 admin console > [Desktops] > [Add] > [Automated Desktop Pool] > [Next].
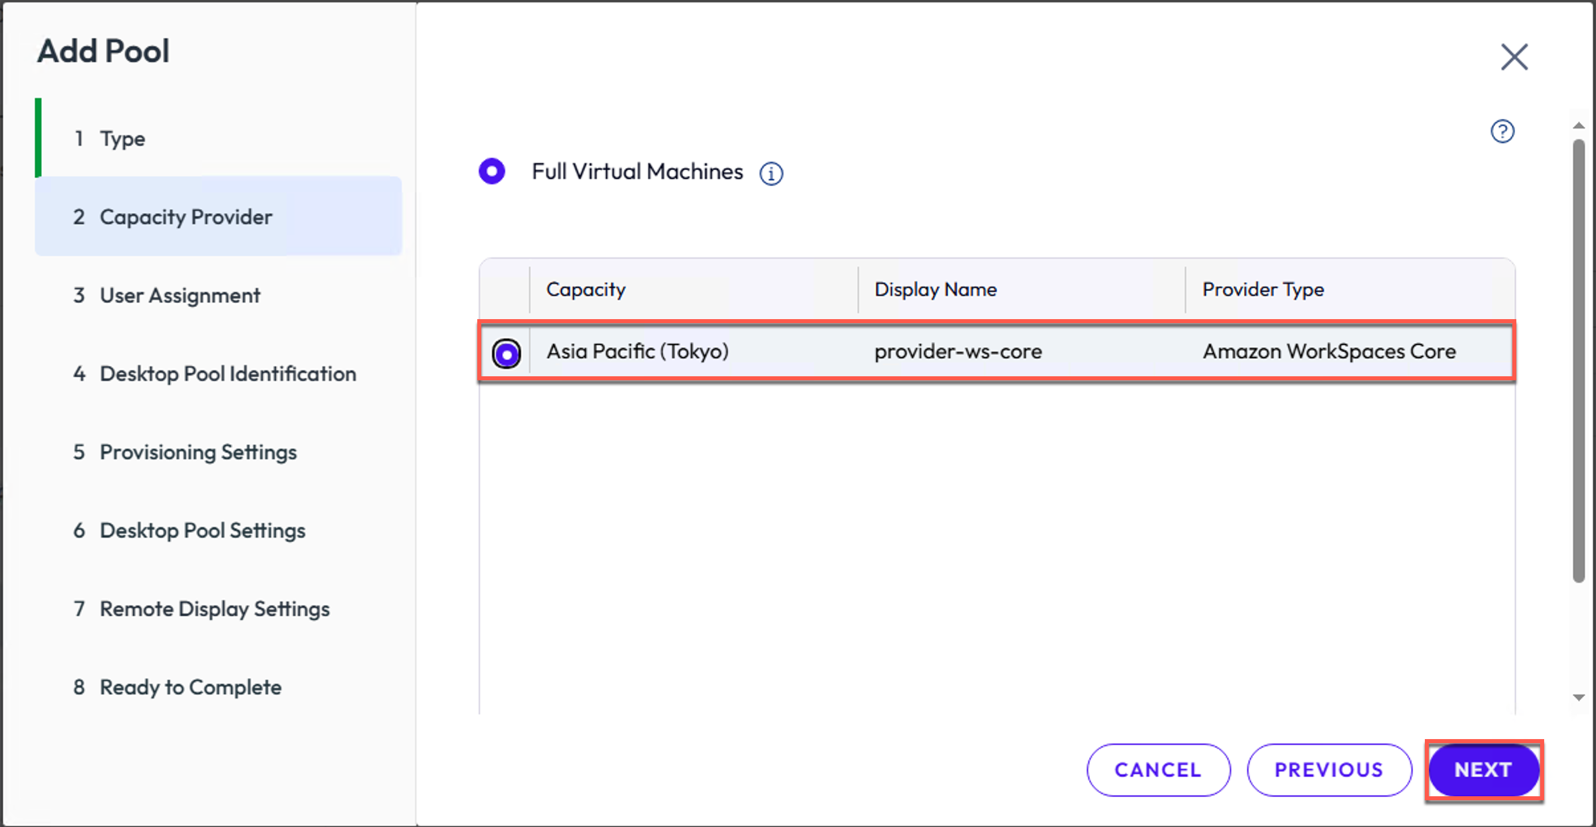
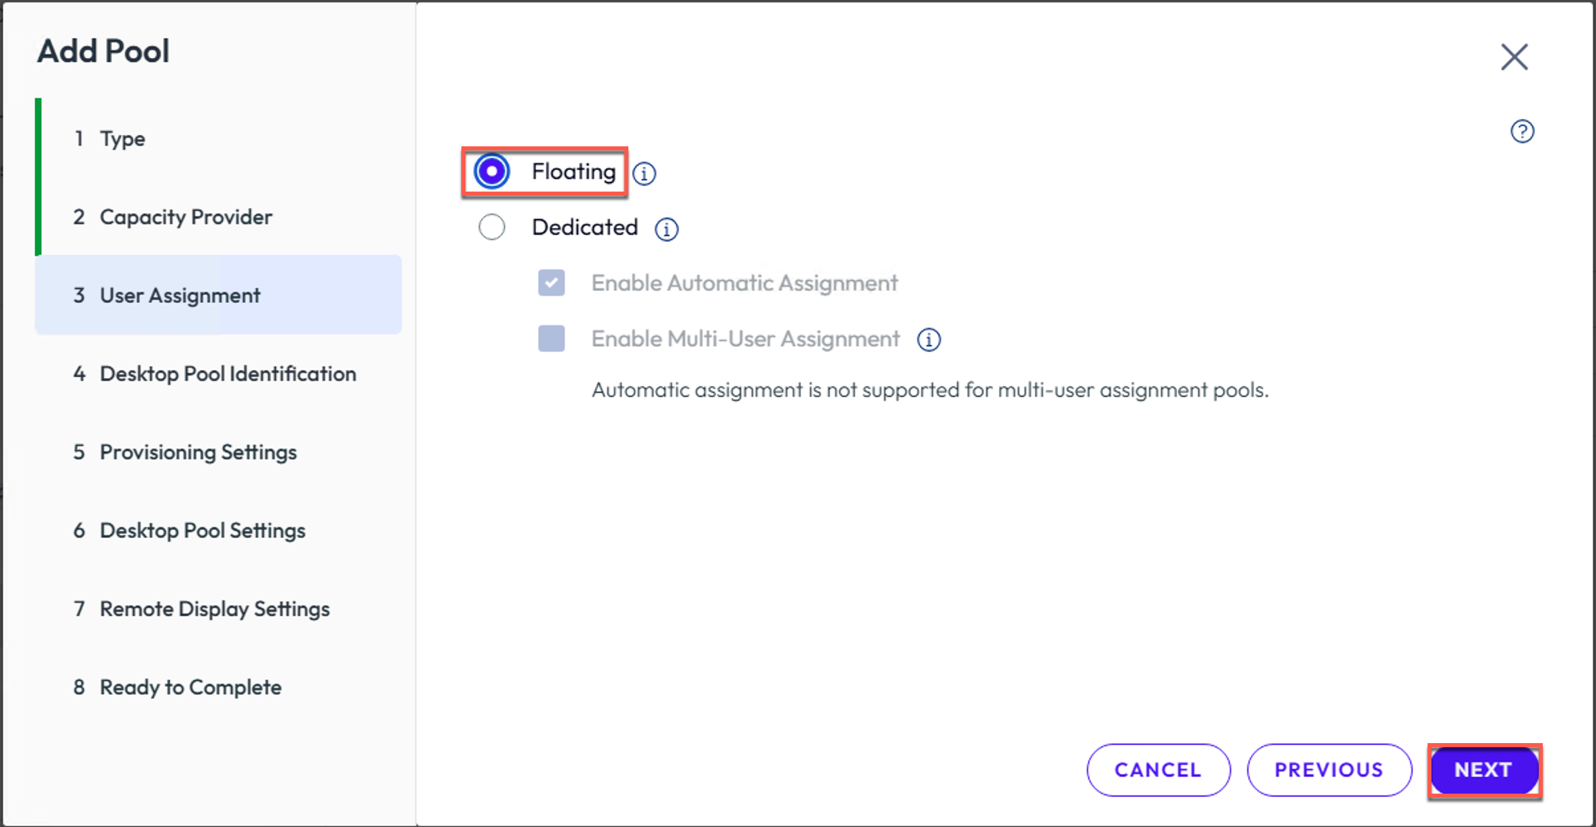
14. Select the Amazon WorkSpaces Core capacity provider which have registered during the installation and configuration (part-I step#29,) > [Next] > set the assignment type as [Floating] or [Dedicated]. I am selection floating for my testing purpose.
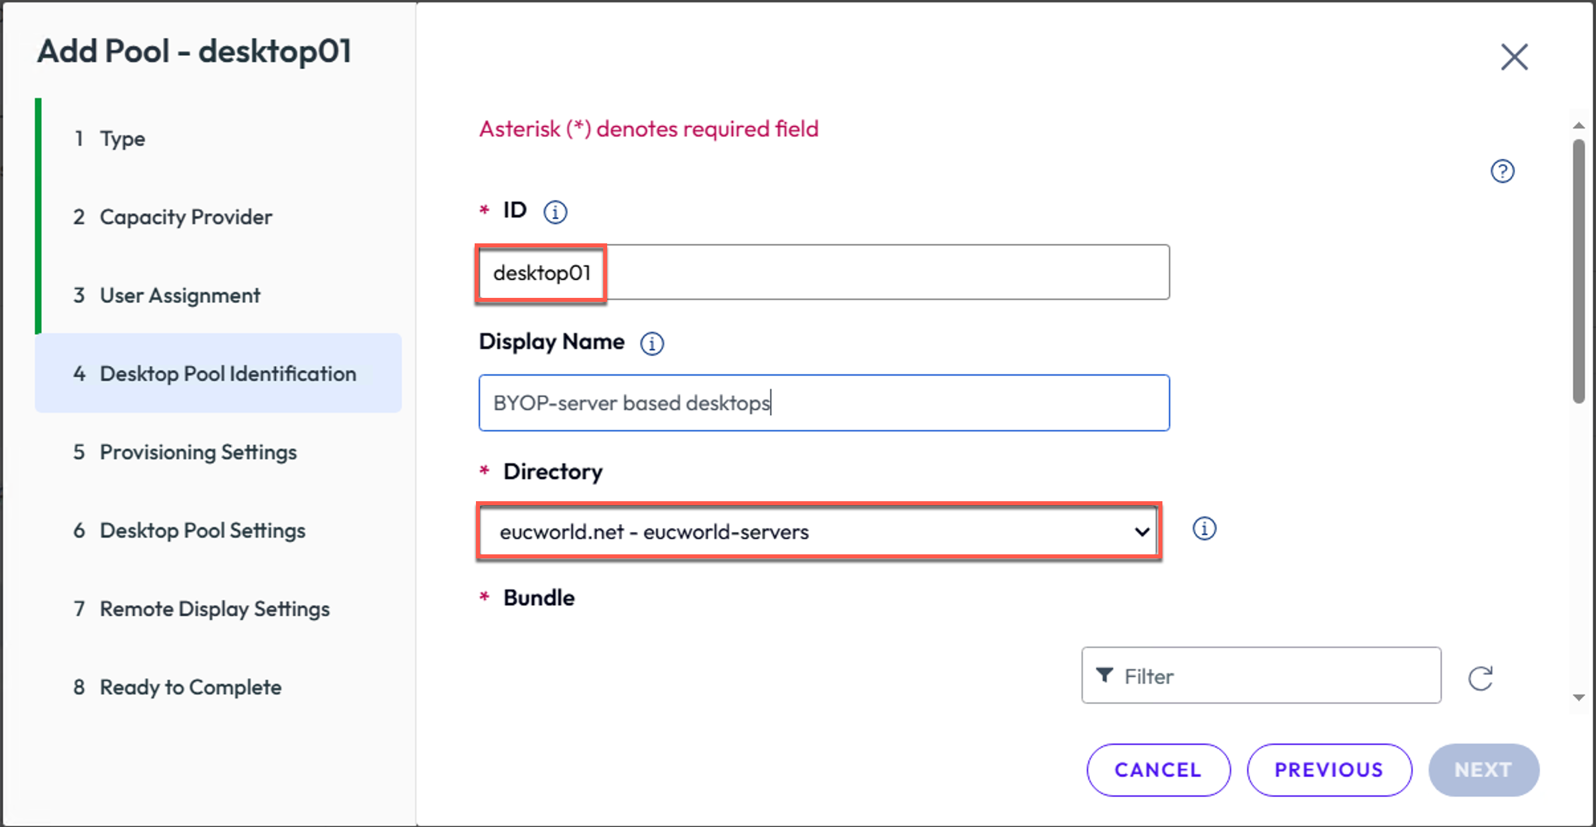
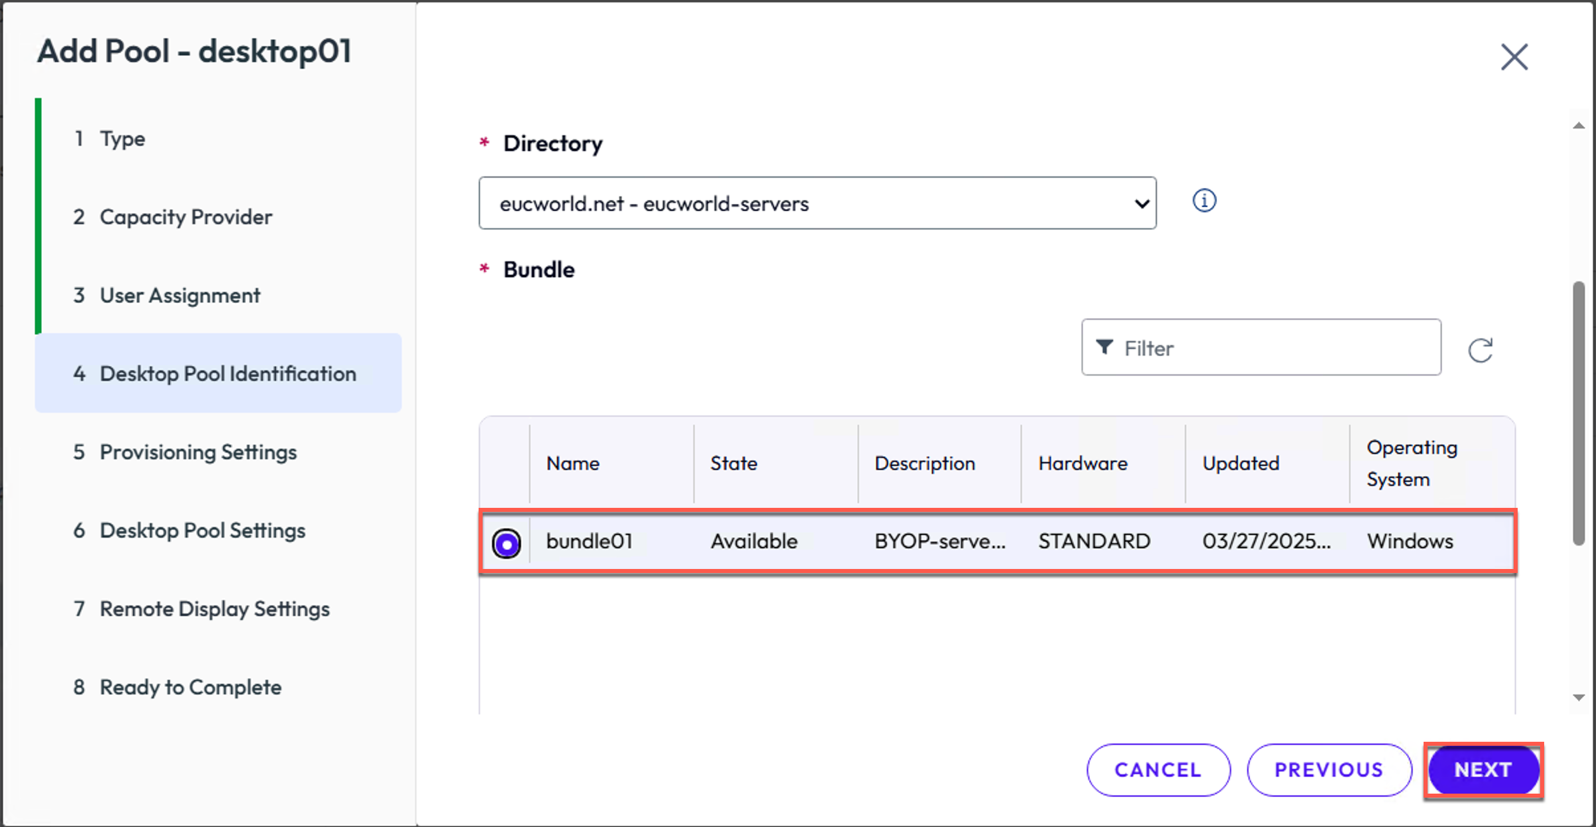
15. Select the [Directory] and [Bundle] which you have created in Amazon WorkSpaces.
Directory: The pool desktops follow the configured settings in Workspaces directory i.e. DNS, Network Subnets etc. Directory name format showing in Horizon pool wizard is format <DNS name> – <Directory Organization name>. In my case
DNS = eucworld.net
Workspaces Directory org name = eucworld-servers (Part-I post, step#7)
Note: you can give the name of your choice to the Organization Name however it needs to be publicly unique)
Bundle: Bundle is the golden image template from which the pool desktops are cloned or created.
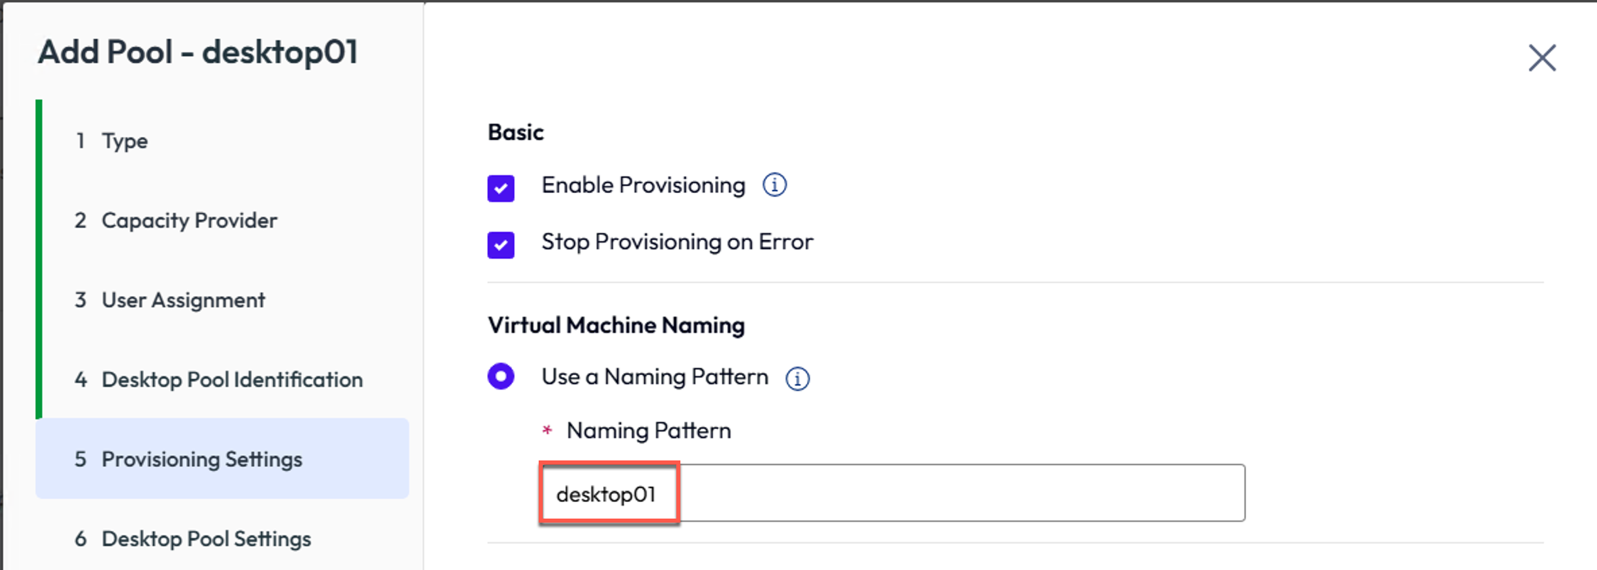
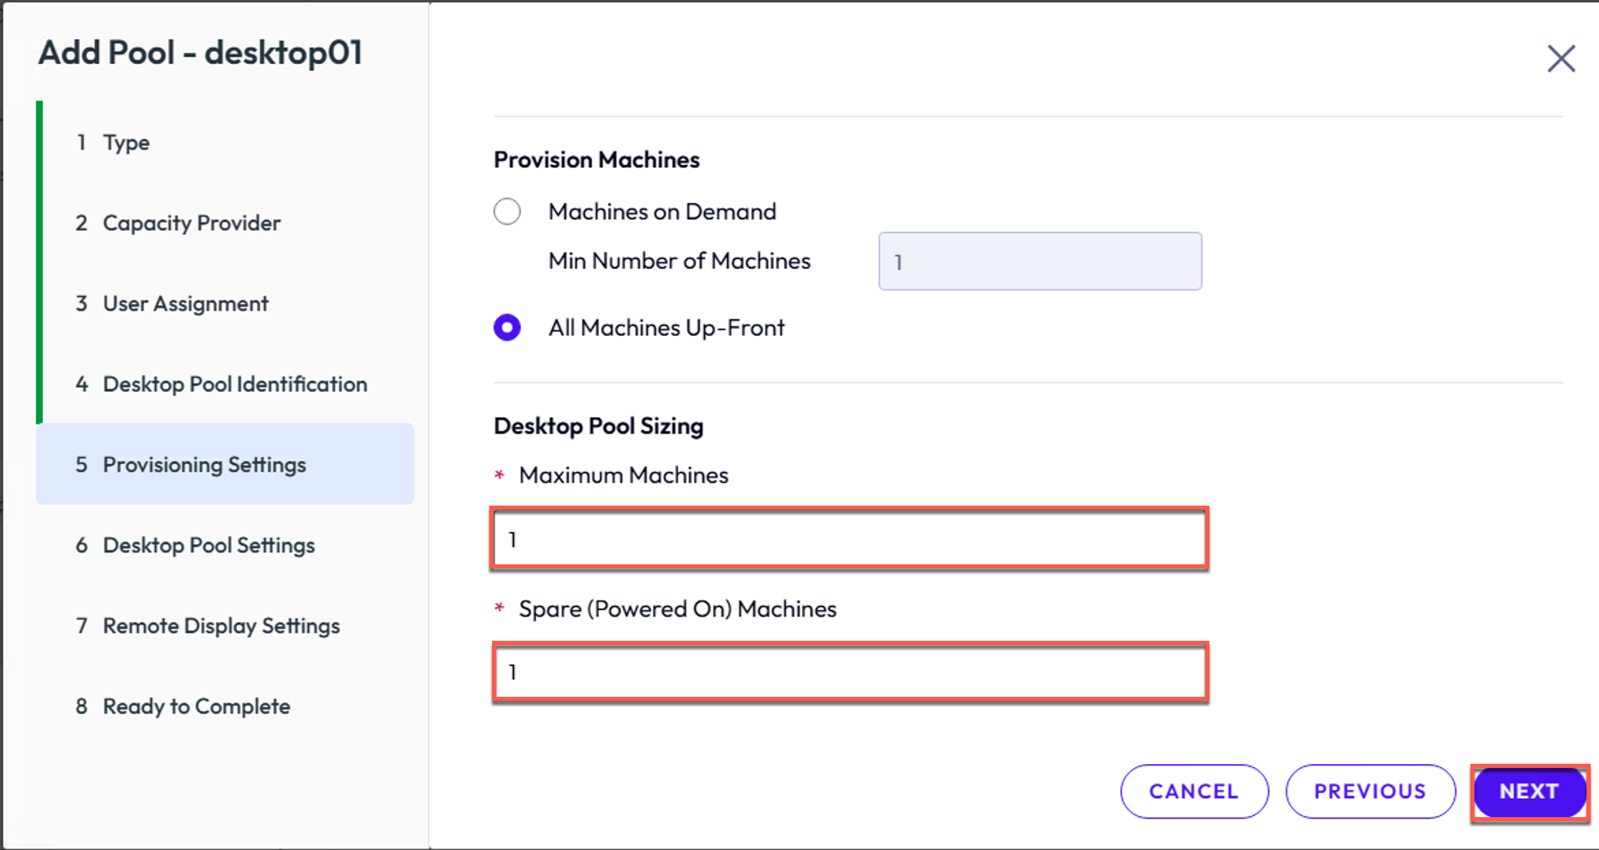
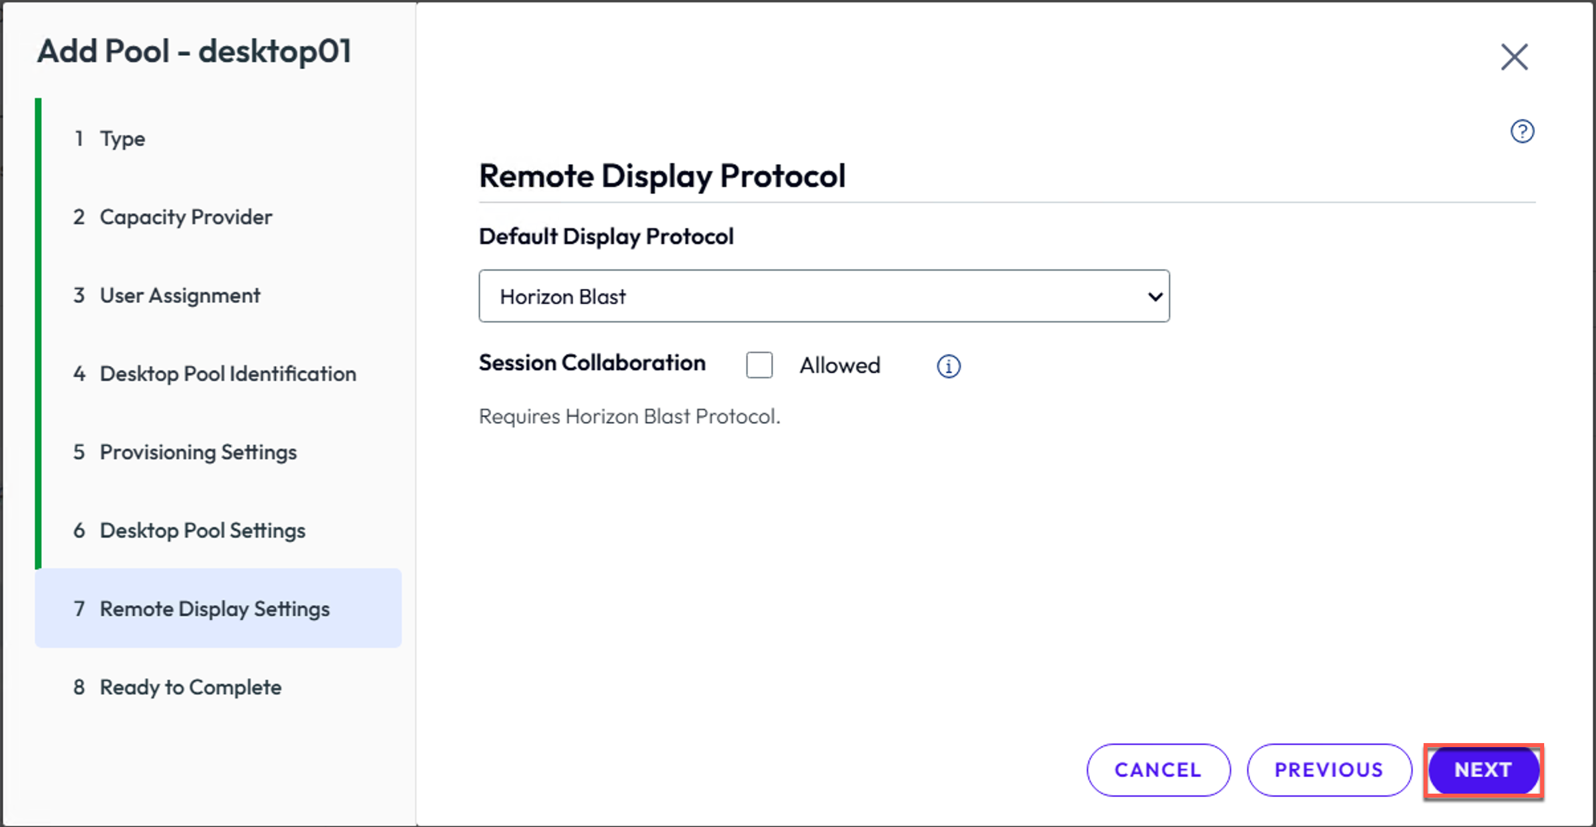
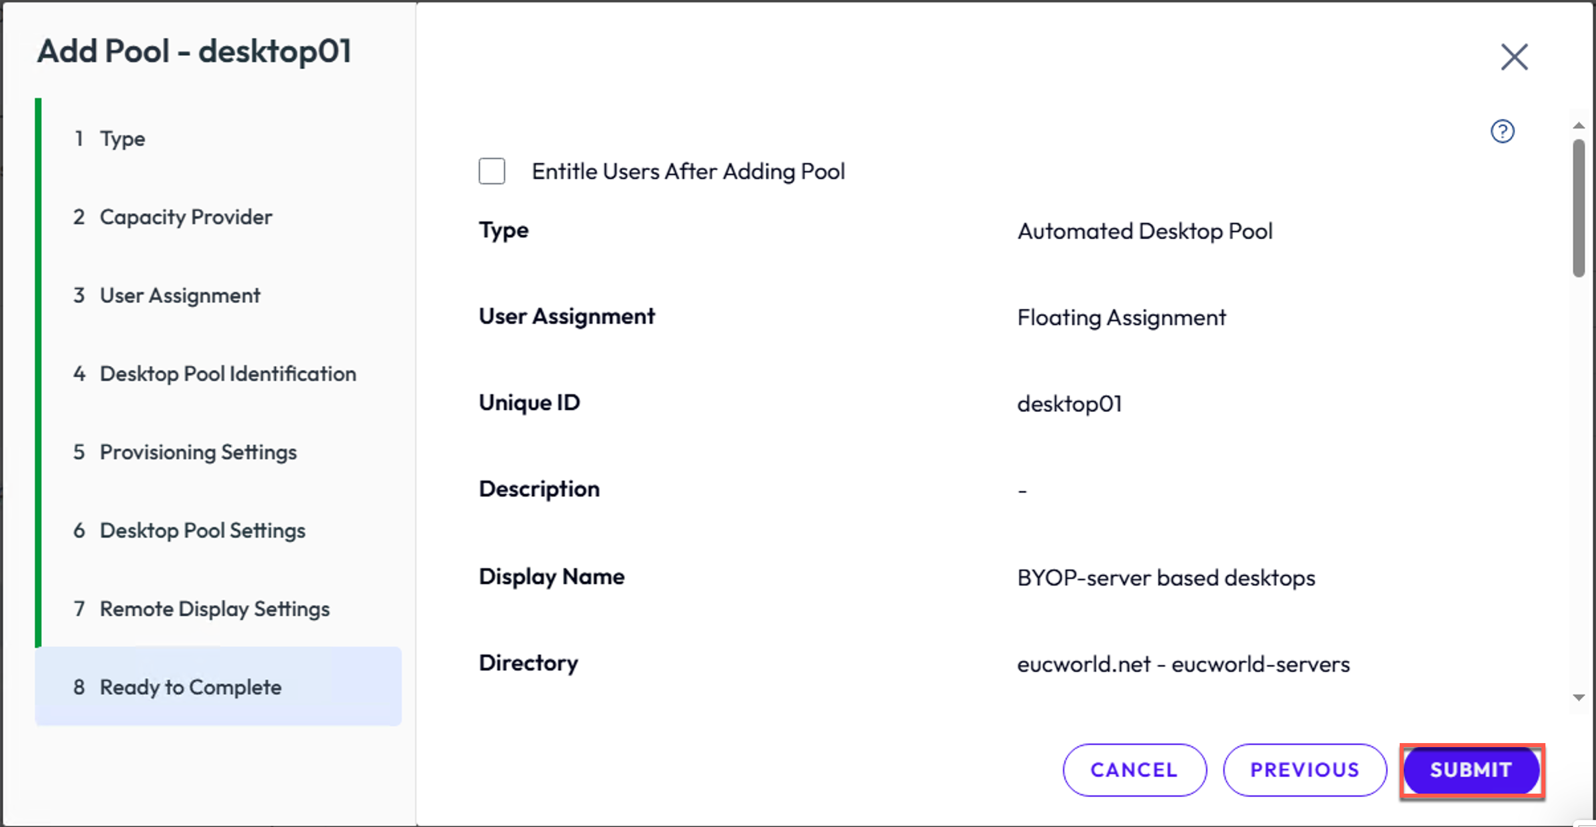
16. Provide the remaining parameters for pool provisioning as needed and [Submit] for pool creation.
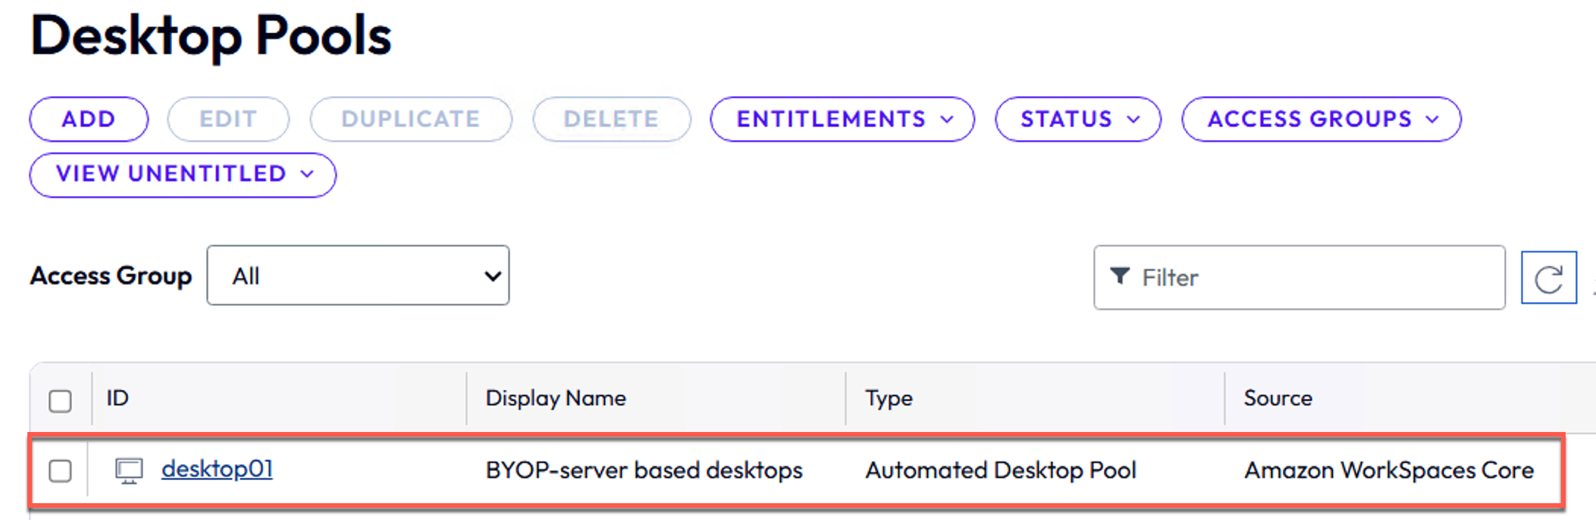
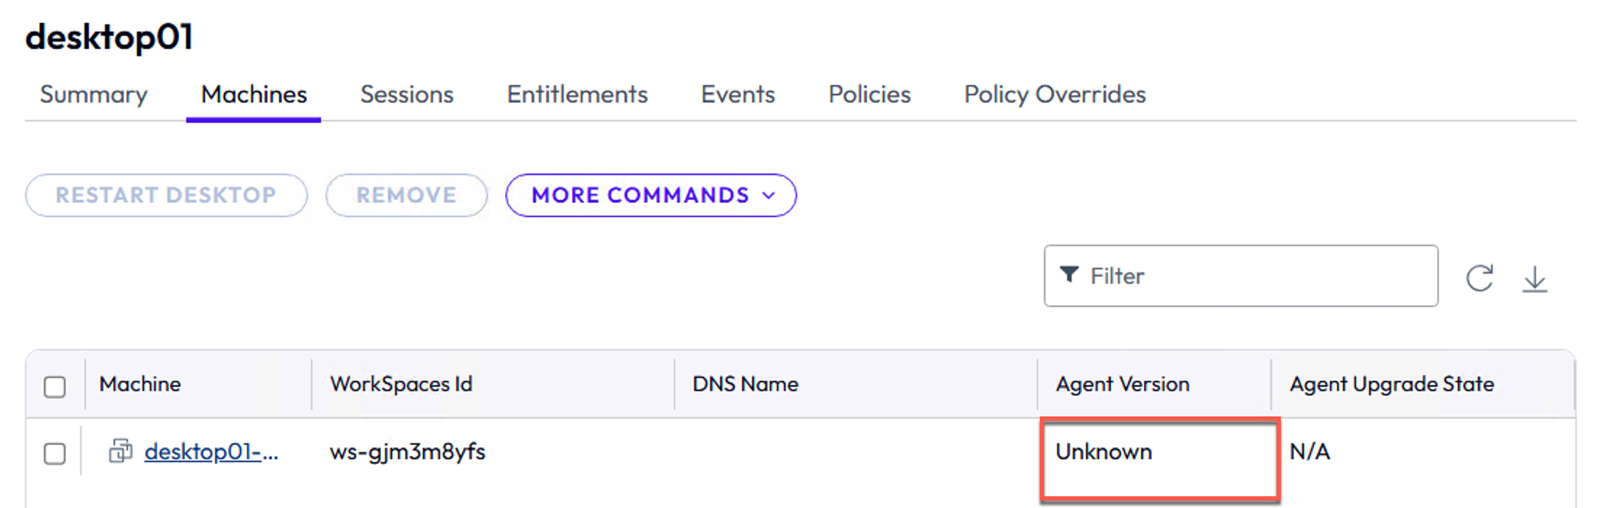
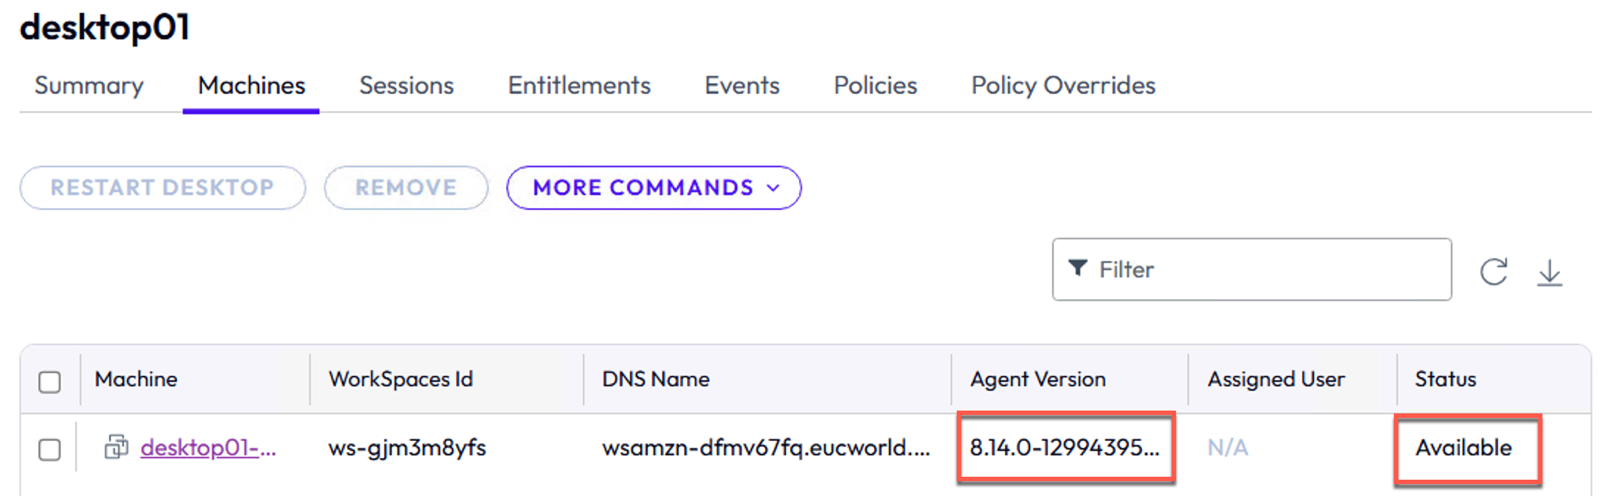
17. Click on hyperlink of [Pool Name] > [Machines] > you will see the agent status of machine is unknown right after the submission of pool creation. It may take 10-12 minutes until pool creating complete and agent status become available.
Entitle the user/user-group and access the pool desktop
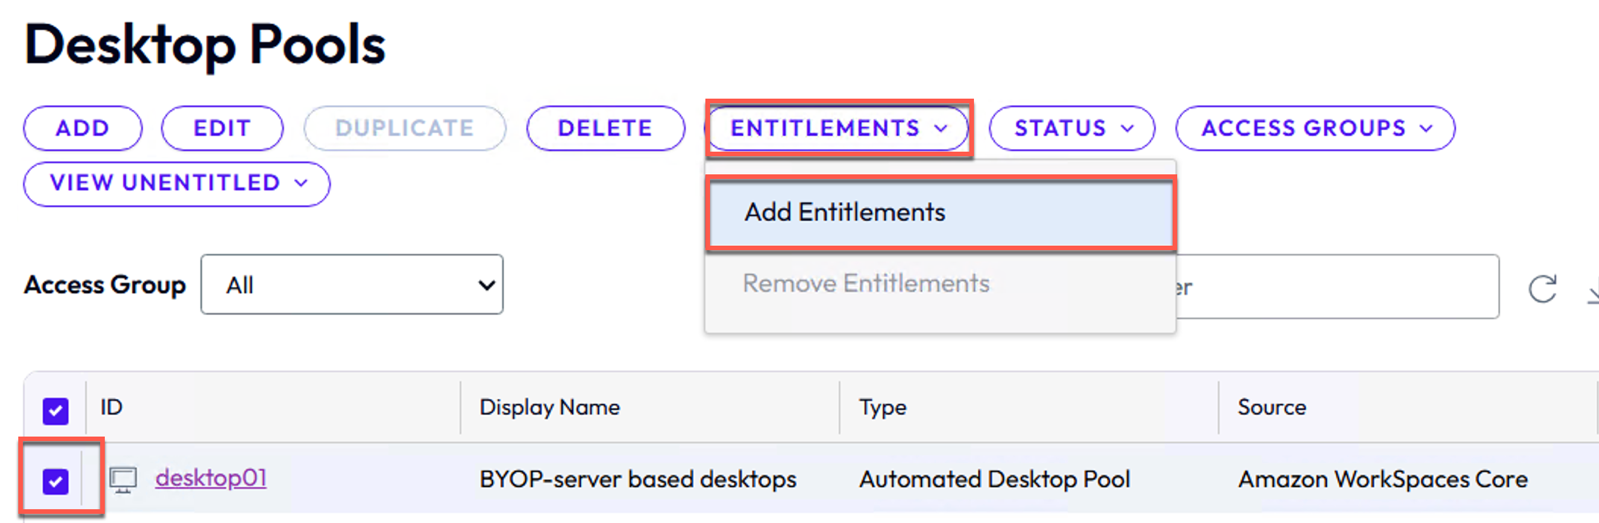
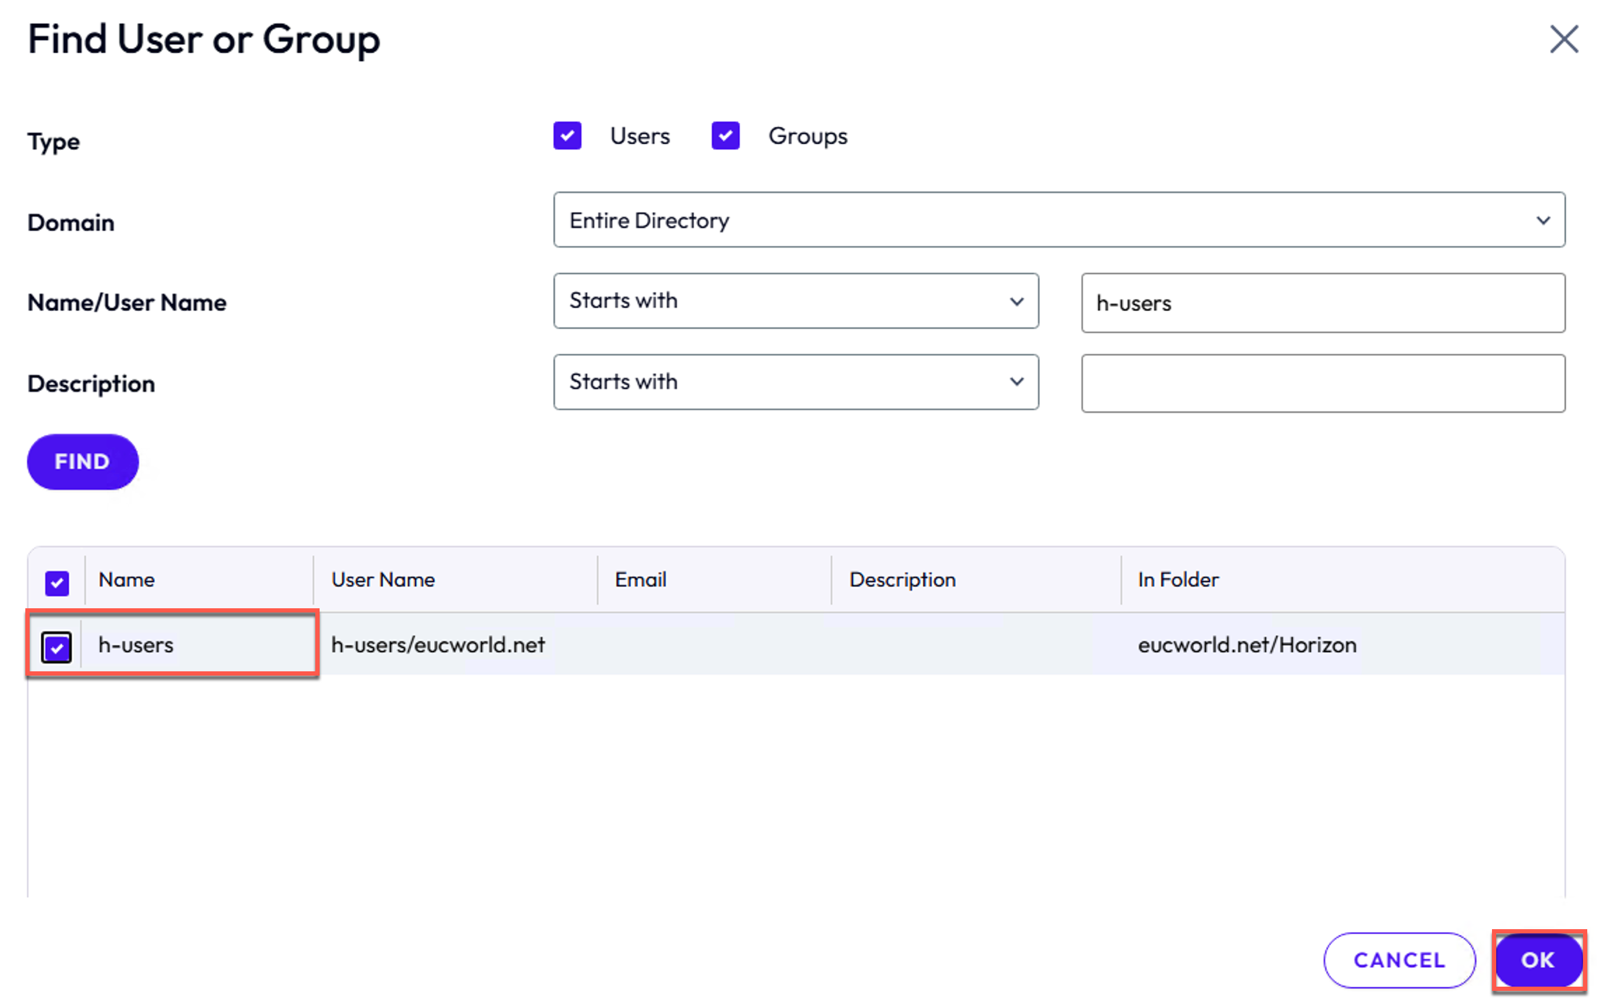
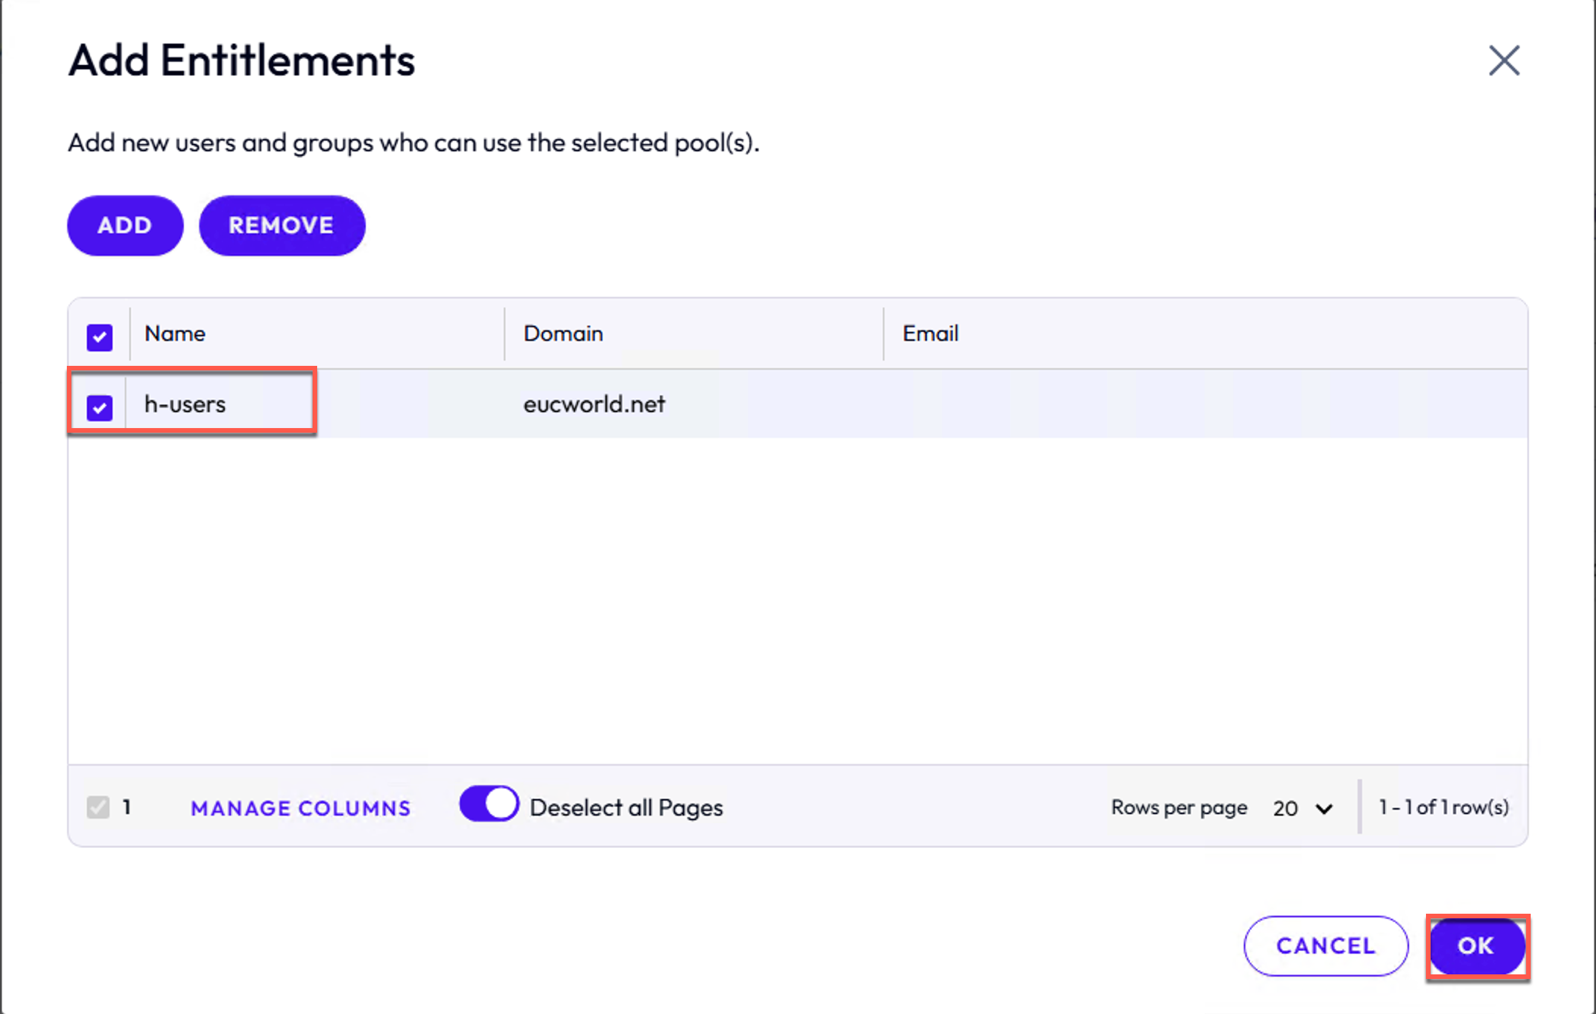
18. Entitle the AD userGroup to the pool in Horizon 8 admin console > [Desktops].
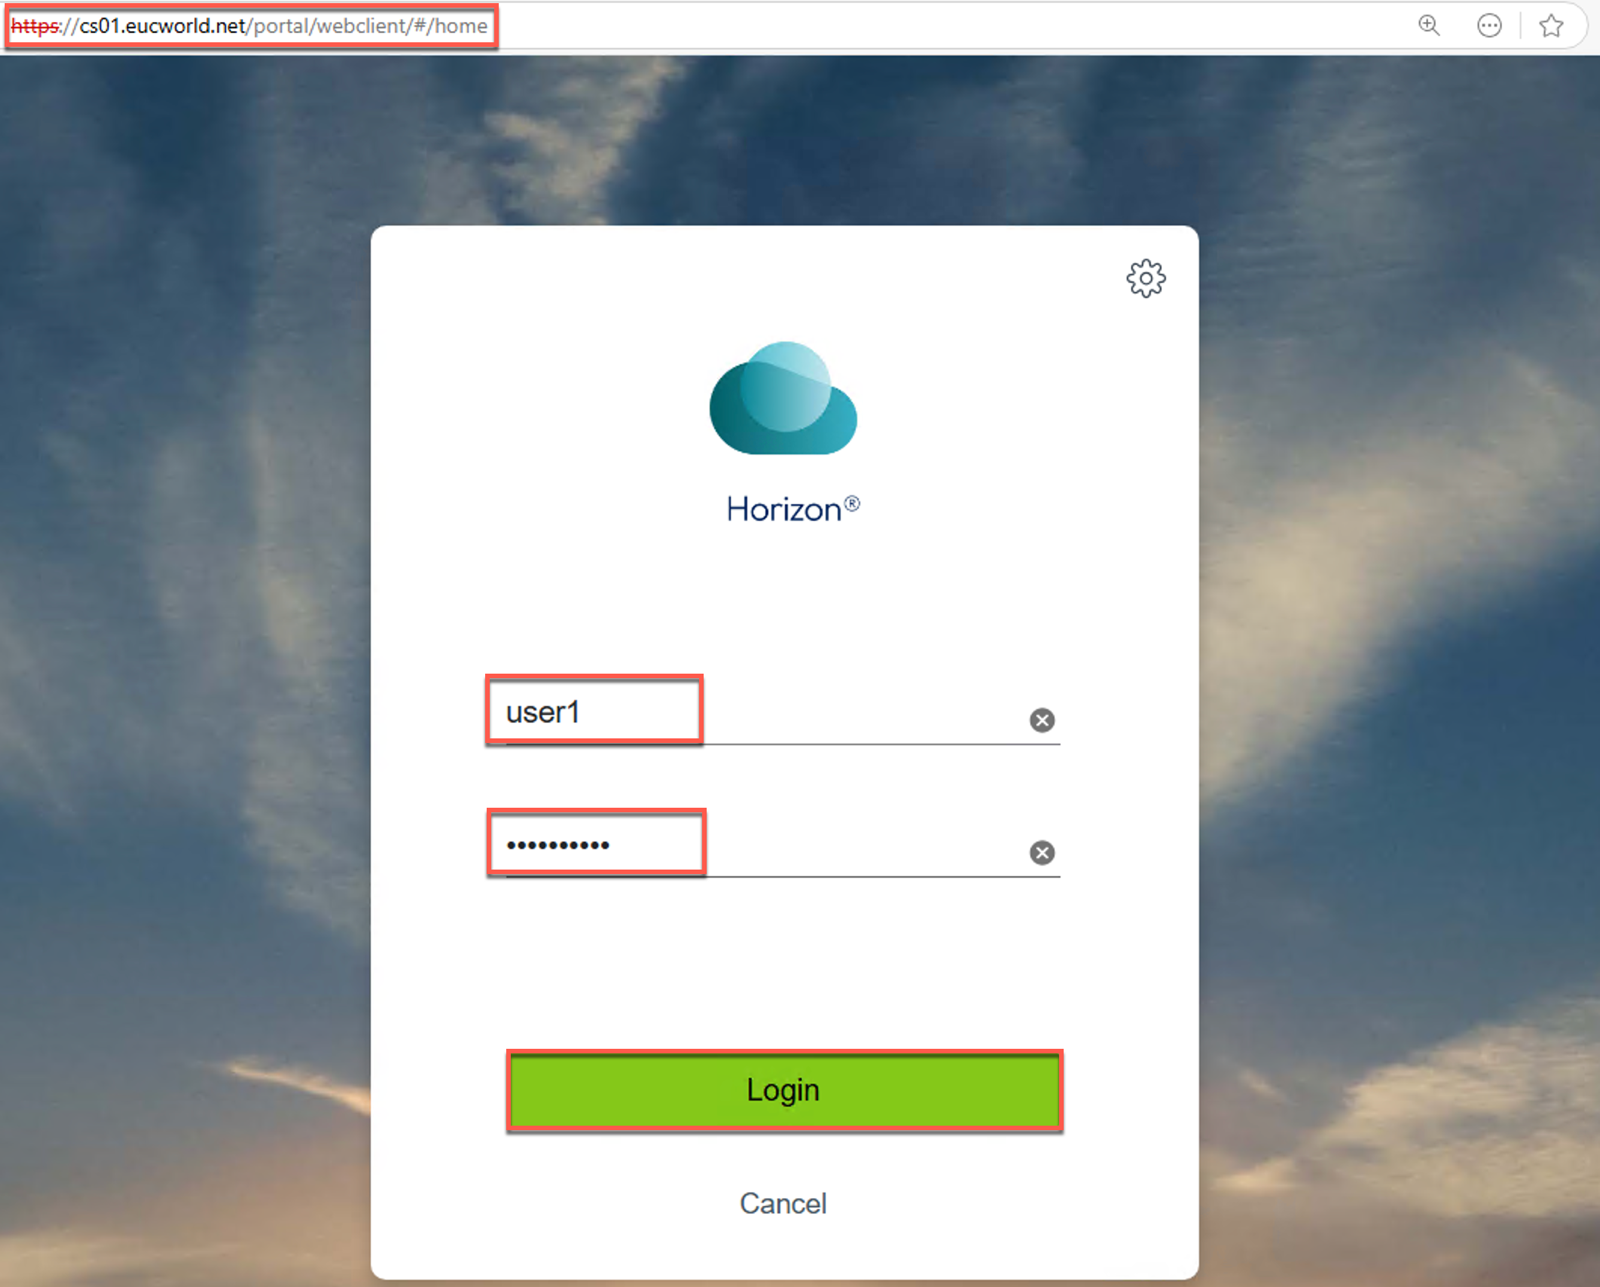
19. At this stage, I haven’t deployed the Unified Access Gateway in my environment, so I am accessing the desktop internally by using connection server FQDN.
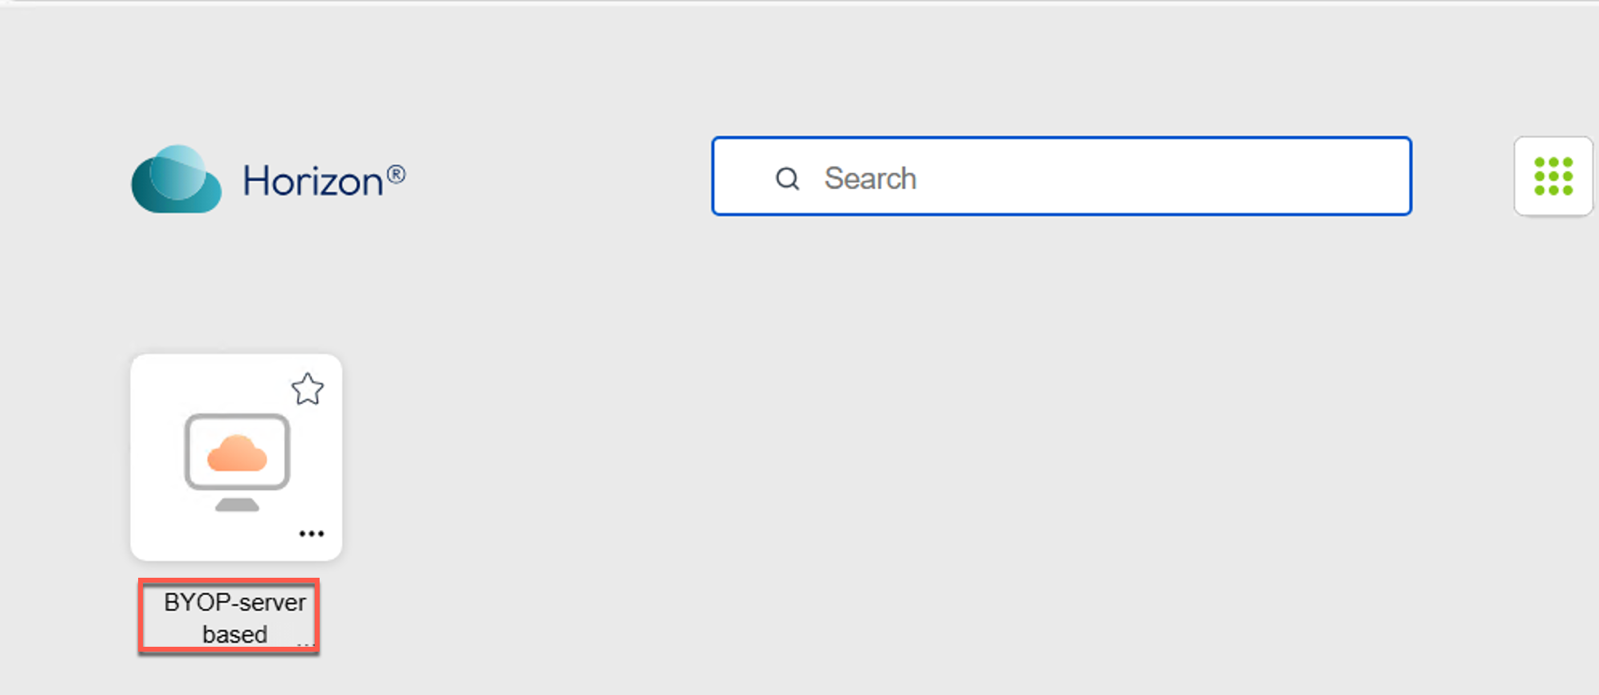
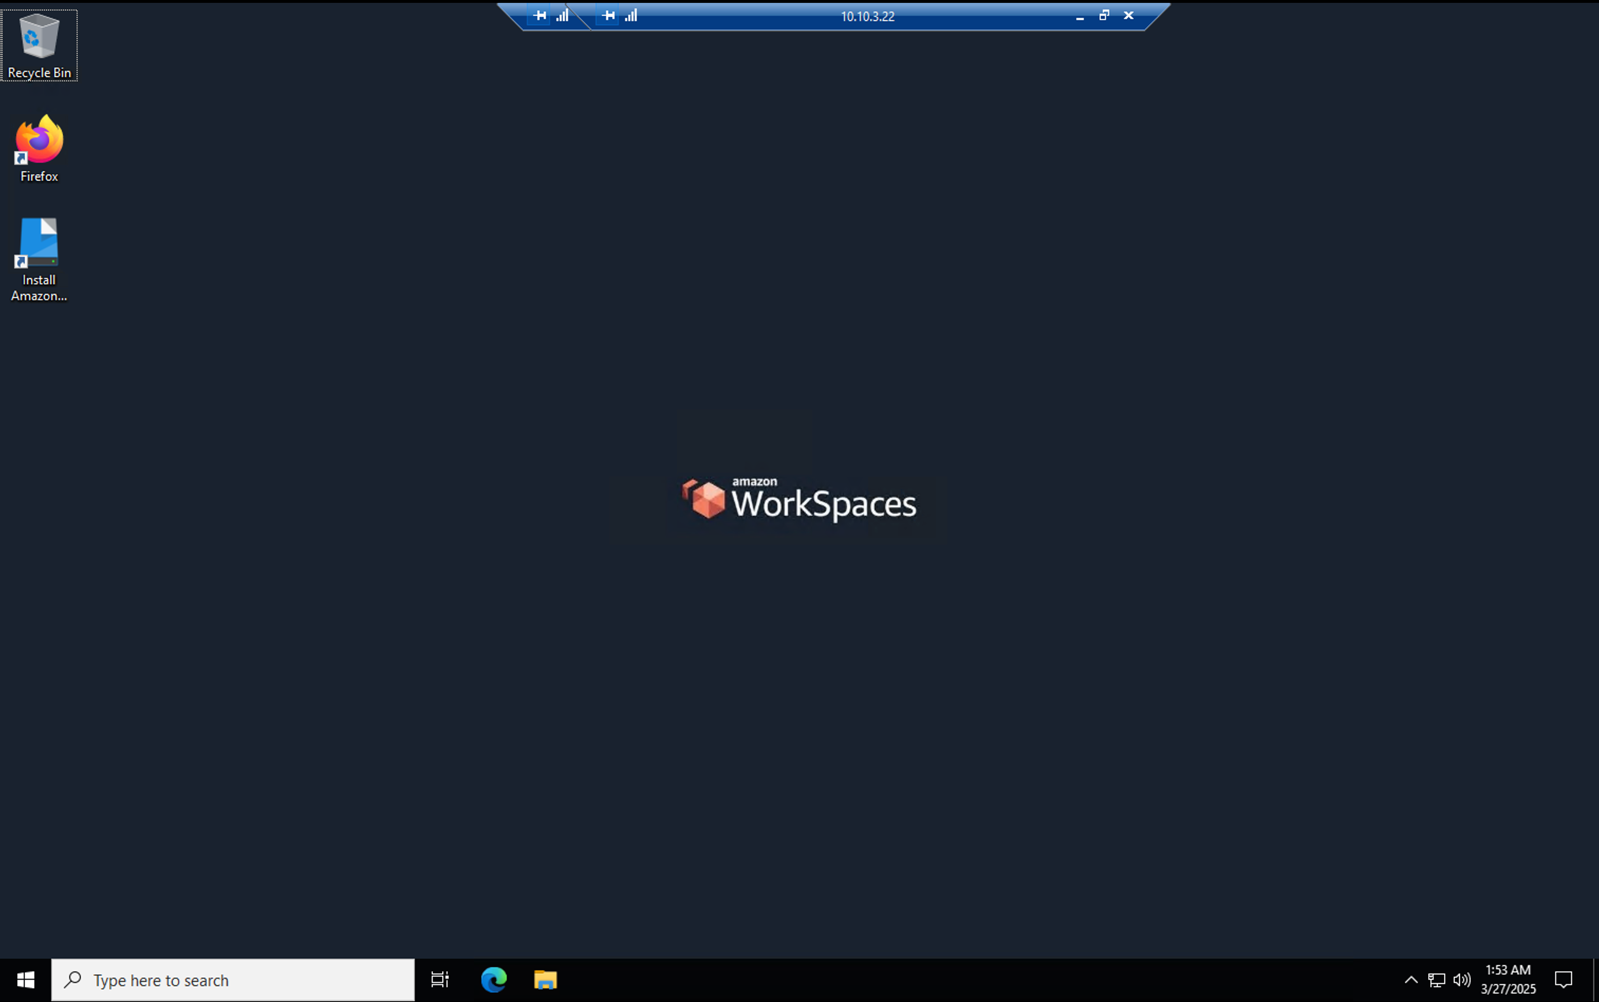
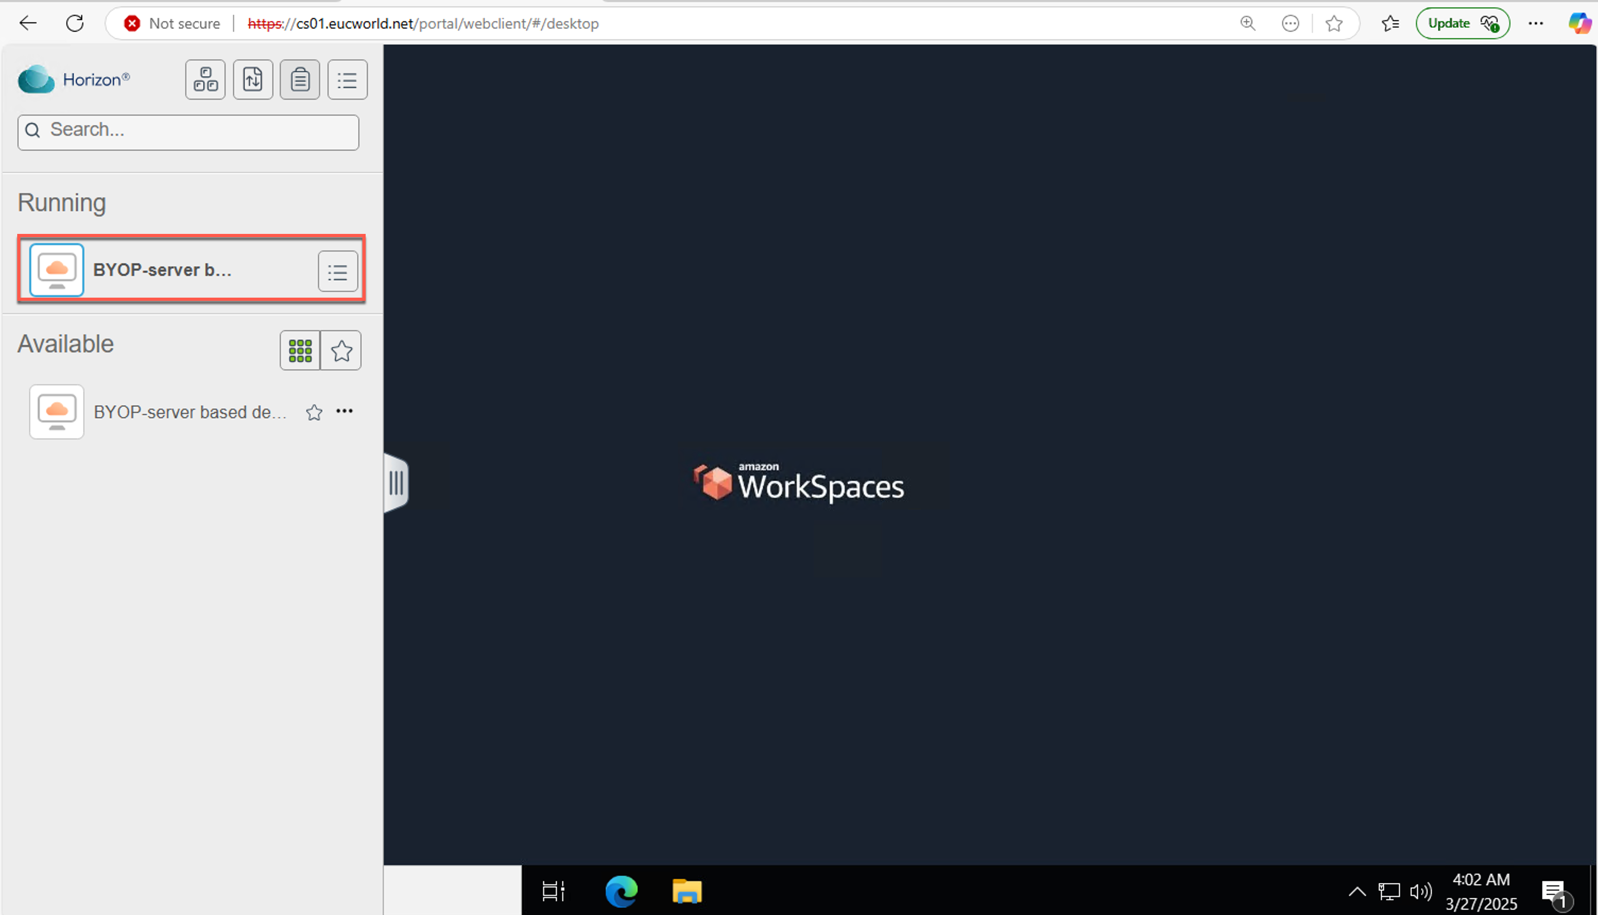
20. Confirmed that I am able to launch Horizon 8 on Amazon Workspaces Core hosted desktop!
![]()